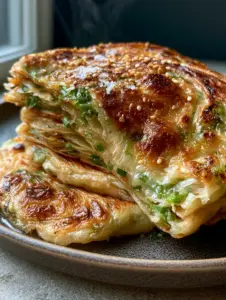
Mastering the perfect Greek pita recipe is a rite of passage for any home cook who loves Mediterranean flavors. There is something truly magical about a warm, pan-seared flatbread that features beautiful charred golden-brown spots and a steamy interior crumb. Unlike the thin, pocket-style pitas found in many grocery stores, this authentic Greek version is thick, soft, and incredibly pliable.
When you pull these fresh from the skillet, the smell of toasted yeast and extra virgin olive oil will fill your kitchen. Whether you are folding it around a juicy chicken gyro or dipping it into a bowl of creamy hummus, this bread is the ultimate vessel for flavor. The secret lies in the dough’s hydration and the high-heat searing technique that creates those iconic “leopard spots.”
Why This Is the Best Greek Pita Recipe You’ll Ever Try
- Extreme Flexibility: This dough is designed to be folded and rolled without cracking or breaking, making it perfect for wraps.
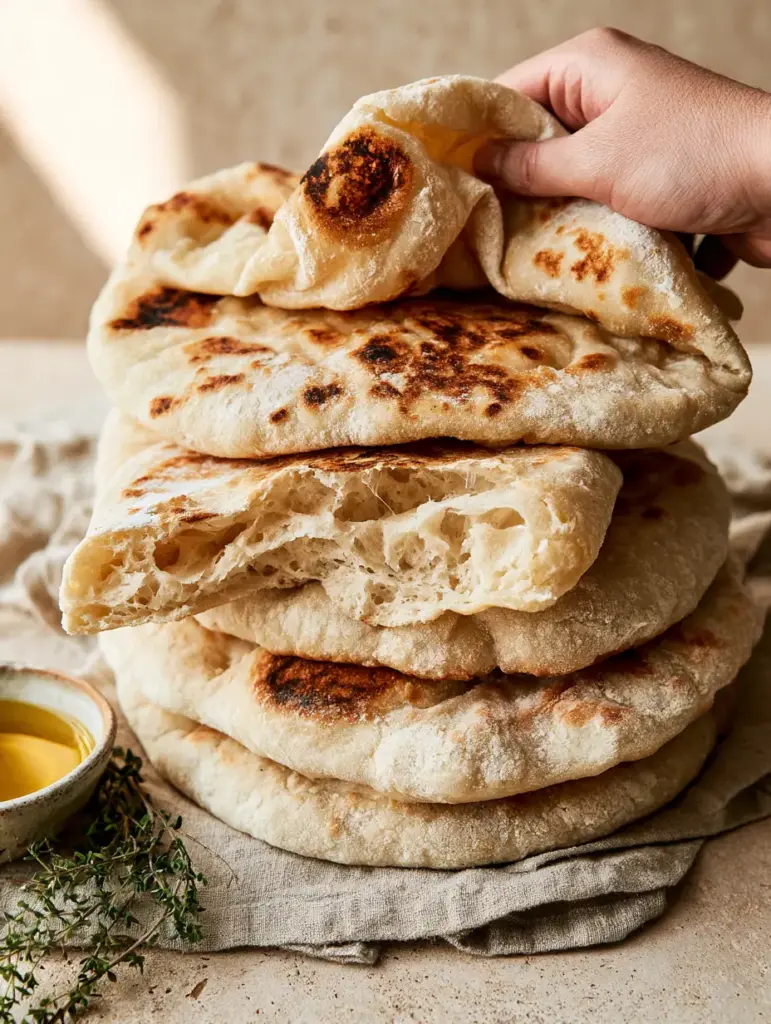
- Honeycomb Interior: We use a specific kneading technique to ensure a steamy, airy, honeycomb interior texture that melts in your mouth.
- Visual Perfection: These pitas look exactly like they came from a high-end taverna, featuring a light dusting of flour and charred golden-brown spots.
- Fast & Reliable: No need for a pizza stone or a wood-fired oven; a simple cast iron skillet does all the work.
Simple Ingredients for Authentic Greek Flatbread
To achieve that high-end food blog aesthetic and professional taste, you only need a few pantry staples. Each ingredient serves a specific culinary purpose to ensure the dough remains soft and pillowy.
- All-Purpose Flour: 3 cups (375g). This provides the necessary structure while keeping the folded pliable dough soft.
- Warm Water: 1 cup (240ml). Essential for hydrating the flour and activating the yeast.
- Instant Yeast: 2 teaspoons (7g). The engine that creates that steamy interior crumb.
- Granulated Sugar: 1 teaspoon (4g). Feeds the yeast and aids in the charred golden-brown spots through caramelization.
- Fine Sea Salt: 1 teaspoon (6g). Crucial for tightening the gluten structure and flavor.
- Extra Virgin Olive Oil: 2 tablespoons (30ml) for the dough, plus extra for drizzling. This ensures the bread stays flexible and soft.
- Whole Milk: 2 tablespoons (30ml). The fat in the milk creates a richer, more pillowy Greek pita bread.
The Secret to Mastering the Softest Dough
The foundation of a great Greek pita recipe starts with the “bloom.” Even if using instant yeast, dissolving it in warm water with sugar ensures your yeast is alive and active. You want to see a frothy foam develop on the surface before adding your flour.
When mixing, look for a dough that is slightly tacky but doesn’t stick aggressively to your hands. This high hydration is what allows the interior to remain steamy and airy during the sear. If the dough is too dry, your pita will be tough; if it’s too wet, it won’t hold those beautiful charred spots.
Kneading is where the magic happens. You are building the gluten “balloon” that will trap steam. For a truly flexible and soft result, knead for at least 8-10 minutes by hand or 5-6 minutes in a stand mixer. You’ll know it’s ready when the dough looks smooth and bounces back when poked.
Searing Secrets for Golden-Brown Leopard Spots
To get that visual recipe blueprint look—specifically those charred golden-brown spots—you must manage your heat carefully. A cast iron skillet is the gold standard here because it retains heat evenly.
Step 1: The First Rise
Place your kneaded dough in a lightly oiled bowl. Cover it with a damp cloth and let it rest in a warm, draft-free spot for about 1 hour. It should double in size, becoming a pillowy mass of fermented goodness.
Step 2: Portioning and Shaping
Gently deflate the dough and divide it into 8 equal pieces. Roll each piece into a smooth ball. On a surface with a dusted white flour coating, roll each ball into a circle about 8 inches (20cm) in diameter. Do not roll them too thin; we want a thick, pillowy result!
Step 3: The Skillet Sear
Heat your skillet over medium-high heat. Lightly brush the surface with extra virgin olive oil. Lay the dough circle into the hot pan. Within 30 seconds, you should see bubbles forming on the surface—this is the honeycomb interior being created.
Step 4: The Flip and Char
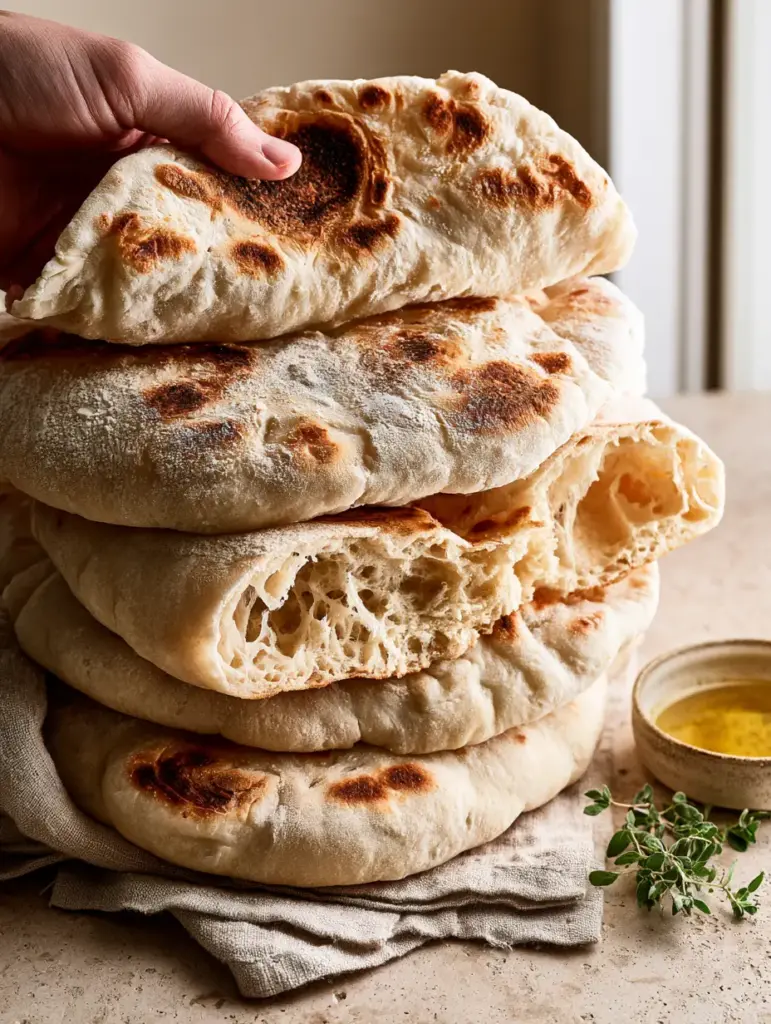
Flip the pita after about 2 minutes. The cooked side should now feature those signature leopard spots. Cook for another 1-2 minutes on the second side. As you remove it, stack the pitas on a neutral linen napkin and cover them. The steam trapped between the pitas is the “secret” to making them extremely flexible.
Expert Tips for Success
- The Steam Towel Trick: Always stack cooked pitas and wrap them in a clean kitchen towel immediately. This softens the crust and ensures the folded pliable dough doesn’t crack.
- Don’t Over-Flour: While a dusted white flour look is aesthetic, too much flour in the pan will burn and taste bitter. Wipe the skillet between pitas if necessary.
- Check Your Heat: If the pita is browning too fast without puffing, turn the heat down. If it’s taking more than 3 minutes per side, turn it up.
- Fresh Herbs: Always finish with a sprig of fresh oregano and a drizzle of extra virgin olive oil for that authentic Mediterranean aroma.
Storage, Reheating & Freezing
Fresh Greek pita recipe results are best enjoyed immediately, but they store surprisingly well. Keep them in an airtight bag at room temperature for up to 2 days. To maintain that pillowy texture, avoid the refrigerator as it dries out the bread.
To Reheat: Spritz with a tiny bit of water and microwave for 15 seconds, or toss them back into a hot skillet for 30 seconds per side. This revives the steamy interior crumb perfectly.
To Freeze: These pitas are freezer-friendly! Place parchment paper between each bread, wrap the stack in foil, and slide into a freezer bag. They will stay fresh for up to 3 months.
What to Serve With This Greek Pita
This versatile Greek pita recipe pairs beautifully with a variety of Mediterranean and global dishes. For a classic experience, serve alongside a tangy Turkish onion salad or a vibrant sumac onion salad.
If you’re looking for a full meal, these pitas are the perfect side for a crispy pan-fried fish or even a hearty Jamaican cabbage dish for a unique fusion twist. Don’t forget to top them with flaky sea salt and fresh oregano sprigs before serving!
Frequently Asked Questions
Yes, any heavy-bottomed non-stick pan or a griddle will work. However, cast iron provides the best heat retention for those signature charred golden-brown ‘leopard spots’.
You can replace up to 50% of the all-purpose flour with whole wheat flour. Note that you may need 1-2 extra tablespoons of water as whole wheat flour absorbs more moisture.
The secret is the ‘Steam Towel Trick.’ By stacking the hot pitas and wrapping them in a linen cloth, you trap the moisture, which makes the bread extremely flexible and easy to fold.
Greek pita (often called ‘gyros bread’) is usually yeast-leavened and cooked in a pan to be thick, soft, and pocketless. Regular Middle Eastern pita is thinner and baked at high heat to create a steam-filled pocket.
Tough pita usually results from over-cooking or not enough hydration in the dough. To keep them soft, stack them in a towel immediately after cooking so the residual steam softens the crust.
The Ultimate Homemade Greek Pita Recipe
Ready to create the softest, most pillowy Greek pita bread you’ve ever tasted? Follow the detailed measurements and steps below to bring a taste of Greece into your home kitchen.
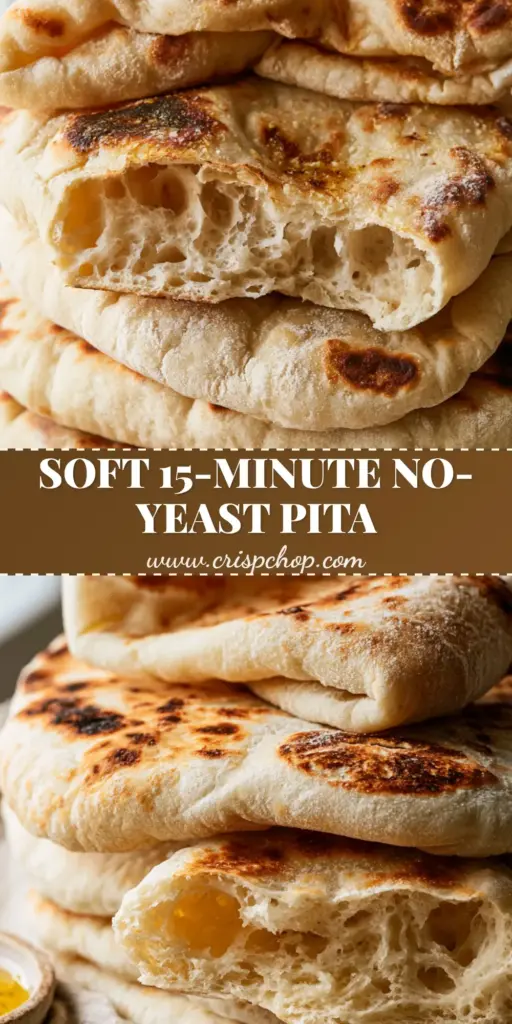
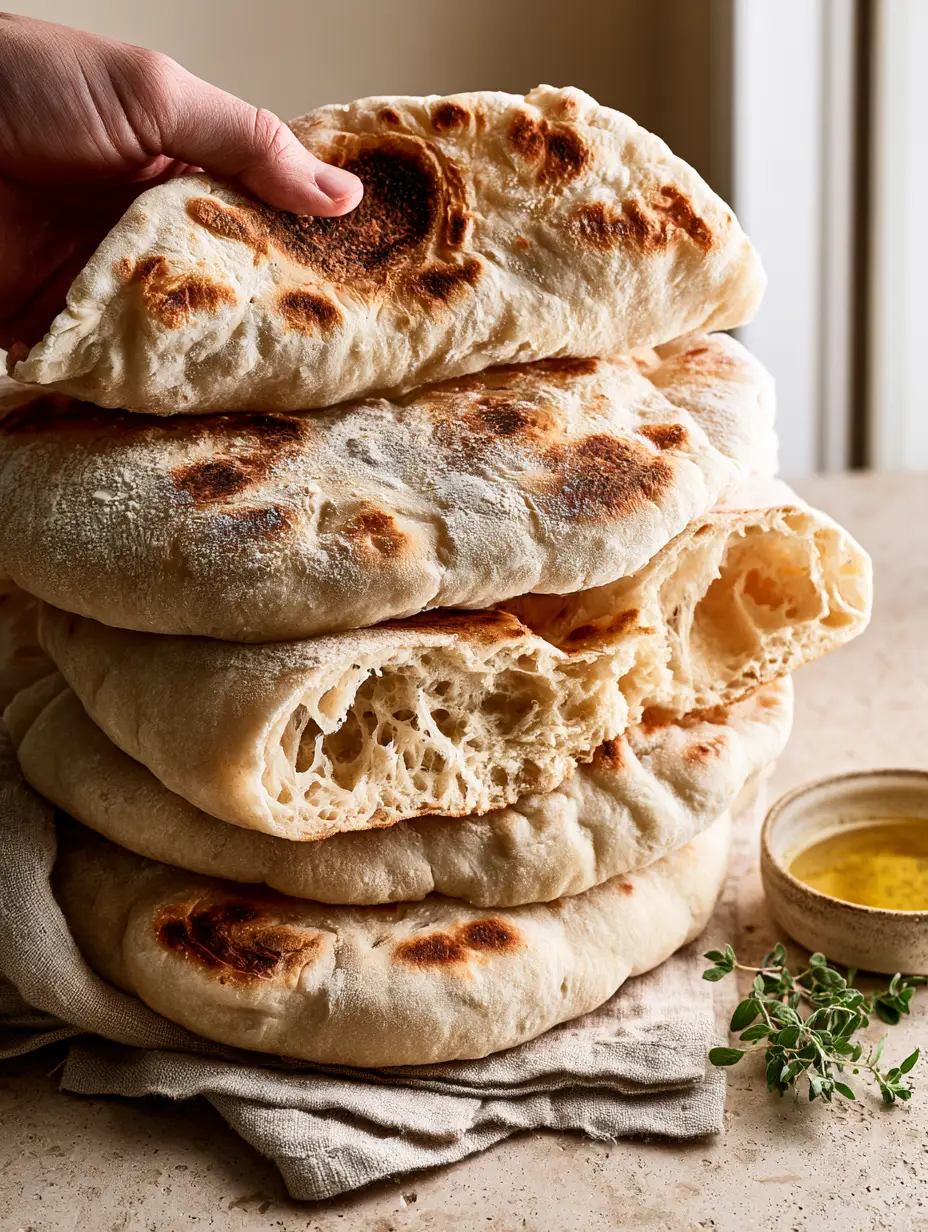
Greek pita recipe: The Ultimate Soft & Pillowy Flatbread
Ingredients
Equipment
Method
- In a large bowl, combine warm water, sugar, and yeast. Let sit for 5-10 minutes until frothy.
- Add olive oil, milk, salt, and half the flour. Stir well, then gradually add remaining flour. Knead by hand for 8-10 minutes until smooth and elastic.
- Place dough in an oiled bowl, cover with a damp cloth, and let rise in a warm spot for 1 hour or until doubled in size.
- Punch down dough and divide into 8 pieces. Roll each into an 8-inch circle on a floured surface.
- Heat a cast iron skillet over medium-high heat with a little oil. Cook each pita for 2 minutes per side until charred spots appear and it puffs slightly.
- Immediately stack cooked pitas in a clean kitchen towel to keep them soft and pliable.
Notes
Use a cast iron skillet for the best 'leopard spots'.
Join the CrispChop Community!
Did you love how pliable and soft these pitas turned out? If you enjoyed this Greek pita recipe, please save this recipe to your Pinterest boards so you never lose it! We love seeing your kitchen creations—tag @crispchop or share a photo of your charred golden-brown spots in the comments below.
Don’t forget to leave a 5-star rating in the recipe card if this becomes your new favorite flatbread. Follow us for more authentic Mediterranean inspiration and foolproof baking tips!