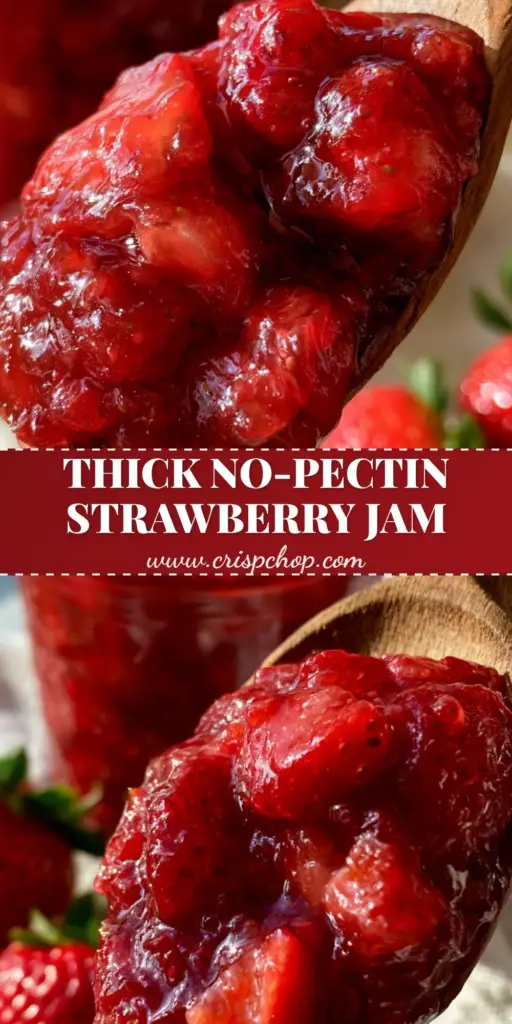
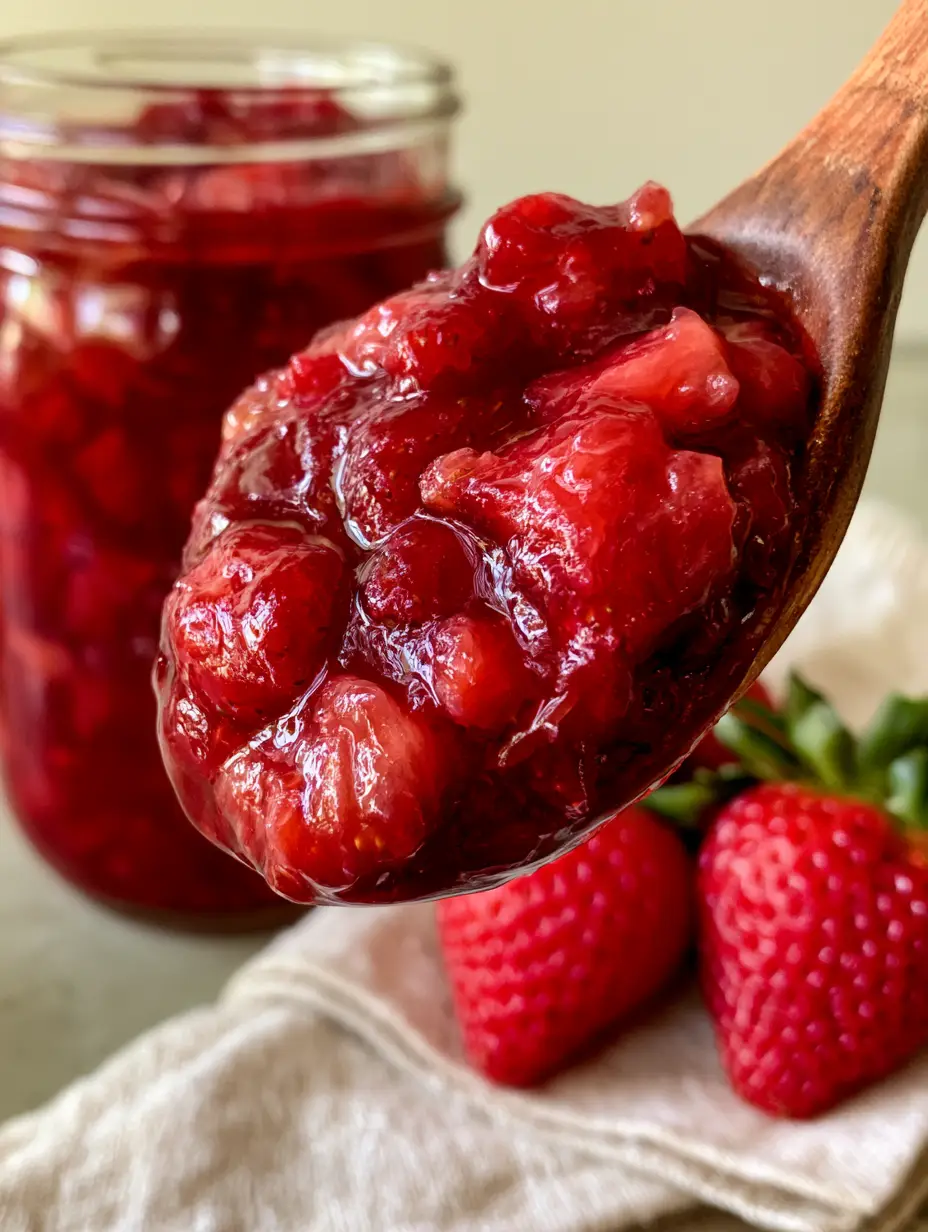
Making a strawberry jam recipe at home is the ultimate culinary flex that transforms your morning toast into a gourmet experience. This recipe captures the essence of summer with thickened ruby-red jam, soft cooked fruit chunks, and a glossy syrup that glows in the light. Whether you are a beginner or a seasoned canner, this method ensures a perfect set without artificial pectin.
Why This Thickened Ruby-Red Jam Works
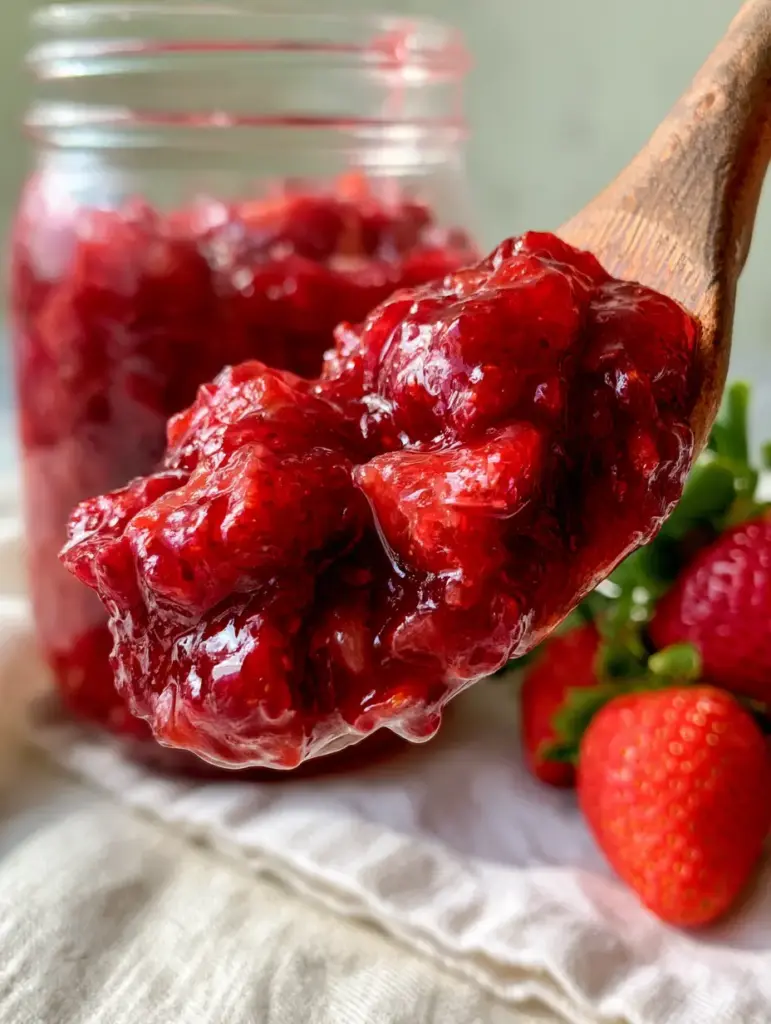
- Intense Fruit Flavor: By slow-simmering, we concentrate the natural sugars for a heavy, glistening dollop of jam.
- Perfect Texture: We maintain soft cooked strawberry chunks within a dense, jammy consistency.
- Visual Brilliance: The addition of lemon juice preserves the vibrant ruby-red color and creates a brilliant translucent glow.
- No Pectin Required: We rely on natural fruit science to achieve a set that clings perfectly to a weathered wooden spoon.
Essential Ingredients for Glossy Strawberry Preserves
To achieve that dense, jammy consistency seen in professional food photography, you only need a few high-quality staples. Each ingredient plays a specific role in the chemistry of the set.
- 2 lbs (900g) Fresh Strawberries: Choose ripe, deep red berries for the best color. We will leave some whole to create those soft strawberry chunks.
- 3 cups (600g) Granulated Sugar: Sugar is not just a sweetener; it acts as a preservative and binds with natural pectin to create the glossy fruit syrup.
- 2 tbsp (30ml) Fresh Lemon Juice: The acidity reacts with the sugar to ensure the jam sets properly and stays bright red.
- 1/2 tsp (3g) Butter (Optional): A tiny amount of fat helps reduce foaming during the boiling process, keeping your jam clear and translucent.
- Pinch of Salt: A subtle flavor enhancer that makes the strawberry notes pop.
If you love using fresh fruit in your kitchen, this jam is the perfect filling for a strawberry vanilla cake or as a topping for warm strawberry banana muffins.
Step-by-Step Instructions for the Perfect Set
1. Preparing the Fruit
Start by hulling your strawberries. For the best strawberry jam recipe, crush half of the berries with a potato masher and leave the other half in larger pieces. This creates that desirable rustic texture with visible fruit fibers. Combine the berries and sugar in a heavy-bottomed pot and let them macerate for 30 minutes until a syrup forms.
2. The Controlled Simmer
Place the pot over medium heat. Stir constantly with a weathered wooden spoon to ensure the sugar dissolves completely before the mixture reaches a boil. Once dissolved, add the lemon juice and increase the heat. You will see the mixture transform into a glossy fruit syrup as it bubbles.
3. Achieving the Glistening Dollop
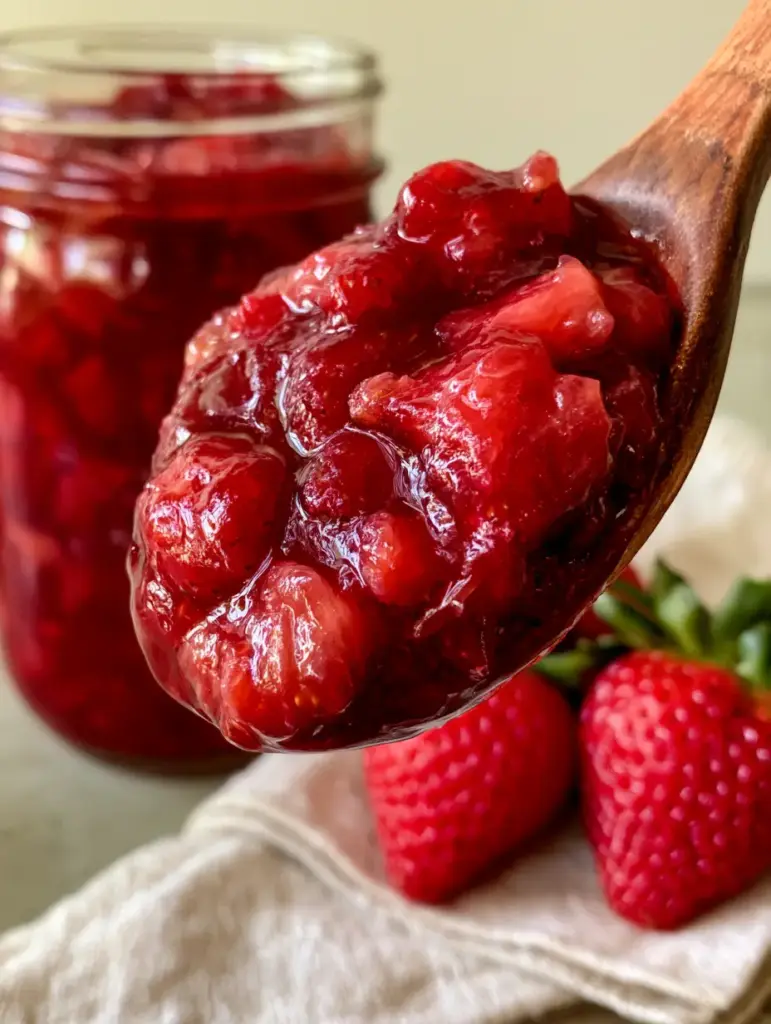
Boil the mixture vigorously. You are looking for a dense, jammy consistency. Use a candy thermometer to reach 220°F (104°C), or perform the “plate test.” Drop a small amount of jam onto a cold plate; if it wrinkles when pushed with a finger, it has reached the perfect heavy dollop stage.
4. The Finishing Touch
Skim any remaining foam from the surface to maintain the ruby-red clarity. Ladle the hot jam into a rustic glass mason jar, leaving 1/4 inch of headspace. Wipe the rims clean and seal tightly. The jam will continue to thicken as it cools, developing that signature translucent glow.
Expert Tips for Success
- Don’t Rush the Cook: A slow start ensures the sugar doesn’t burn, while a fast finish preserves the vibrant red color.
- Use Copper or Stainless Steel: Avoid aluminum pots, which can react with the acid in the strawberries and affect the flavor.
- The Spoon Test: Watch how the jam falls off your wooden spoon. It should “sheet” off in one wide drop rather than many thin drips.
- Small Batches are Best: Making this strawberry jam recipe in smaller quantities allows for faster evaporation and a better set.
How to Store Your Homemade Jam
Store your rustic glass mason jar in the refrigerator for up to 3 weeks. For long-term storage, follow standard water-bath canning procedures to make the jam shelf-stable for up to a year. Always store in a cool, dark place to maintain the ruby-red hue. This jam is a staple in famous French dishes and is essential for any French comfort food breakfast spread.
What to Serve With This Strawberry Jam
This versatile preserve isn’t just for toast. It adds a fruity punch to a strawberry boba tea or serves as a beautiful glaze for tiramisu cupcakes. For a savory twist, try a small dollop alongside pan-fried fish—the acidity of the jam cuts through the richness of the fish beautifully.
Frequently Asked Questions
Yes! This recipe uses the natural pectin found in strawberries combined with lemon juice and sugar to achieve a dense, jammy set through a controlled boil.
Absolutely. Thaw them slightly first and include any liquid that escapes, as it contains high amounts of flavor and natural sugars.
Use a candy thermometer to reach 220°F (104°C), or use the ‘cold plate test.’ If a dollop of jam wrinkles when pushed on a chilled plate, it is ready.
When stored in a clean, airtight glass mason jar, this jam will stay fresh and vibrant in the refrigerator for up to 3 weeks.
Runny jam usually means it hasn’t been boiled long enough to reach the gel point, or there wasn’t enough acidity. Re-boil with an extra teaspoon of lemon juice to fix the set.
The Ultimate Strawberry Jam Recipe
strawberry jam recipe: The Ultimate Small-Batch Ruby Red Preserves
Ingredients
Equipment
Method
- Combine strawberries and sugar in a pot. Let sit for 30 minutes until juices are released and a syrup forms.
- Heat over medium, stirring with a wooden spoon until sugar is fully dissolved.
- Add lemon juice and butter. Bring to a rolling boil, stirring frequently to prevent scorching.
- Cook until jam reaches 220°F (104°C) or passes the plate test. Look for a heavy, glistening dollop on the spoon.
- Ladle into rustic glass mason jars, leaving 1/4 inch headspace. Seal and let cool.
Notes
Skim the foam for a clearer, more ruby-red appearance.
Save This Recipe to Pinterest!
If you enjoyed this strawberry jam recipe, please save it to your Pinterest boards so you can find it later! Following crispchop helps us bring you more high-detail culinary guides. We love seeing your recreations—share a photo of your glossy jam in the comments below and don’t forget to leave a 5-star rating if this is the best jam you’ve ever made!