salmon stuffed shells are the ultimate comfort food for seafood lovers, combining tender, flaked oven-baked salmon with a rich, velvety ricotta filling. This dish is a visual masterpiece, featuring jumbo pasta shells nestled in a glossy garlic cream sauce that boasts perfectly toasted golden-brown edges. If you are looking for a restaurant-quality dinner that exploits the Pinterest-perfect aesthetic of fresh dill, lemon zest, and vibrant parsley, this recipe is your new weeknight obsession.
Whether you are hosting a sophisticated dinner party or simply craving a decadent meal, these salmon stuffed shells deliver on every front. The contrast between the soft pasta, the creamy cheese, and the bright pop of red chili flakes creates a sensory experience that is as satisfying to eat as it is to photograph. By following this guide, you will master the art of the perfect seafood-stuffed pasta, ensuring a meal that is both hearty and elegant.
Why These salmon stuffed shells Are a Must-Make
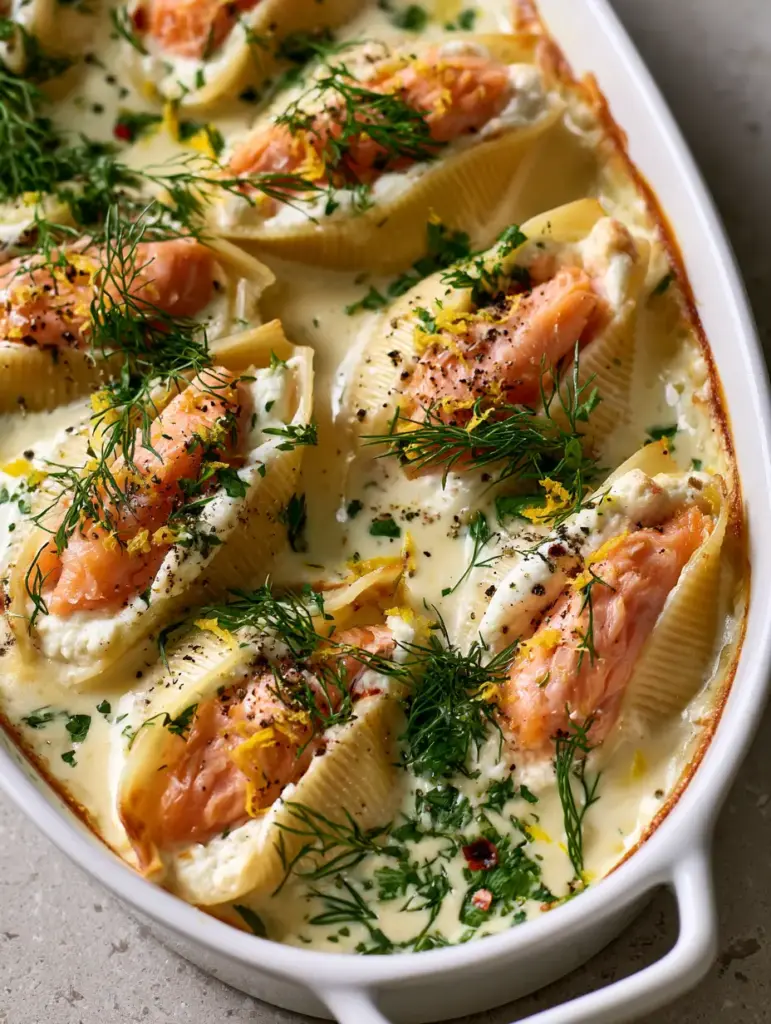
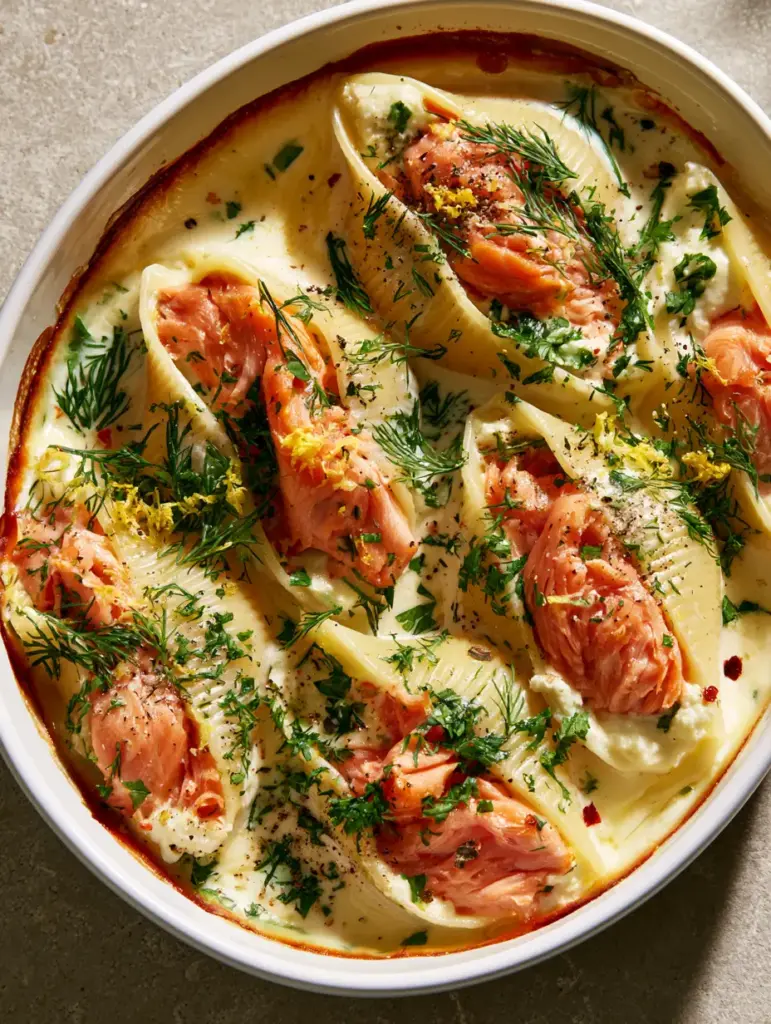
- Visual Texture: The combination of large, tender pink salmon flakes against the creamy white ricotta and glossy sauce creates a stunning color palette.
- Garnish Perfection: The heavy use of vibrant green fresh dill, finely chopped parsley, and bright yellow lemon zest adds layers of freshness.
- Golden Toasted Edges: The addition of toasted parmesan cheese ensures a satisfying crunch that balances the velvety cream sauce.
- Flavor Balance: Hints of cracked black pepper and red chili flakes provide a subtle heat that cuts through the richness of the dairy.
The Secret Ingredients for Gourmet salmon stuffed shells
To achieve the specific look and taste found in high-end kitchens, every ingredient in these salmon stuffed shells serves a culinary purpose. We focus on high-quality fats and fresh aromatics to build a deep flavor profile.
- Jumbo Pasta Shells: These act as the vessel. Ensure they are cooked al dente to hold the weight of the salmon filling.
- Fresh Salmon Fillet: 1 lb (454g) of fresh salmon, oven-baked until it flakes easily. Do not use canned salmon if you want those large, beautiful pink flakes. If you’re looking for a quicker version, you might compare this to canned salmon pasta, but fresh is best here.
- Ricotta Cheese: 15 oz (425g) of whole milk ricotta provides the creamy, structural base for the filling.
- Heavy Cream: 2 cups (480ml) for the sauce to create that signature glossy, thick texture.
- Parmesan Cheese: 1 cup (100g) freshly grated. Half goes in the filling, half on top for those toasted edges.
- Garlic: 4 cloves, minced finely to infuse the cream sauce without adding a gritty texture.
- Fresh Herbs: Dill and parsley are non-negotiable for the “Pinterest-ready” finish.
- Lemon Zest: The essential acid component to brighten the heavy fats in the ricotta and cream.
- Pantry Staples: Extra virgin olive oil, unsalted butter, kosher salt, cracked black pepper, and red chili flakes.
Step-by-Step Instructions for Perfect Assembly
Creating the best salmon stuffed shells requires a three-part process: preparing the salmon, making the garlic cream sauce, and the final assembly. Follow these steps to ensure your dish looks exactly like our visual blueprint.
Step 1: Preparing the Flaky Oven-Baked Salmon
Preheat your oven to 400°F (200°C). Rub the salmon fillet with olive oil and season generously with salt and pepper. Bake for 12-15 minutes until the salmon is just cooked through. Use a fork to break the fish into large, tender flakes. Avoid over-mixing; you want those distinct pink chunks to be visible in the shells. Let it cool slightly before mixing with the cheese.
Step 2: Boiling the Jumbo Shells
Bring a large pot of salted water to a boil. Add the jumbo shells and cook for 1-2 minutes less than the package instructions. They should be pliable but still have a firm bite (al dente). This prevents them from falling apart during the stuffing process. Drain and rinse with cool water to stop the cooking process.
Step 3: Creating the Glossy Garlic Cream Sauce
In a large skillet over medium heat, melt 2 tbsp (30g) of butter. Add the minced garlic and sauté for 1 minute until fragrant but not browned. Whisk in the heavy cream and a pinch of salt. Simmer for 5-7 minutes until the sauce reduces and coats the back of a spoon with a glossy, velvety sheen. For more sauce inspiration, check out our lemon garlic salmon pasta techniques.
Step 4: Mixing the Ricotta Filling
In a medium bowl, combine the ricotta cheese, half of the lemon zest, half of the chopped parsley, and a handful of parmesan. Gently fold in the flaked salmon. Be careful not to mash the fish—maintaining those large flakes is key to the Visual Recipe Blueprint.
Step 5: Assembly and the Final Bake
Spread a thin layer of the garlic cream sauce at the bottom of a white ceramic baking dish. Stuff each shell generously with the salmon-ricotta mixture and arrange them in the dish. Pour the remaining sauce over the shells, ensuring they are partially submerged in the thick sauce. Sprinkle the remaining parmesan on top.
Step 6: Broiling for Toasted Perfection
Bake at 375°F (190°C) for 15 minutes. For the final touch, turn the broiler on for 2-3 minutes until you see those golden-brown toasted edges on the cheese and sauce. Remove from the oven and prepare for the final garnish.
Expert Tips for Success
- Don’t Overcook the Pasta: The shells will continue to cook in the oven. If they are too soft when boiled, they will turn mushy.
- Cold Ricotta: Use cold ricotta to keep the filling firm during stuffing.
- The “Glossy” Factor: If your sauce breaks, add a splash of pasta water and whisk vigorously to re-emulsify.
- Fresh Herb Timing: Always add the dill and parsley after baking to maintain their vibrant green color and delicate oils.
Storage, Reheating & Freezing
Storage: Keep leftovers in an airtight container in the refrigerator for up to 3 days. The flavors actually deepen overnight!
Reheating: To maintain the glossy garlic cream sauce, reheat in the oven at 350°F (175°C) covered with foil. Add a teaspoon of milk to the dish to prevent the sauce from drying out.
Freezing: You can freeze the shells before the final bake. Arrange them in a freezer-safe dish, cover tightly with plastic wrap and foil. Freeze for up to 2 months. Bake from frozen, adding an extra 15 minutes to the cook time.
What to Serve With salmon stuffed shells
Because this dish is rich and decadent, it pairs beautifully with light, acidic side dishes. A crisp green salad or a sumac onion salad provides a refreshing contrast. If you want to keep with the seafood theme, consider a light salmon pasta side or a simple plate of roasted asparagus with lemon.
Frequently Asked Questions
While you can, fresh oven-baked salmon is highly recommended to achieve the large, tender flakes and superior flavor profile shown in this recipe.
No, boil them for 1-2 minutes less than the package directions. They will finish cooking and absorb the garlic cream sauce in the oven.
The secret is to simmer the heavy cream slowly and emulsify it with butter. Avoid high heat, which can cause the sauce to separate or become grainy.
Reheat in the oven at 350°F (175°C) with a splash of milk or water, covered with foil, to keep the salmon moist and the sauce creamy.
The Ultimate salmon stuffed shells Recipe
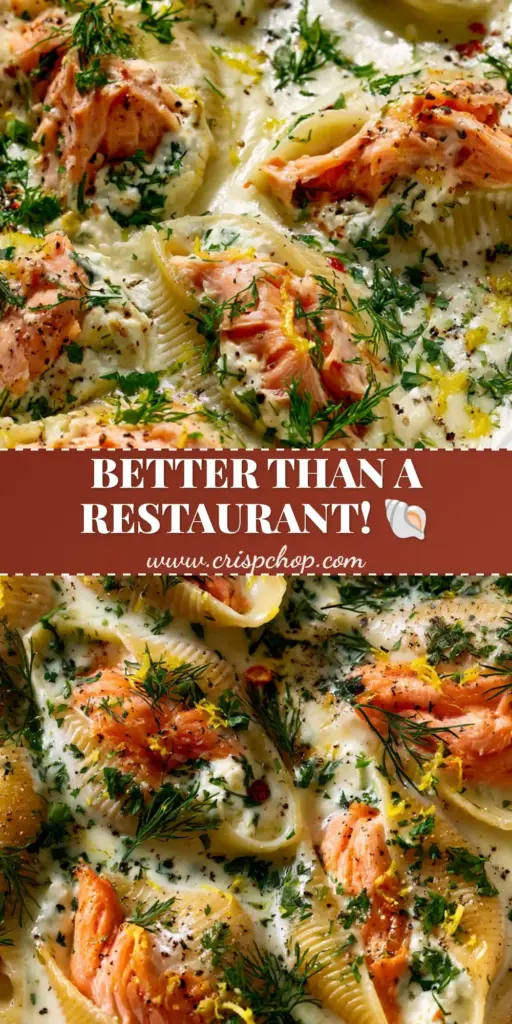
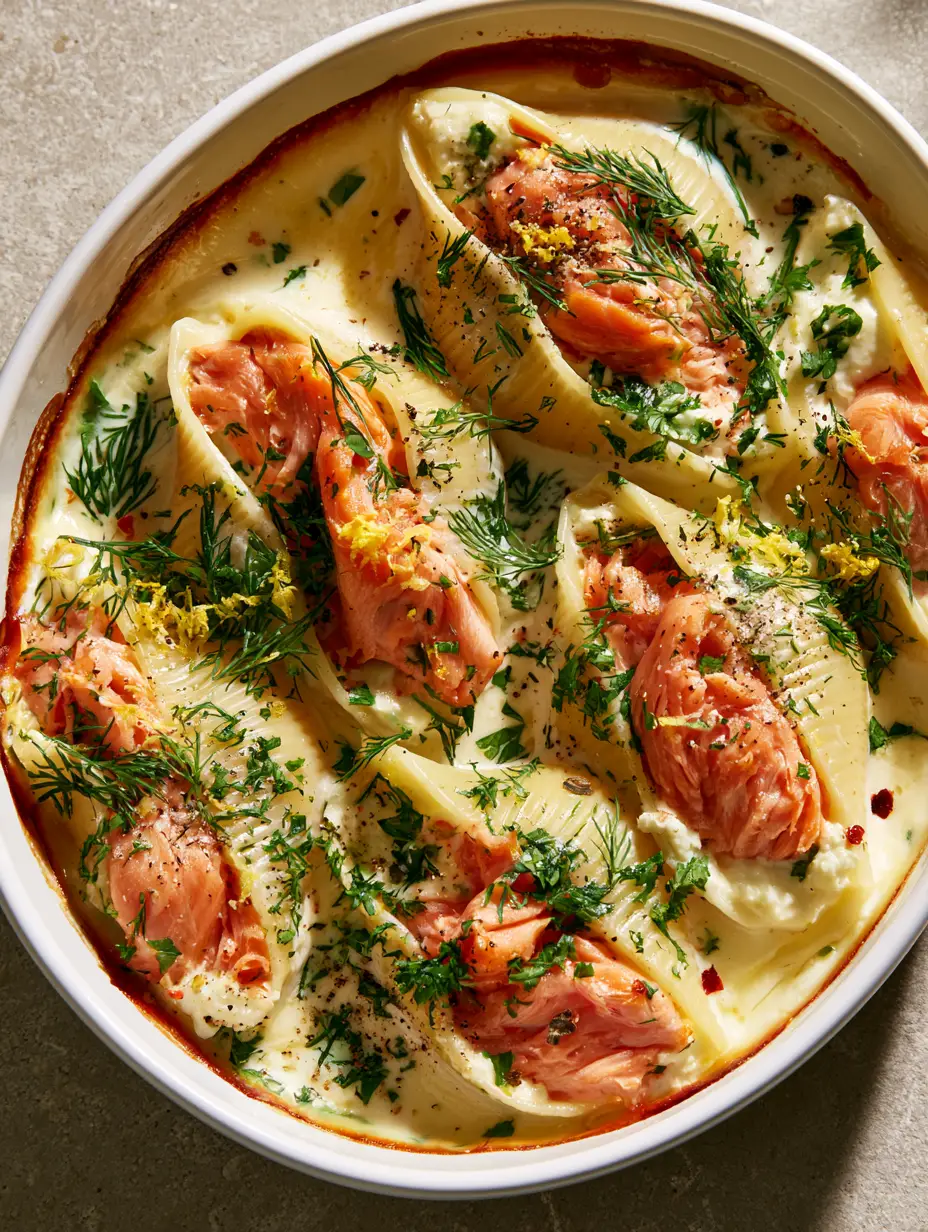
salmon stuffed shells with Garlic Cream Sauce and Fresh Herbs
Ingredients
Equipment
Method
- Season salmon with oil, salt, and pepper. Bake at 400°F (200°C) for 12-15 minutes. Flake into large pieces.
- Cook jumbo shells in salted water until al dente. Drain and cool.
- Sauté garlic in butter, add heavy cream, and simmer until glossy and thick.
- Mix ricotta, salmon, and herbs. Stuff shells, place in baking dish with sauce, top with parmesan, and bake at 375°F (190°C) for 15 minutes until edges are toasted.
Notes
Broil for the last 2 minutes for golden edges.
Share the Love!
If you loved these salmon stuffed shells, please let us know! This dish is a favorite on Pinterest, and we would love to see your recreations. Save this recipe to your Dinner Inspiration board, follow @crispchop for more seafood delights, and don’t forget to leave a 5-star rating below. Did your sauce get those perfect golden edges? Post a photo in the comments!