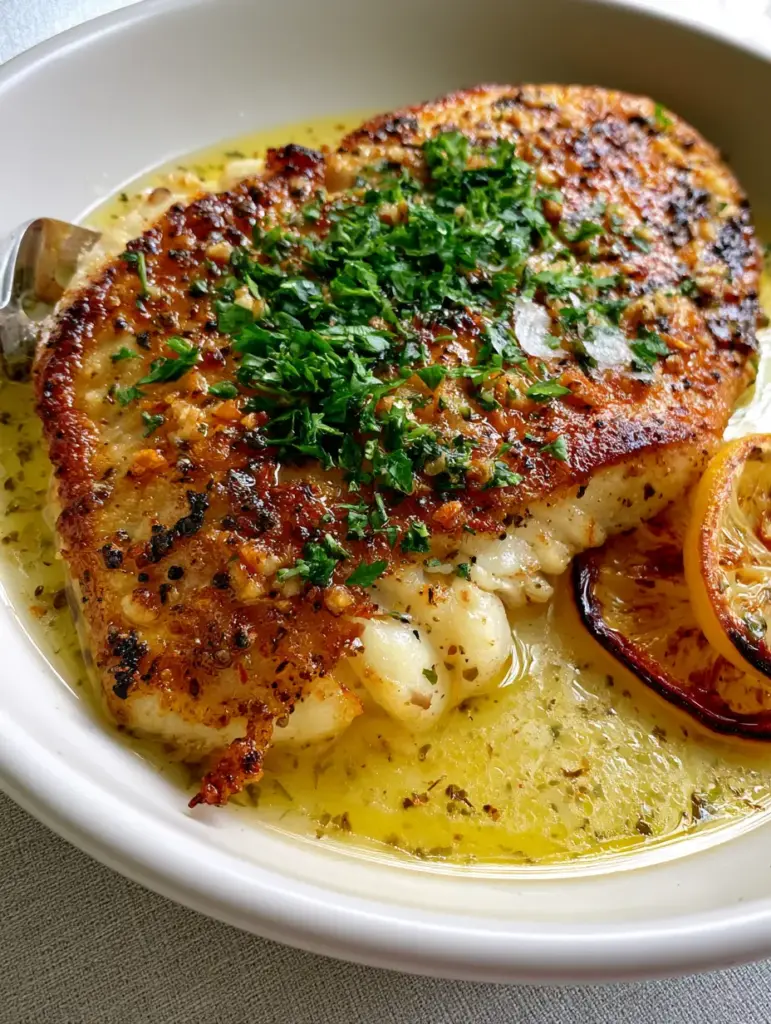
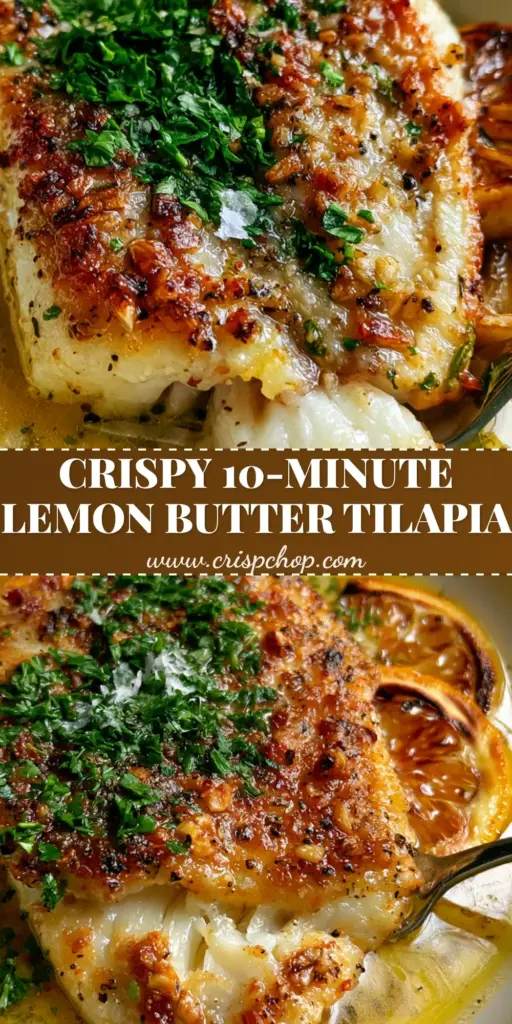
Mastering the art of the perfect pan seared tilapia is a rite of passage for every home cook looking to elevate their weeknight dinner game. This recipe transforms a humble, mild white fish into a gourmet masterpiece, featuring a crackling golden-brown crust that yields to moist, steaming, pearlescent white flakes.
The magic of this dish lies in the contrast between the high-heat sear and the shimmering, translucent yellow lemon-butter sauce that pools around the fillet. Every bite is a symphony of textures, from the crunch of toasted minced garlic to the bright, acidic pop of charred lemon wheels and the finish of coarse sea salt flakes.
If you have ever struggled with fish sticking to the pan or turning out bland, this forensic guide will walk you through the scientific cues—like the specific sizzle of the oil and the aromatic transition of garlic—to ensure professional results every time. Let’s dive into the techniques required to achieve this handheld, smartphone-photo-worthy result.
The Secrets Behind a Crackling Golden-Brown Crust
To achieve the “thick, crackling golden-brown crust” described in our visual blueprint, we must understand the Maillard reaction. This chemical reaction between amino acids and reducing sugars gives browned food its distinctive flavor and texture, but it requires the absence of moisture.
Before the pan seared tilapia even touches the heat, the surface of the fish must be bone-dry. Use heavy-duty paper towels to press firmly onto both sides of the fillet; any residual water will create steam, preventing the crust from forming and leading to a rubbery texture.
Secondly, the choice of fat is critical. While butter provides flavor, it has a low smoke point; therefore, we start the sear with a high-heat oil like avocado or grapeseed oil, only adding the butter during the final basting stage to achieve that shimmering, translucent finish without burning the solids.
Essential Ingredients for This Restaurant-Quality Seafood Dish
Fresh Tilapia Fillets: Choose firm, white fillets that are roughly 1-inch (2.5cm) thick at the center. This thickness allows enough time for the golden-brown crust to form before the interior overcooks and loses its moist, pearlescent quality.
High-Smoke Point Oil: You will need 2 tbsp (30ml) of avocado or light olive oil. This acts as the heat conductor, ensuring the fish sears instantly upon contact rather than boiling in its own juices.
Unsalted Butter: We use 3 tbsp (45g) of high-quality unsalted butter to create the base of our shimmering sauce. Adding it late in the process allows the toasted minced garlic to infuse the fat without turning bitter.
Fresh Garlic: 4 cloves of minced garlic are essential for those “visible bits of toasted garlic” seen in the visual prompt. Ensure they are minced uniformly so they brown evenly against the heat of the pan.
Lemons: You will need two whole lemons—one for fresh juice to deglaze the pan and one sliced into thin wheels. These wheels will become the charred lemon wheels with caramelized edges that garnish the bowl.
Fresh Parsley: A heavy scatter of finely minced bright green parsley provides a fresh, herbal counterpoint to the rich butter. It should be added at the very last second to maintain its vibrant color.
Seasoning Trio: Use 1 tsp (5g) cracked black pepper and a generous pinch of coarse sea salt flakes. The salt flakes are not just for seasoning; they provide a structural crunch that complements the crackling crust.
Must-Have Equipment for Perfect Searing
Achieving the visual perfection of this pan seared tilapia requires a heavy-bottomed skillet, preferably stainless steel or well-seasoned cast iron. These materials retain heat much better than thin non-stick pans, which is vital when the cold fish hits the surface.
A fish spatula—a long, thin, flexible metal offset spatula—is also non-negotiable. This tool allows you to lift the edge of the fillet, just like the fork in our Midjourney prompt, to check for that pearlescent white interior without breaking the delicate crust.
Finally, ensure you have a shallow ceramic bowl for serving. The shallow depth allows the shimmering, translucent yellow lemon-butter sauce to pool beautifully around the fish rather than disappearing beneath it.
Step-by-Step Evolution: From Raw Fillet to Golden Masterpiece
Preparing the Fish for Maximum Crispness
Remove your tilapia fillets from the refrigerator 15 minutes before cooking to take the chill off. Pat them extremely dry on both sides with paper towels until the surface feels tacky rather than wet.
Season generously with cracked black pepper and a portion of the salt. Press the spices into the flesh so they adhere during the high-heat transition. If you enjoy diverse seafood textures, you might notice similarities in prep to a perfectly seared sea bass.
The Initial High-Heat Sear
Heat your 2 tbsp (30ml) of oil in the skillet over medium-high heat until you see “shimmering” ripples and a faint wispy smoke. Carefully lay the tilapia fillet into the pan, laying it away from you to avoid oil splatters.
Press down lightly with your spatula for 30 seconds to ensure even contact. Do not move the fish for 3-4 minutes; you are waiting for the protein to naturally release from the pan once the “thick, crackling golden-brown crust” has formed.
Caramelizing Lemons and Toasting Garlic
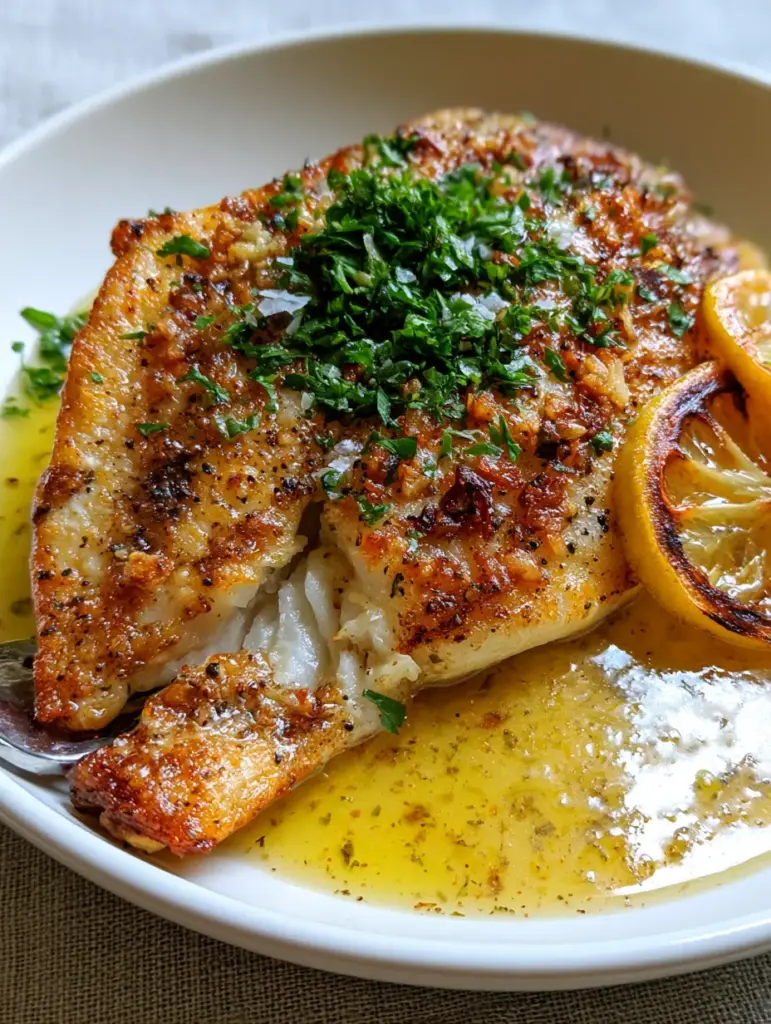
Once you flip the fish, the second side will cook faster. Push the fillet to one side of the pan and drop in your 3 tbsp (45g) of butter, the minced garlic, and the thin lemon wheels.
As the butter foams, use a spoon to continuously baste the top of the fish. Watch for the garlic to turn a pale straw color and the lemon edges to turn dark brown and sticky; this is the caramelization that defines the dish’s visual appeal.
The Final Basting and Texture Check
Add the fresh lemon juice to the pan, which will vigorously steam and emulsify with the butter to create that shimmering sauce. Use your fork to gently lift the edge of the fillet to confirm the interior is moist and pearlescent.
Remove the pan from the heat immediately when the internal temperature hits 140°F (60°C). The carryover heat will bring it to the perfect 145°F (63°C) as you plate it into your shallow white ceramic bowl.
Expert Tips for Success
- The “No-Touch” Rule: The biggest mistake is moving the fish too early. If the fish resists being flipped, the crust hasn’t fully formed. Wait another 30 seconds.
- Butter Management: If your butter begins to smoke or turn dark brown too quickly, add a teaspoon of cold oil to the pan to stabilize the temperature.
- Garlic Timing: Never add the minced garlic at the start. Tilapia cooks quickly, but garlic burns in under 60 seconds at high heat. Always add it after the flip.
- Acid Balance: If the sauce tastes too heavy, add an extra squeeze of fresh lemon. The acidity is what cuts through the buttery richness and highlights the mild flavor of the tilapia.
The Best Ways to Pair and Serve Your Tilapia
This pan seared tilapia is a versatile star that pairs beautifully with a variety of textures. For a light lunch, serve it alongside crisp stuffed peppers to contrast the warm, buttery fish.
If you are looking for a heartier meal, a side of crusty french bread is essential for mopping up every drop of the shimmering, translucent yellow lemon-butter sauce. The bread’s crumb is the perfect vessel for the toasted garlic bits that settle at the bottom of the bowl.
For those who enjoy a Mediterranean flair, consider serving the fish over a bed of greens inspired by traditional Greek flavors, allowing the lemon butter to act as a warm dressing for the vegetables.
Troubleshooting, Storage, and Reheating
Storage: While best enjoyed fresh for that crackling crust, leftover tilapia can be stored in an airtight container for up to 2 days. Be aware that the crust will soften in the refrigerator.
Reheating: Avoid the microwave, which will turn the fish rubbery. Instead, reheat in a skillet over medium-low heat with a splash of water or extra butter, covering the pan to trap steam and keep the interior moist.
Freezing: I do not recommend freezing the cooked dish, as the delicate lemon-butter sauce will break and the fish texture will become grainy upon thawing.
Frequently Asked Questions
Yes, but it must be fully thawed first. Thaw in the refrigerator overnight and be extra diligent about drying the surface, as frozen fish tends to release more moisture.
Add the minced garlic only after flipping the fish and adding the butter. The butter lowers the pan temperature slightly, allowing the garlic to toast to a golden brown in about 60 seconds.
The most common causes of sticking are a cold pan or a wet fish. Ensure the skillet is preheated until the oil shimmers and use paper towels to pat the fillet completely dry before seasoning.
Tilapia is a lean, high-protein white fish that is low in calories. Searing it in healthy fats like avocado oil makes it an excellent choice for a nutritious dinner.
Tilapia is perfectly cooked when it reaches an internal temperature of 145°F (63°C). The flesh should be opaque and flake easily with a fork.
The Ultimate Pan Seared Tilapia Recipe
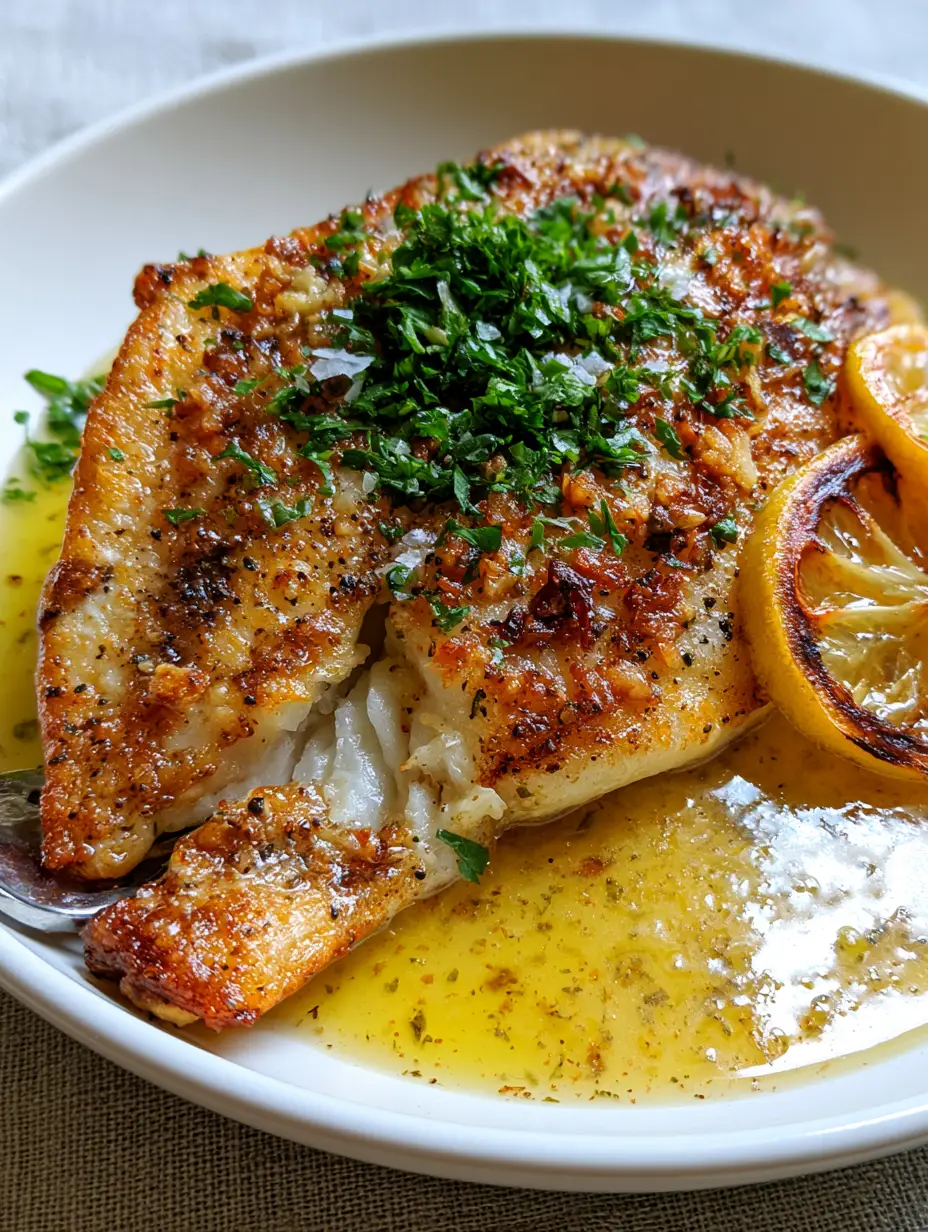
Pan Seared Tilapia with Garlic Lemon Butter and Caramelized Lemons
Ingredients
Equipment
Method
- Pat the tilapia fillets extremely dry with paper towels. Season both sides with cracked black pepper and a pinch of salt.
- Add oil to a heavy skillet over medium-high heat. When shimmering, place fillets in the pan and sear for 3-4 minutes without moving until a golden-brown crust forms.
- Flip the fillets. Add butter, minced garlic, and lemon wheels to the empty spaces in the pan. Spoon the foaming butter over the fish repeatedly.
- Pour in the lemon juice. Cook for 1-2 more minutes until the fish flakes easily with a fork and the lemons are caramelized.
- Transfer to a bowl, pour the sauce over, and top with fresh parsley and extra sea salt flakes.
Notes
Use a high-smoke point oil for the initial sear to avoid bitter flavors.
Final Thoughts on This Crispy Seafood Staple
Bringing this pan seared tilapia to your table is about more than just a quick meal; it’s about mastering the sensory cues of the kitchen. From the smell of the toasted garlic to the visual of the charred lemon wheels, this dish is a feast for all senses.
We invite you to try this technique and see the difference a truly high-heat sear makes. If you enjoyed this recipe, please leave a comment below and share your results with us! Don’t forget to follow us and save this recipe to your boards on Pinterest for your next dinner inspiration.