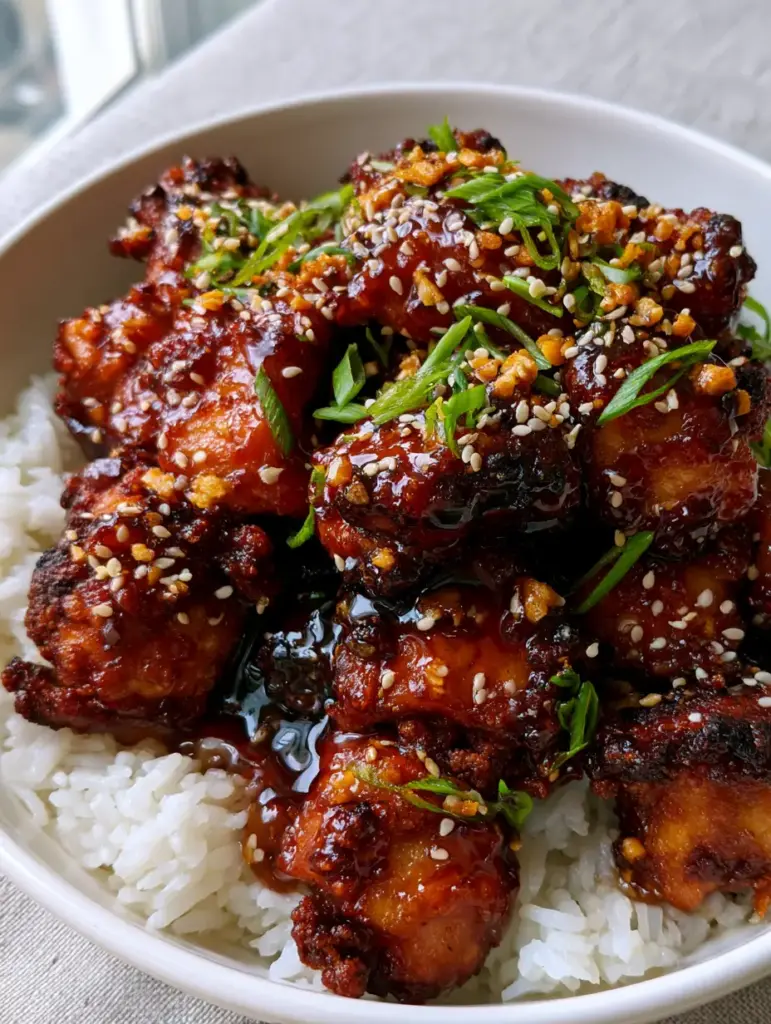
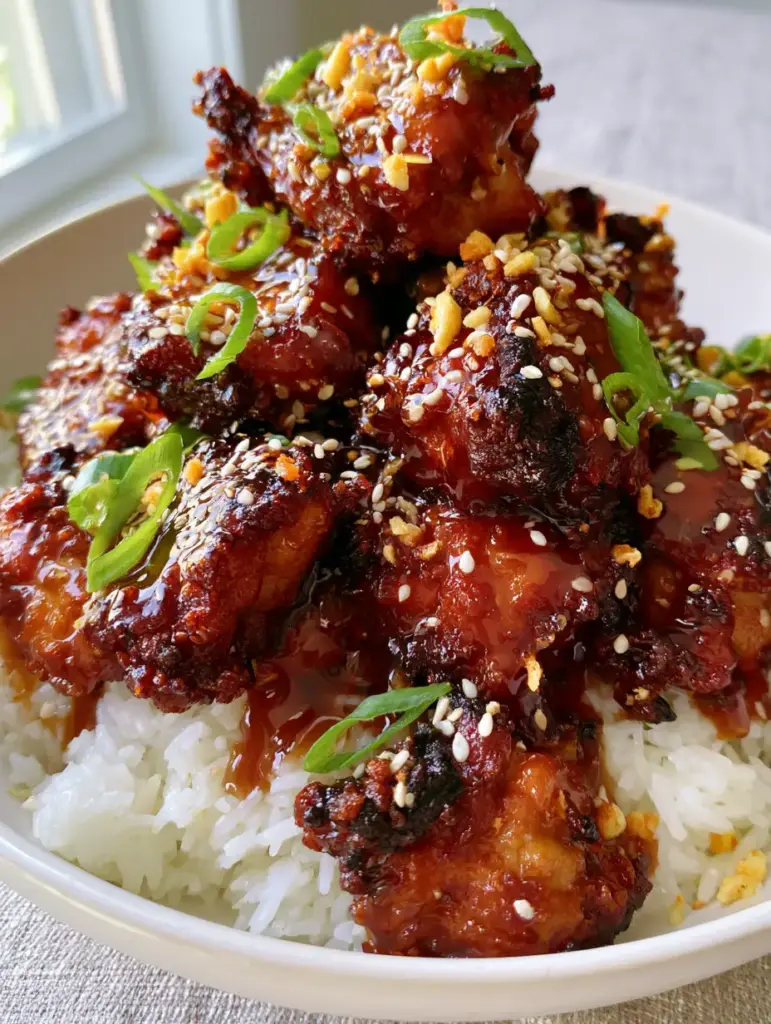
There is a specific visual magic that happens when high-heat searing meets a viscous, honey-based reduction. This Honey Chicken isn’t just another weeknight stir-fry; it is a masterclass in texture and color. Imagine bite-sized pieces of chicken, each boasting dark golden-brown crispy edges, swimming in a translucent mahogany-colored glaze that glistens under the light.
Every element of this dish has been calibrated to provide a high-end food blog aesthetic that tastes even better than it looks. We aren’t just tossing meat in a pan; we are building layers of flavor. From the aromatic foundation of steaming jasmine rice to the final crunch of minced fried garlic bits, this recipe is designed to impress the most discerning home cooks.
The secret lies in the “bridge” between the sear and the sauce. By focusing on a hard sear first, we ensure the chicken remains succulent while the exterior develops a crust capable of clinging to that sticky honey garlic glaze. Whether you are looking for a better-than-takeout Chinese honey chicken experience or a sophisticated dinner party main, this is the blueprint you need.
Why This Sticky Mahogany Masterpiece Works
- Textural Contrast: The combination of deeply seared chicken breast cubes and the “snap” of fresh, bias-cut scallions creates a multi-dimensional mouthfeel.
- The Glistening Glaze: A thick, translucent mahogany-colored sauce that doesn’t just sit on the chicken but coats it in a glistening, dripping layer of sweetness and umami.
- Aromatic Depth: Using both fresh minced garlic in the sauce and toasted, golden-fried garlic bits as a garnish provides two distinct flavor profiles from a single ingredient.
- Visual Brilliance: The bright green of the scallions against the dark mahogany sauce and white sesame seeds makes this a photogenic centerpiece for any table.
Essential Pantry Staples for Sticky Success
To achieve the “crispy edges” seen in our visual blueprint, we must use specific foundational ingredients that facilitate the Maillard reaction. Every ingredient serves a structural or flavor-based purpose in creating the ultimate Honey Chicken.
Chicken Breast Cubes (1.5 lbs / 680g): We use lean breast meat cut into uniform 1-inch pieces to ensure even cooking and maximum surface area for the glaze to adhere to. If you prefer a richer flavor, you can explore a sticky honey glazed chicken variation using thighs.
Honey (1/2 cup / 170g): This is the soul of our glaze, providing the viscosity and the sugar content necessary for that mahogany-colored, translucent finish. Honey caramelizes beautifully at high temperatures, giving us that signature “dripping” look.
Soy Sauce (1/4 cup / 60ml): Use a high-quality naturally brewed soy sauce to provide the salty backbone and the dark pigment that contributes to the mahogany hue. This is the primary source of umami in the dish.
Cornstarch (2 tbsp / 16g): A light dusting on the chicken before searing is the “invisible” secret to those crispy, golden-brown edges. It also acts as a thickener when it meets the liquid honey and soy.
Fresh Garlic (6 cloves / 30g): We divide this into two parts: half is minced and fried until golden for the garnish, and the other half is whisked into the sauce for a pungent, spicy kick.
Fresh Scallions (3 stalks): These must be bias-cut (diagonally) to provide the elegant look of a professional kitchen. They offer a hit of freshness that cuts through the rich, sweet glaze.
Jasmine Rice (1.5 cups / 270g): The floral aroma and fluffy texture of jasmine rice are essential for soaking up the excess mahogany sauce. For a more complex base, you might consider coconut curry rice.
The Culinary Toolkit for a Professional Sear
Achieving the visual cues of a “deeply seared” chicken requires the right heat conductivity. A heavy-bottomed stainless steel skillet or a cast-iron pan is preferred over non-stick for this Honey Chicken recipe.
You will also need a fine-mesh strainer to drain your fried garlic bits and a sharp chef’s knife for those precision bias-cuts on your scallions. A whisk is essential for emulsifying the honey and soy into a perfectly smooth, translucent sauce.
Building the Perfect Honey Chicken: Step-by-Step
Phase 1: Preparing the Aromatic Foundation
Start by rinsing your jasmine rice under cold water until the water runs clear. This removes excess surface starch, ensuring the rice is “fluffy and steaming” rather than gummy. Cook using a 1:1.5 ratio of rice to water, then let it rest covered for 10 minutes before fluffing.
While the rice cooks, mince all 6 cloves of garlic. In a small skillet, heat 2 tablespoons (30ml) of neutral oil over medium-low heat. Add half of the minced garlic and fry, stirring constantly, until it turns a pale straw color. Immediately strain the garlic bits and set them aside on a paper towel; they will carry over to a perfect “golden-fried” state.
Phase 2: Achieving the Crispy Golden Sear
Pat your chicken cubes bone-dry with paper towels. This is a critical culinary step; moisture is the enemy of a sear. Toss the chicken in a bowl with your cornstarch, salt, and pepper until each piece is lightly and evenly coated.
Heat your large skillet over medium-high heat with the remaining garlic-infused oil. Add the chicken in a single layer, ensuring you don’t crowd the pan. Let the chicken sit undisturbed for 3 full minutes. You are looking for a “dark golden-brown crispy edge” to form before you flip.
Phase 3: The Mahogany Glaze Transformation
In a small bowl, whisk together the honey, soy sauce, and the remaining fresh minced garlic. Once the chicken is seared on all sides, pour this mixture directly into the hot pan. The sauce will immediately begin to bubble and froth—this is the water evaporating and the sugars concentrating.
Toss the chicken continuously for 2-3 minutes. Watch as the sauce transforms from a thin liquid into a “thick, translucent mahogany-colored” glaze. It should be viscous enough to leave a trail when you pull a spoon through it and should perfectly coat every bite of chicken in a glistening layer.
Expert Tips for Success
- Temperature Control: If your honey sauce starts to smell like it’s burning, immediately add a tablespoon of water or chicken broth to drop the temperature. Honey has a high sugar content and can go from mahogany to charred quickly.
- The Cornstarch Dust: Don’t over-coat the chicken. A “heavy” breading will turn soggy. We want a light dust that creates a “crisp” rather than a “crunch.”
- Garnish Timing: Always add your bias-cut scallions and toasted sesame seeds at the very last second. This preserves the bright green color and the crunch of the seeds.
- Rice Texture: For the ultimate one-pot chicken and rice vibe, ensure your rice is hot when serving so it absorbs the “dripping” sauce immediately.
Storage, Reheating, and Freezing Advice
This Honey Chicken is best served immediately to appreciate the contrast between the crispy edges and the sticky sauce. However, leftovers can be stored in an airtight container in the refrigerator for up to 3 days.
To reheat, avoid the microwave if possible, as it will make the chicken rubbery. Instead, use a small skillet over medium heat with a splash of water to loosen the glaze. For long-term storage, you can freeze the seared chicken and sauce separately, though the texture of the “crispy edges” will be slightly diminished upon thawing.
What to Serve with Your Honey Chicken
The richness of this dish pairs beautifully with bright, acidic, or vegetable-forward sides. A side of chicken and broccoli style steamed florets provides a necessary crunch and color contrast.
If you want to lean into a full feast, consider serving this alongside chicken lo mein or even a light Thai coconut cod curry for a multi-protein Asian-inspired spread. The sweetness of the honey also pairs surprisingly well with the savory notes of pepper steak.
Common Questions About Mahogany Honey Glaze
Yes, but it will change the flavor and viscosity. Maple syrup is thinner, so you may need to reduce the glaze for a longer period to achieve that thick, glistening consistency.
The mahogany hue comes from the caramelization of the honey combined with the dark pigment of the soy sauce. Ensure you let the sauce bubble and reduce for 2-3 minutes until it thickens and darkens.
While you can use any rice, jasmine rice is preferred for its fragrance and fluffy texture, which provides the perfect neutral base for the intense sweetness of the honey garlic sauce.
Cut them on a sharp diagonal (a ‘bias cut’). This increases the surface area for the garnish to catch the light and provides a more professional, high-end food blog aesthetic.
You must pat the chicken completely dry before dusting with cornstarch. Any moisture on the surface will cause the chicken to steam rather than sear. Also, ensure your pan is hot before adding the meat.
The Ultimate Crispy Honey Chicken Recipe
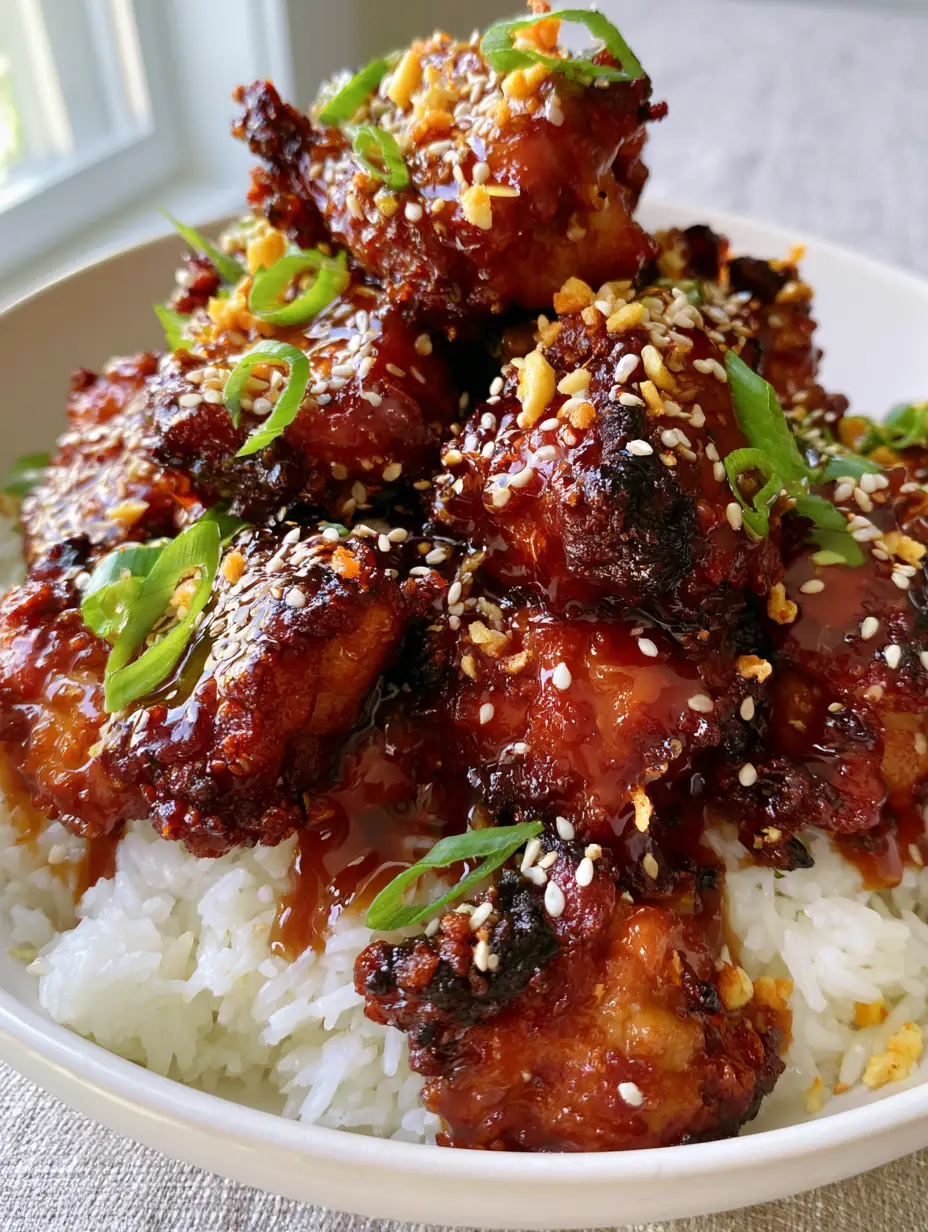
Honey Chicken with Crispy Garlic and Mahogany Glaze over Jasmine Rice
Ingredients
Equipment
Method
- Rinse jasmine rice and cook according to package instructions. Let sit covered for 10 minutes, then fluff until steaming and light.
- Heat oil in a small pan. Fry half the minced garlic over medium-low heat until golden-brown and crispy. Strain and set aside.
- Dust chicken cubes in cornstarch, salt, and pepper. Sear in a hot skillet for 3-4 minutes per side until deep golden-brown crispy edges form.
- Whisk honey, soy sauce, and remaining garlic. Pour into the pan. Toss chicken until sauce is thick, mahogany-colored, and glistening.
Notes
Watch the honey glaze closely as it reduces to prevent burning.
Closing & Call to Action
Mastering this Honey Chicken means mastering the balance of heat and sugar. The result is a dish that looks like a professional photograph and tastes like a labor of love. We hope this mahogany-glazed beauty becomes a staple in your kitchen!
If you enjoyed this recipe, please leave a comment below and tell us how your sear turned out. Don’t forget to follow us on Pinterest and save this recipe to your “Dinner Goals” board!