There is a specific kind of magic that happens when high-heat searing meets a viscous, mahogany-colored reduction. This Sticky Honey Glazed Chicken isn’t just a meal; it is a masterclass in the Maillard reaction and flavor emulsification. If you have been searching for that “better-than-takeout” gloss that clings to every crevice of tender chicken thigh chunks, you have arrived at the definitive guide.
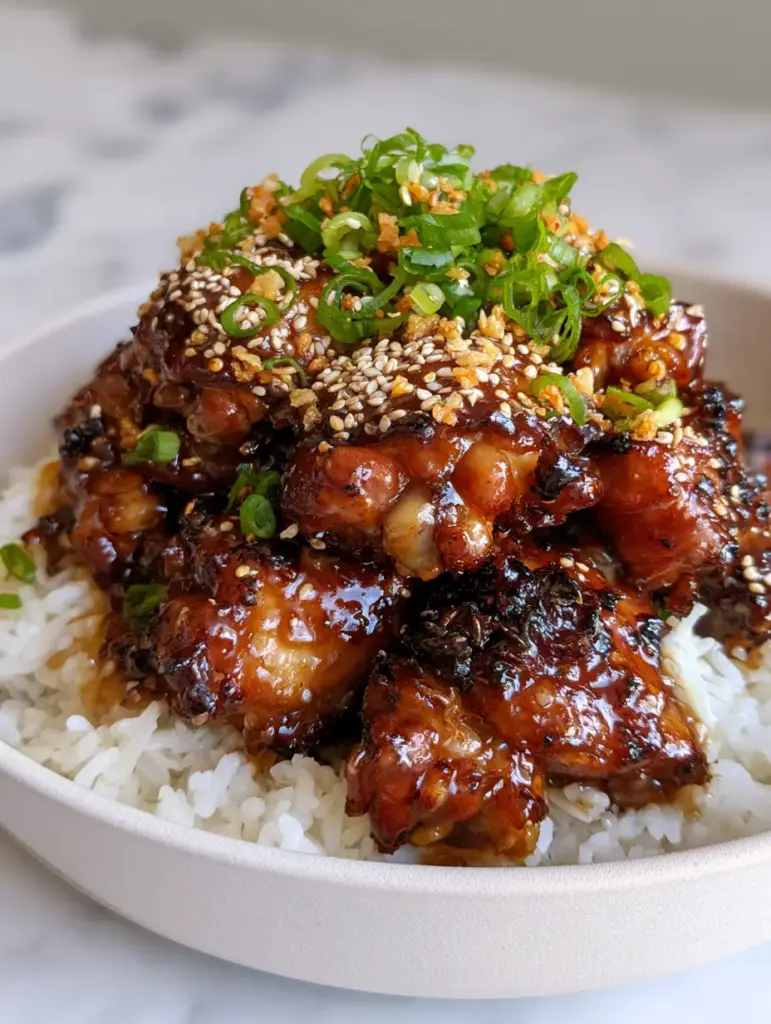
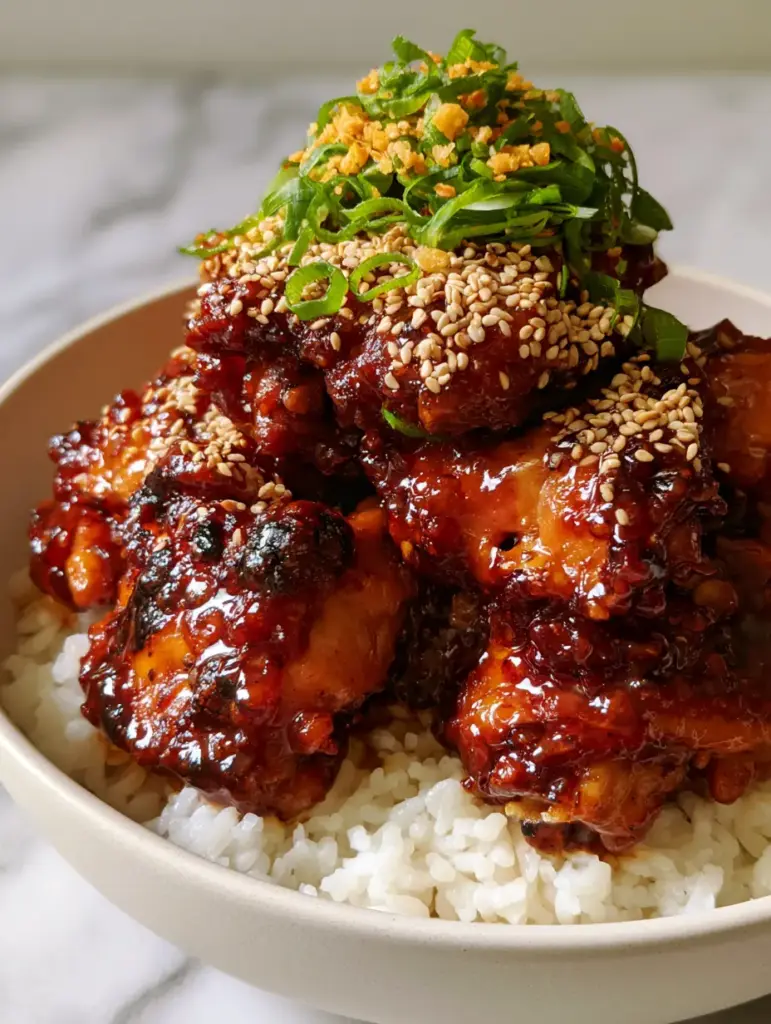
Imagine a shallow, matte-white ceramic bowl piled high with fluffy, steaming white jasmine rice. Nestled atop is chicken that has been pan-seared to achieve visible charred edges, then enveloped in a thick, bubbling honey-garlic-soy glaze that is translucent yet deeply pigmented. The dish is finished with a heavy snowfall of toasted white sesame seeds, vibrantly green scallions, and the crunch of golden-fried garlic bits. Every bite offers a symphony of sweet, salty, and pungent notes, punctuated by the aromatic warmth of cracked black pepper.
The Sensory Architecture of the Perfect Honey Glaze
- Viscosity and Gloss: Achieving that translucent, mahogany-colored coating requires the perfect ratio of honey to soy, stabilized by a controlled reduction that ensures the sauce drips slowly rather than running off.
- Textural Contrast: We move beyond simple “soft” chicken by introducing charred, crispy edges through high-temperature pan-searing and the addition of fried garlic bits for a localized crunch.
- Aromatic Depth: Instead of raw garlic bite, we utilize minced sautéed garlic to provide a mellow, toasted foundation that pairs perfectly with the floral sweetness of honey.
- Visual Vibrancy: The stark contrast between the dark, glossy chicken and the bright green, thinly sliced scallions creates a professional “food blogger” aesthetic right in your home kitchen.
Essential Components for This Mahogany Glazed Masterpiece
To achieve the exact results seen in our visual blueprint, each ingredient serves a specific culinary and aesthetic purpose. Do not skip the foundational elements that provide the “invisible” structure to the dish.
Chicken Thighs: 1.5 lbs (680g) of boneless, skinless thighs, cut into 1-inch chunks. Thighs contain the necessary fat content to withstand high-heat searing without drying out, ensuring the meat remains succulent under the sticky glaze.
Honey: 1/2 cup (170g) of high-quality liquid honey. This is the primary thickener and provides the fermentable sugars necessary for the sauce to bubble and reach that translucent, glossy state.
Soy Sauce: 1/4 cup (60ml) of dark or regular soy sauce. This provides the deep mahogany color and the essential salt profile to balance the honey’s sweetness.
Fresh Garlic: 5 cloves (approx. 25g), finely minced. We divide these; some are fried until golden for the topping, while the rest are infused directly into the bubbling glaze.
Toasted Sesame Oil: 1 tsp (5ml). A foundational “invisible” ingredient that provides a nutty base aroma that bridges the gap between the chicken and the sesame seed garnish.
Cornstarch: 1 tsp (3g) mixed with 1 tbsp (15ml) water. This slurry is the secret to achieving a thick, translucent sauce that doesn’t break or become greasy.
Aromatics & Garnishes: 3 large green scallions (thinly sliced), 2 tbsp (18g) toasted white sesame seeds, and 1 tsp (2g) freshly cracked black pepper. These are the “visual finishers” that provide the vibrant color and textural pops required for a high-end presentation.
Jasmine Rice: 2 cups (370g) dry rice, steamed to fluffy perfection. This serves as the neutral, steaming foundation that absorbs the excess mahogany glaze.
Neutral Searing Oil: 2 tbsp (30ml) of avocado or grapeseed oil. You need an oil with a high smoke point to achieve those signature charred edges without the oil breaking down and smoking out your kitchen.
Professional Tools for Superior Searing
To replicate the bubbling, mahogany finish, the right equipment is non-negotiable. A heavy-bottomed cast iron skillet or a high-quality carbon steel wok is preferred. These materials retain heat efficiently, allowing the chicken to sear quickly while preventing the honey-based sauce from scorching too rapidly. You will also need a fine-mesh strainer if you choose to fry your garlic bits separately to ensure they don’t over-brown.
Step-by-Step Evolution of the Sticky Honey Glazed Chicken
1. Preparing the Aromatic Foundation
Start by rinsing 2 cups (370g) of jasmine rice until the water runs clear, then steam according to your preferred method. While the rice cooks, mince your garlic finely. Heat 1 tbsp (15ml) of oil in your skillet over medium heat and add half of the minced garlic. Sauté for 1-2 minutes until they turn a pale golden brown—remove them immediately and drain on a paper towel. These are your “golden fried garlic bits” for the final garnish.
2. Executing the High-Heat Sear
Pat the chicken thigh chunks completely dry with paper towels. Season generously with cracked black pepper and a pinch of salt. Increase the skillet heat to medium-high and add the remaining oil. Arrange the chicken in a single layer, ensuring you don’t crowd the pan. Let the chicken sit undisturbed for 3-4 minutes. You are looking for a deep, golden-brown crust and visible charred edges. Flip and cook for another 2 minutes until nearly cooked through.
3. Emulsifying the Mahogany Glaze
Reduce the heat to medium. Push the chicken to the sides of the pan and add the remaining raw minced garlic to the center for 30 seconds until fragrant. Pour in the honey and soy sauce. The mixture will immediately begin to bubble—this is the honey aerating and beginning to reduce. Stir the chicken back into the center to coat every piece in the dark liquid.
4. Achieving the Glossy Finish
Whisk the cornstarch and water to create a slurry and pour it into the bubbling sauce. Stir constantly for 60 seconds. You will see the sauce transform from a thin liquid into a thick, translucent, mahogany-colored glaze that clings to the chicken. The sauce should be glossy and “dripping” when lifted with a spoon. Remove from heat immediately to prevent the honey from over-caramelizing into a bitter state.
Expert Tips for Success
- The “Dryness” Rule: If your chicken is damp when it hits the pan, it will steam rather than sear. For those charred edges seen in the photo, bone-dry chicken is a requirement.
- Honey Management: Honey can go from “glossy” to “burnt” in seconds. If the sauce looks too thick or dark, add 1 tbsp (15ml) of water to loosen the emulsion.
- Sesame Toasting: Always use toasted white sesame seeds. If yours are raw, toss them in a dry pan for 2 minutes until they smell nutty; this radically improves the flavor profile of the honey chicken.
- Rice Steaming: For that “light steam” effect in your photos, fluff the rice with a fork immediately after the timer goes off and let it sit for 2 minutes with the lid slightly ajar.
Storage, Reheating & Freezing
This dish is best served immediately to enjoy the contrast of the hot chicken and the fresh scallions. However, you can store leftovers in an airtight container for up to 3 days. To reheat, add a splash of water to a skillet and heat gently; this helps “re-activate” the honey glaze so it becomes glossy again. We do not recommend freezing this specific recipe, as the honey-soy emulsion can separate and lose its translucent quality upon thawing.
What to Serve With This Sticky Delight
While this dish is a star on its own over jasmine rice, it pairs beautifully with other Asian-inspired textures. For a full spread, consider serving it alongside a crisp chicken and broccoli dish or even some garlic chicken lo mein if you want to swap the rice for noodles. If you’re looking for something lighter, a simple side of chicken and mushrooms provides an earthy balance to the sweet glaze. For those who enjoy a bit of heat, a side of dumpling sauce for dipping is a fantastic addition.
Frequently Asked Questions
Yes, but be careful not to overcook them. Thighs are preferred because their higher fat content allows for a better sear and charred edges while remaining succulent.
The secret is the combination of dark soy sauce and honey, reduced over medium heat. Adding a cornstarch slurry at the end ensures the sauce is translucent and thick enough to cling to the chicken without becoming greasy.
To make this recipe gluten-free, substitute the soy sauce with Tamari or coconut aminos and ensure your cornstarch is certified gluten-free.
Honey reduces quickly. If your sauce becomes too thick or starts to smell like it’s burning, simply whisk in 1 tablespoon of water at a time until the desired glossy consistency is restored.
Frying a portion of the minced garlic separately allows you to control the ‘golden fried’ color and crispy texture, which provides a beautiful visual and textural contrast that you can’t get by just boiling it in the sauce.
The Definitive Sticky Honey Glazed Chicken Recipe
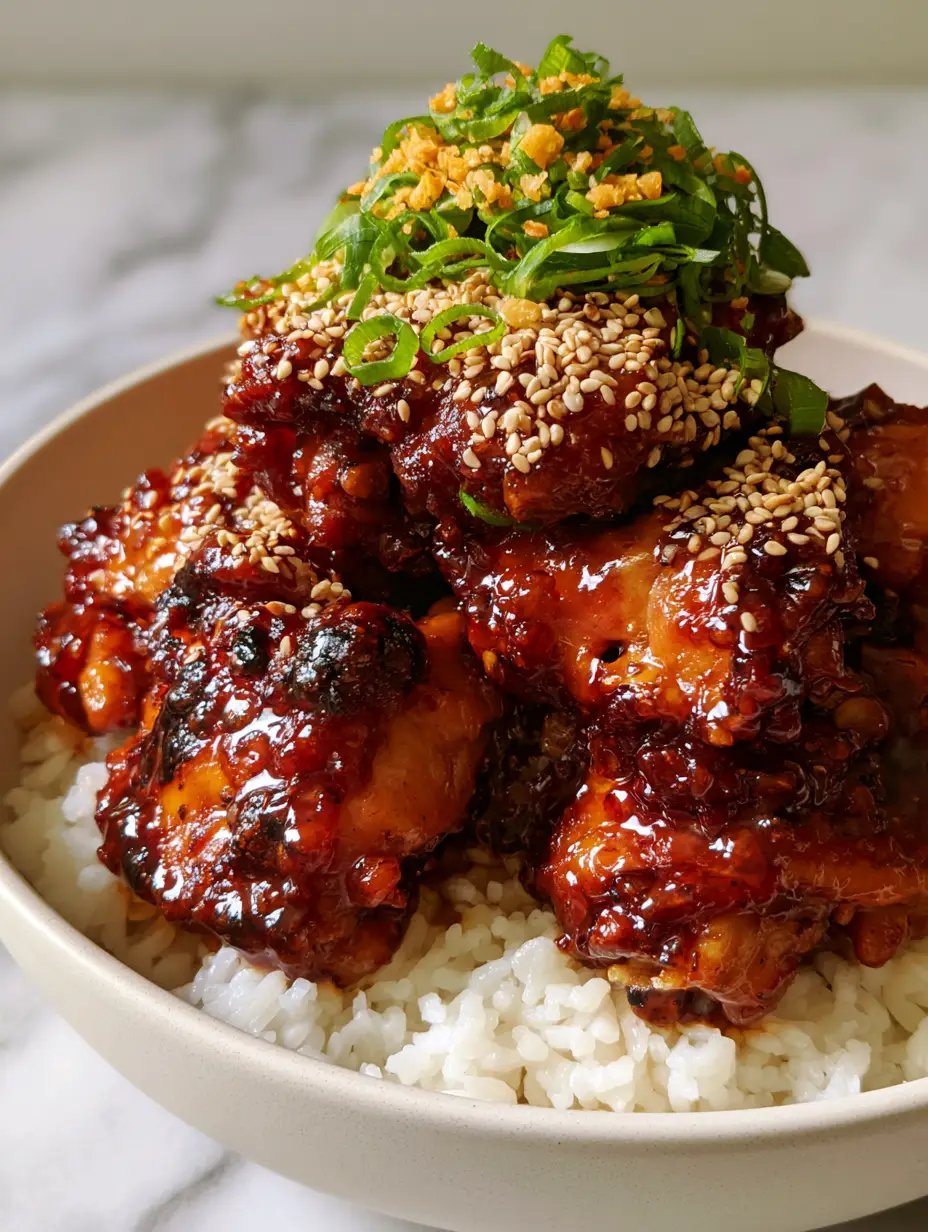
Sticky Honey Glazed Chicken with Garlic and Toasted Sesame
Ingredients
Equipment
Method
- Rinse and steam jasmine rice until fluffy. In a skillet, fry half the minced garlic in 1 tbsp oil until golden; drain and set aside for garnish.
- Pat chicken dry and season with pepper. Sear in a hot skillet with oil until charred edges appear and the chicken is golden-brown.
- Add remaining garlic to the pan, then pour in honey, soy sauce, and sesame oil. Bring to a bubbling simmer.
- Stir in the cornstarch slurry and cook for 60 seconds until the sauce becomes a thick, mahogany-colored translucent glaze.
- Serve the chicken over steaming jasmine rice. Top generously with toasted sesame seeds, sliced scallions, and the fried garlic bits.
Notes
Watch the honey glaze closely; if it thickens too much, add a teaspoon of water to restore the gloss.
Conclusion and Culinary Call to Action
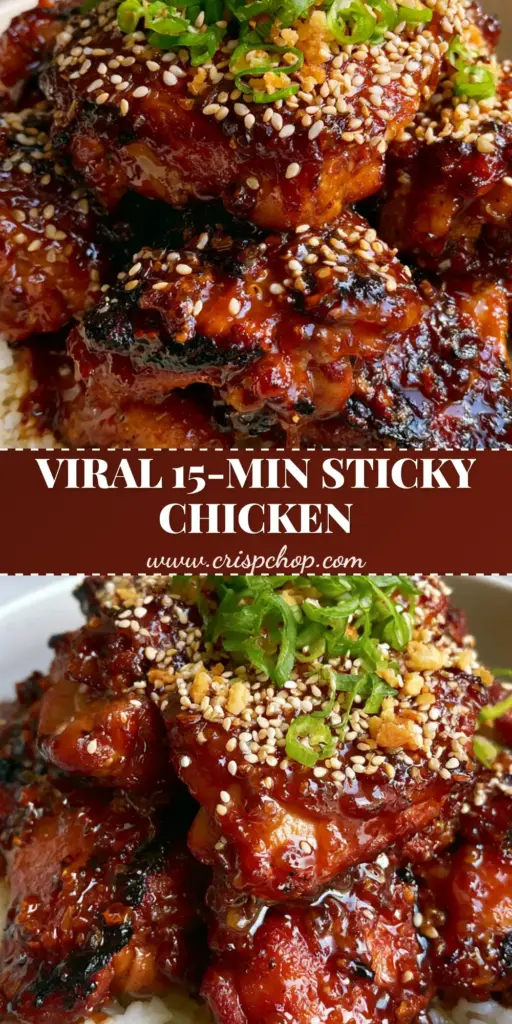
The beauty of the Sticky Honey Glazed Chicken lies in its simplicity and the high-impact visual of that mahogany sauce. By focusing on the sear and the glaze reduction, you’ve created a dish that rivals any high-end bistro. If you enjoyed the balance of sweet and savory in this recipe, you must check out our Huli Huli Chicken for another take on glazed poultry. Don’t forget to snap a photo of your glossy creation and share it with us! Follow crispchop on Pinterest for more visual recipe blueprints and culinary inspiration.