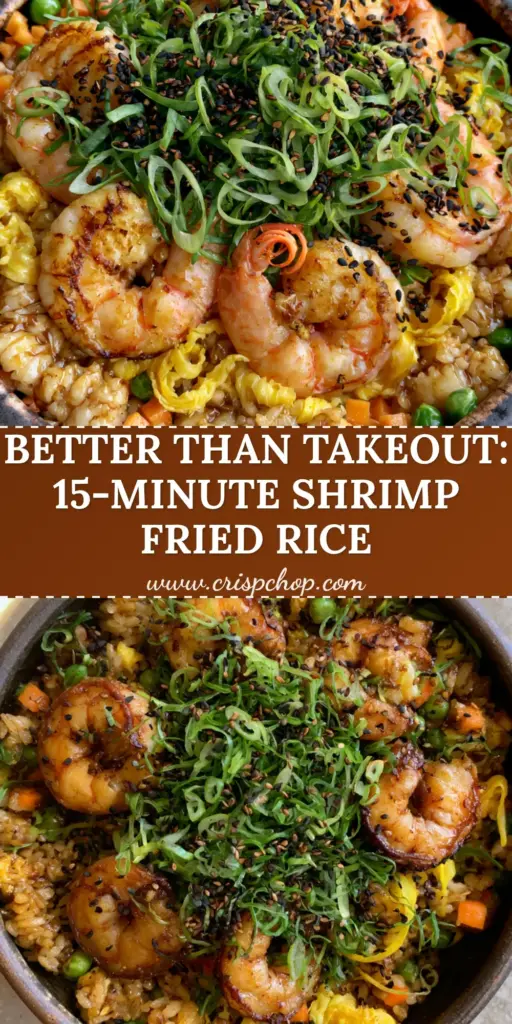
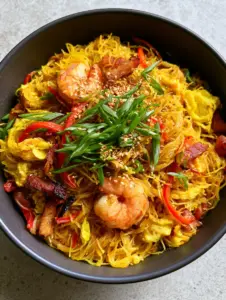
Mastering the perfect Shrimp Fried Rice Recipe at home often feels like chasing a ghost. You want those distinct, non-mushy golden grains and jumbo succulent shrimp with visible golden-brown sear marks that you see in high-end bistro photography. This recipe isn’t just a meal; it’s a technical deep dive into achieving the specific umami glaze and charred edges that define restaurant-quality stir-fry.
Every element of this dish is designed to satisfy both the palate and the eye. From the thin ribbons of fluffy yellow scrambled egg to the dense sprinkle of paper-thin sliced fresh green scallions, we are building layers of flavor and texture. By the end of this guide, you will understand the culinary science required to prevent clumping and maximize the “wok hei” or breath of the wok.
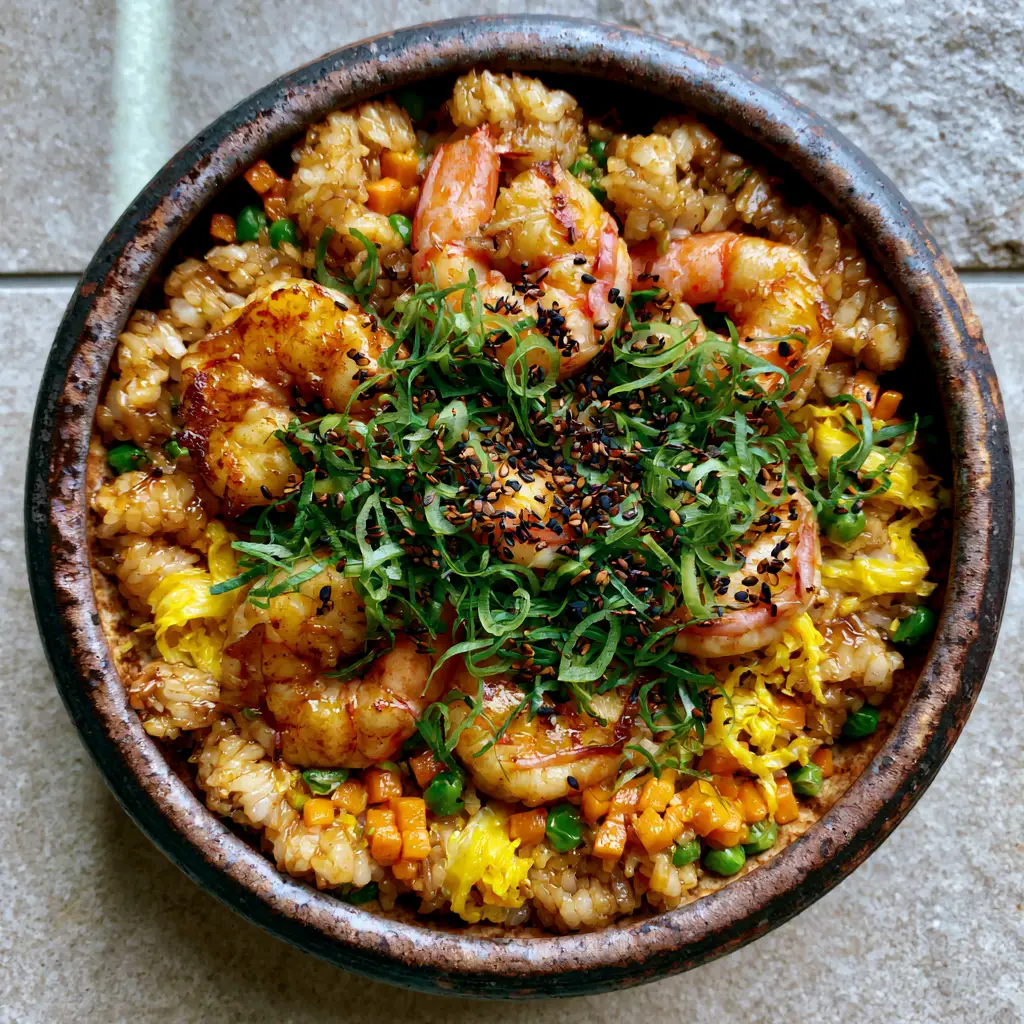
Why This Is the Only Shrimp Stir-Fry Method You’ll Ever Need
- Textural Contrast: We pair snap-tender garden peas with the crunch of charred jumbo shrimp and the delicate bite of toasted black sesame seeds.
- The Golden Grain Standard: Using aged, long-grain rice ensures every kernel remains separate and coated in a glossy umami soy-glaze.
- Visual Brilliance: The vibrant orange finely diced carrots and bright green scallions create a professional aesthetic against the dark ceramic bowl.
- High-Heat Precision: Learn the specific timing to achieve those pink-orange curls on the shrimp without overcooking the protein.
The Foundation: Essential Ingredients for the Perfect Stir-Fry
Jumbo Shrimp (1 lb / 450g): Look for 16/20 count shrimp to ensure they stay succulent. They provide the “pink-orange curls” and “charred edges” essential for the visual blueprint of this Shrimp Fried Rice Recipe.
Day-Old Long-Grain Jasmine Rice (4 cups / 600g): Fresh rice contains too much moisture. Chilled, day-old rice is the secret to achieving those distinct, golden grains that won’t turn into a mushy mass in the pan.
Large Eggs (3 units): We whisk these and cook them into thin sheets before slicing. This creates the “egg ribbons” rather than the standard messy scramble found in lesser recipes.
Aromatic Base (Garlic & Ginger): 2 tbsp (30g) of freshly minced garlic and 1 tbsp (15g) of ginger provide the invisible scent profile. These aromatics are the backbone of any professional fried rice variation.
The Glossy Umami Glaze: A blend of 3 tbsp (45ml) low-sodium soy sauce, 1 tbsp (15ml) oyster sauce, and 1 tsp (5ml) toasted sesame oil. This mixture creates the signature sheen seen in premium food photography.
Vibrant Vegetables: 1/2 cup (75g) finely diced carrots and 1/2 cup (75g) frozen garden peas. The carrots should be diced to exactly 1/4 inch to ensure they soften at the same rate the rice toasts.
Garnish Flourish: 1/4 cup (25g) thinly sliced scallions and 1 tsp (5g) toasted black sesame seeds. These add the final “pop” of color and a subtle nutty finish to the dish.
Professional Tools for Wok-Seared Success
To achieve the “handheld smartphone photo” quality of this dish, you need high heat. A well-seasoned carbon steel wok is ideal, but a heavy-bottomed cast iron skillet is a fantastic secondary option. Both tools retain the massive thermal mass required to sear the shrimp and toast the rice simultaneously.
You will also need a wide metal spatula. This allows you to “toss” the rice, ensuring the soy glaze coats every grain without breaking them. If you enjoy this high-heat style of cooking, you might also enjoy mastering a sesame ginger tuna steak for your next dinner party.
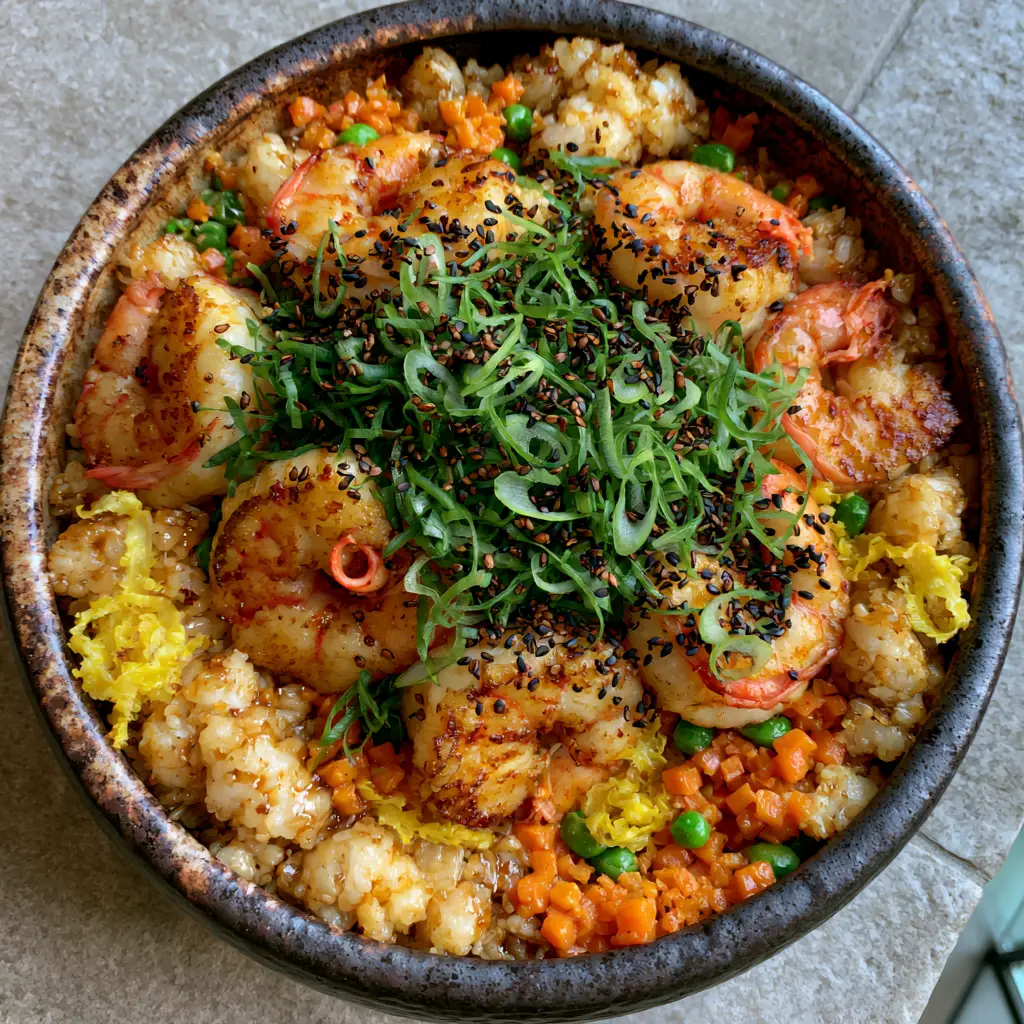
Step-by-Step Evolution of the Ultimate Shrimp Fried Rice
Phase 1: Preparing the Rice and Egg Ribbons
Break up your chilled rice with damp hands. This ensures each grain is separate before it ever touches the heat. If you find your rice is too dry, a tiny splash of coconut milk during the initial boiling stage (if making it fresh) can add richness, though for this recipe, plain jasmine is best.
Heat 1 tsp (5ml) of oil in your wok over medium heat. Pour in your whisked eggs, swirling to create a paper-thin crepe. Once set, slide it onto a cutting board, roll it up, and slice into thin ribbons. Set these aside to maintain their “vibrant yellow” integrity.
Phase 2: Achieving the Signature Shrimp Sear
Wipe the wok and crank the heat to high until a bead of water sizzles and evaporates instantly. Add 1 tbsp (15ml) of high-smoke point oil (like peanut or avocado oil). Pat your shrimp bone-dry with paper towels—this is the only way to get “visible golden-brown sear marks.”
Sear the shrimp for 90 seconds per side. Look for the “pink-orange curls” to form and the edges to slightly char. Remove them immediately; they will finish cooking in the residual heat of the rice later. This technique is similar to how we handle protein in a teriyaki stir-fry.
Phase 3: Building the Flavor Base
Add another tablespoon of oil and toss in your diced carrots. Stir-fry for 2 minutes until the edges are just starting to soften. Add the garlic, ginger, and the white parts of the scallions. You should hear a vigorous sizzle; the smell will be intensely fragrant and nutty.
Phase 4: The Great Wok Toss
Add the rice to the wok. Press it down against the hot surface and let it sit for 30 seconds to develop a “golden grain” crust. Pour the soy glaze around the perimeter of the wok so it caramelizes before hitting the rice. Toss vigorously for 3 minutes until every grain is glossy.
Fold in the peas, the egg ribbons, and the seared shrimp. The heat from the rice will warm the peas through in about 60 seconds, preserving their “vibrant garden green” color. This prevents the “mushy” texture common in amateur recipes.
Expert Tips for the Perfect Golden Grains
- The “Dry Rice” Rule: If you must use fresh rice, spread it on a baking sheet and place it in front of a fan for 30 minutes. This mimics the dehydration of day-old rice.
- Don’t Overcrowd: If your wok isn’t large enough, cook the rice in two batches. Overcrowding leads to steaming rather than frying.
- The Butter Finish: For a truly decadent “premium” feel, toss in 1 tbsp (15g) of unsalted butter at the very end. It emulsifies with the soy glaze for a world-class mouthfeel.
- High Heat is Non-Negotiable: If your stove doesn’t get hot enough, let the pan heat for a full 5 minutes before starting.
Serving and Aesthetic Presentation
Transfer the mixture to a dark ceramic bowl to make the colors pop. Ensure several jumbo shrimp are perched on top to showcase those charred edges. Garnish heavily with the green scallions and black sesame seeds. The contrast of the black seeds against the golden rice is what creates that “authentic lifestyle food photography” look.
If you are serving this for a summer gathering, it pairs beautifully with a tropical rum punch. For a lighter pairing, consider a side of herb-stuffed flatbread to soak up any remaining umami glaze.
Storage, Reheating, and Safety
Fried rice stores exceptionally well in an airtight container for up to 3 days. To reheat, avoid the microwave if possible. Instead, toss it back into a hot skillet with a teaspoon of water. This creates steam that revives the rice without making it greasy. We do not recommend freezing this dish, as the shrimp texture can become rubbery upon thawing.
Frequently Asked Questions
Yes, but ensure they are completely thawed and patted bone-dry with paper towels. Any excess moisture will prevent the shrimp from developing the signature charred edges.
While a wok is best for ‘wok hei,’ a large cast-iron skillet is a great alternative. The key is using a pan that retains high heat and provides enough surface area to toss the ingredients.
The golden color comes from a combination of the soy sauce glaze and the ‘toasting’ of the rice against the hot, oiled surface of the wok.
Long-grain Jasmine rice is the gold standard. It has a lower starch content than short-grain rice, which helps the grains stay distinct and separate during the stir-frying process.
Mushy fried rice is usually caused by using fresh, warm rice which has too much moisture. Always use day-old, chilled rice and ensure your wok is at high heat to evaporate any liquid instantly.
The Definitive Shrimp Fried Rice Recipe
Shrimp Fried Rice Recipe: The Ultimate Guide to Wok-Seared Perfection
Ingredients
Equipment
Method
- Cook whisked eggs in a thin sheet in a lightly oiled wok. Roll and slice into thin ribbons; set aside.
- Increase heat to high. Pat shrimp dry and sear for 90 seconds per side until charred edges and pink-orange curls form. Remove from wok.
- Stir-fry carrots for 2 minutes, then add garlic and ginger for 30 seconds until fragrant.
- Add cold rice, breaking up clumps. Pour soy sauce mixture around the edges and toss vigorously for 3-5 minutes until grains are golden and glossy.
- Fold in peas, egg ribbons, and shrimp. Toss for 1 minute. Garnish with scallions and sesame seeds before serving.
Notes
Ensure the wok is smoking hot before adding shrimp for the best sear.
Join the CrispChop Community
We hope this Shrimp Fried Rice Recipe brings a taste of professional culinary craft to your home kitchen. The secret lies in the heat, the rice prep, and the visual garnishes that make a meal feel like an event. If you enjoyed this recipe, please leave a comment below and share your photos with us!
Follow us on Pinterest for more visually-driven recipe guides and kitchen tutorials. Don’t forget to Pin this to your “Weeknight Dinners” board for easy access!