There is nothing quite like the sensory explosion of breaking into a loaf of freshly baked French bread. The sound of the craggy, golden-brown crust shattering under your fingers is a prelude to the soft, steaming interior that awaits. This isn’t just a side dish; it is a centerpiece of culinary craftsmanship that brings the warmth of a Parisian boulangerie straight into your home kitchen.
Our journey to the perfect loaf focuses on achieving that elusive combination of a blistered, deep golden exterior and a cloud-like, airy crumb. By mastering high-hydration dough and strategic steam injection, you can create a baguette that rivals any professional bakery. Whether you are tearing it by hand to reveal those large, irregular air bubbles or spreading it with softened salted butter, this recipe is designed for maximum flavor and visual impact.
Imagine the sight of two rustic loaves resting on a dark wooden board, a light dusting of white flour highlighting every crag and crevice of the crust. As you pull a warm piece away, a wisp of steam escapes, carrying the intoxicating aroma of fermented yeast and toasted grain. This guide will walk you through every scientific nuance to ensure your kitchen produces nothing less than bread-making perfection.
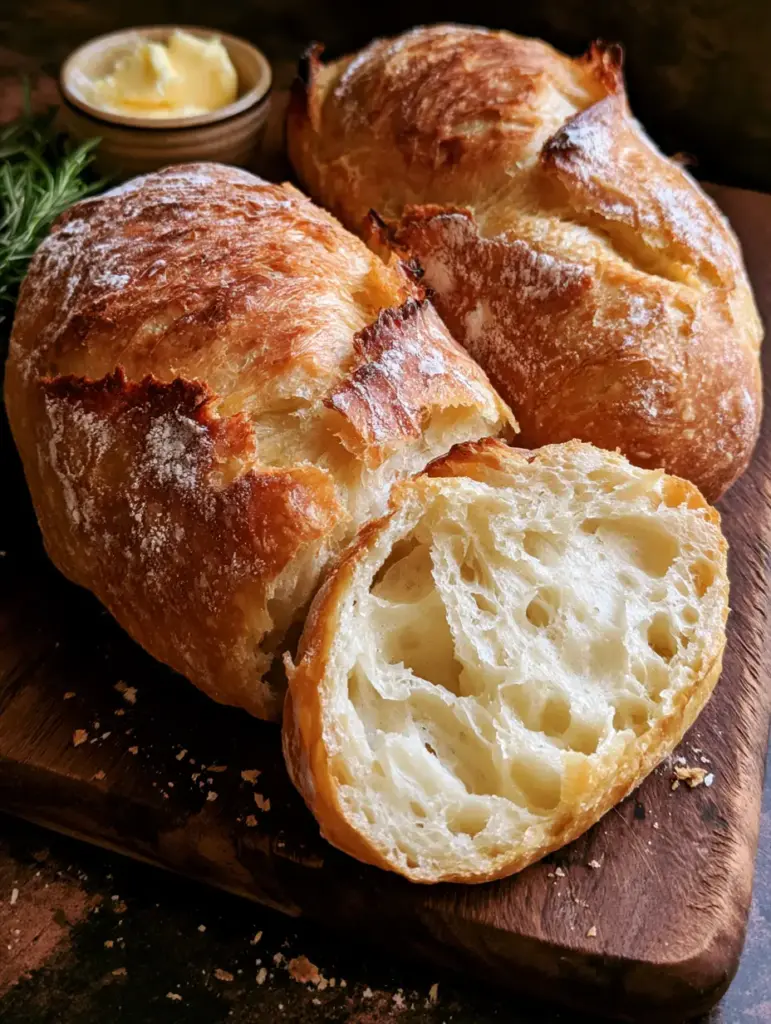
Why This Artisanal French Bread Recipe Stands Out
- The Perfect Blister: We use a specific steam-release method during the first ten minutes of baking to create those signature micro-blisters on the crust.
- Open Crumb Structure: High-protein bread flour and a long fermentation period ensure the crumb is filled with large, irregular air pockets.
- Rustic Visual Appeal: A final dusting of raw flour before entering the oven provides a professional, “hand-crafted” aesthetic that looks stunning on any table.
- Sensory Contrast: The recipe focuses on the sharp contrast between the shattering, deep-brown crust and the pillowy, white interior.
Essential Pantry Staples for a Professional Loaf
Bread Flour (500g / approx. 4 cups): High-protein flour is non-negotiable for French bread, as it provides the gluten strength needed to hold large air bubbles without collapsing. Ensure your flour is fresh and sifted to avoid clumps during the initial mixing phase.
Warm Water (350ml / 1.5 cups): Water acts as the hydration agent that activates the yeast and allows the starch to gelatinize. We use a 70% hydration ratio to ensure the interior remains moist and airy rather than dense.
Active Dry Yeast (7g / 2.25 tsp): Yeast is the living engine of your dough, responsible for the fermentation that creates carbon dioxide. This gas is what pushes against the gluten network to form those beautiful, irregular holes in the crumb.
Fine Sea Salt (10g / 1.5 tsp): Salt does more than season; it regulates yeast activity and strengthens the gluten structure. It ensures the dough doesn’t rise too quickly, which would lead to a lack of flavor development.
Raw Flour for Dusting (30g / 2 tbsp): This foundational ingredient is used just before scoring to provide the rustic, high-contrast look seen in professional artisanal loaves. It prevents the blade from sticking and creates a beautiful matte finish against the blistered crust.
Softened Salted Butter and Fresh Rosemary (For Serving): While not in the dough, these are essential for the final presentation. The creamy butter melts into the steaming crumb, while the rosemary adds a fragrant, earthy top note to the experience.
The Tools You Need for Bakery-Quality Results
To achieve the visual cues of a blistered crust and a steaming interior, a few specific tools are required. A heavy-duty baking stone or a thick baking sheet is essential for immediate heat transfer to the bottom of the dough. You will also need a “lame” or a very sharp razor blade to score the surface, allowing the bread to expand predictably without bursting.
A spray bottle filled with filtered water is your best friend for creating steam. This moisture keeps the surface of the dough supple during the initial rise in the oven, allowing the crust to expand fully before it sets. Finally, a rustic wooden cutting board is the ideal surface for serving, catching those tiny scattered crumbs that signify a truly crusty French bread.
Step-by-Step Guide to the Perfect French Loaf
Phase 1: The Initial Autolyse and Mixing
In a large glass bowl, combine your bread flour (500g) and warm water (350ml) until a shaggy mass forms. Let this rest for 20 minutes; this “autolyse” period allows the flour to fully hydrate and begins gluten development without any physical labor. After the rest, sprinkle the yeast (7g) and sea salt (10g) over the top.
Gently fold the dough over itself, pinching the salt and yeast into the center. You want to feel the dough becoming more cohesive as you work. This high-hydration dough will feel sticky, but resist the urge to add more flour, as excess flour will ruin the airy white crumb we are aiming for.
Phase 2: Bulk Fermentation and Folding
Cover the bowl with a damp cloth and let it rise in a warm, draft-free spot for 3 hours. Every 45 minutes, perform a “stretch and fold.” Reach under one side of the dough, pull it upward, and fold it over the top. Rotate the bowl and repeat three more times. This technique builds structural strength while keeping the air bubbles intact.
By the end of the third hour, the dough should have doubled in size and look jiggly and full of life. You should see small bubbles beginning to form on the surface, a clear sign that the yeast is producing the gas needed for that open crumb structure.
Phase 3: Shaping and the Final Proof
Turn the dough onto a lightly floured surface and divide it into two equal portions. Gently shape each into a rough rectangle, then roll them into long cylinders, about 12 inches (30cm) in length. Use the tension of the countertop to pull the dough toward you, creating a taut “skin” on the surface of the loaf.
Place the loaves on a piece of parchment paper or a floured linen couche. Dust the tops with a light coating of raw flour. Let them proof for another 45-60 minutes until they look puffy. While they proof, preheat your oven to 475°F (245°C) with a baking stone inside and an empty metal pan on the bottom rack.
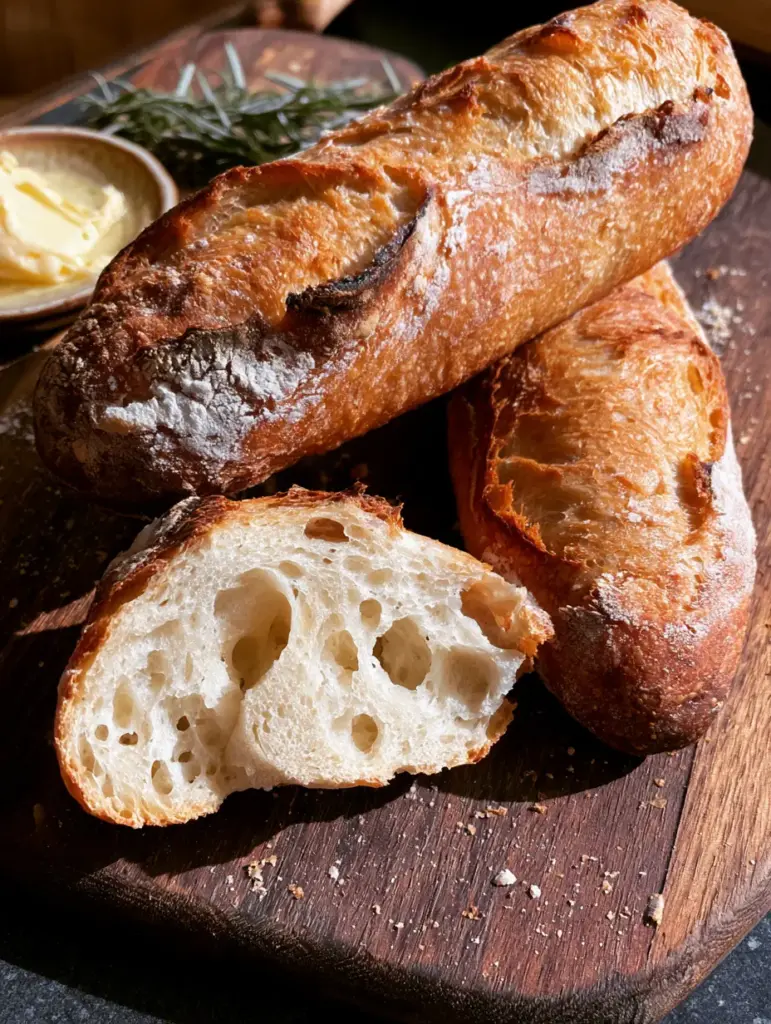
Phase 4: Scoring and the Steam Injection
Using your razor blade, make three or four long, diagonal slashes across the top of each loaf. These should be about 1/2 inch (1.25cm) deep. The flour dusting will fall into these cracks, creating a beautiful contrast once baked. Slide the loaves onto the hot baking stone and immediately pour 1 cup (240ml) of hot water into the empty metal pan below.
Quickly close the oven door to trap the steam. This steam is the secret to the blistered golden-brown crust. It delays the setting of the crust, allowing the “oven spring” to maximize those large air pockets inside. Bake for 10 minutes with steam, then remove the water pan and bake for another 15-20 minutes until the crust is a deep, craggy brown.
Expert Tips for Success
- Listen to the Bread: When you take the bread out, listen closely. A perfect crust will “sing” or crackle as it cools and contracts—this is a sign of a perfectly baked, thin, and crispy crust.
- Don’t Slice Too Soon: As tempting as it is, wait at least 20 minutes. The steam inside is still finishing the cooking process of the crumb. Slicing too early can result in a gummy texture.
- The Steam Factor: If your oven isn’t holding steam well, use a spray bottle to mist the oven walls every 2 minutes for the first 6 minutes of baking.
- Check the Bottom: Tap the bottom of the loaf; it should sound hollow. If it sounds dull, it needs another 3-5 minutes.
Storage, Reheating, and Freezing
French bread is best enjoyed within hours of baking to appreciate the shattering crust. If you have leftovers, store them in a paper bag at room temperature for up to 24 hours. Avoid plastic bags, as they will trap moisture and turn your blistered crust soft and leathery.
To reheat, place the loaf in a 350°F (175°C) oven for 5-8 minutes to restore the crunch. For long-term storage, this bread freezes beautifully. Wrap it tightly in foil and then a freezer bag. When ready to eat, bake the frozen loaf at 375°F (190°C) for 15 minutes until the wisp of steam returns when torn.
What to Serve With Artisanal French Bread
This versatile loaf is the ultimate companion for a variety of global flavors. The large air pockets are perfect for soaking up the rich, spiced gravy of an African spaghetti sauce (coming soon) or a traditional shrimp étouffée. The neutral, wheaty profile of the bread balances the intensity of these bold dishes perfectly.
For a lighter pairing, serve a few slices alongside a perfectly seared chilean sea bass. The crunch of the crust provides a wonderful textural contrast to the buttery, flaky fish. If you are hosting a brunch, any leftover slices (though rare!) make the most incredible base for a croissant bread pudding alternative, or simply served with a refreshing strawberry acai refresher.
Frequently Asked Questions
While you can, All-Purpose flour has less protein, which means the gluten structure will be weaker. This may result in a denser crumb and a loaf that doesn’t rise as high (less ‘oven spring’).
Large air pockets come from high hydration (more water), minimal handling after the rise, and a long bulk fermentation. Avoid degassing the dough when shaping to preserve the carbon dioxide bubbles.
The most effective way is to place a heavy metal pan on the bottom rack while preheating, then pour boiling water into it right after sliding your loaves onto the baking stone.
This is known as ‘blowout.’ It happens if the dough is under-proofed or if the scores on top weren’t deep enough. The steam needs a place to escape, and it will find the weakest point.
A soft crust usually results from too much moisture in the air during cooling or not enough steam during the first 10 minutes of baking. Ensure you use a steam pan and cool the bread on a wire rack to allow air circulation.
The Ultimate Crusty French Bread Recipe
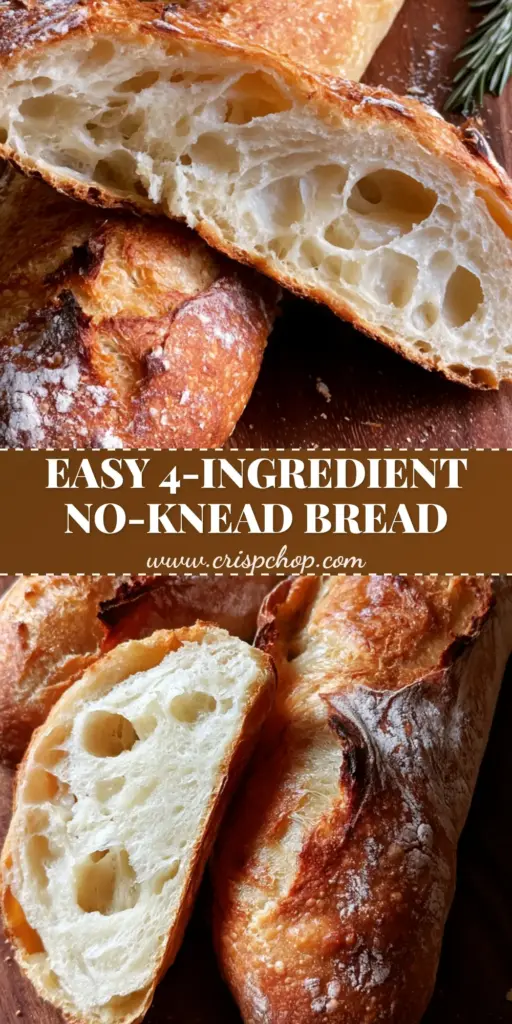
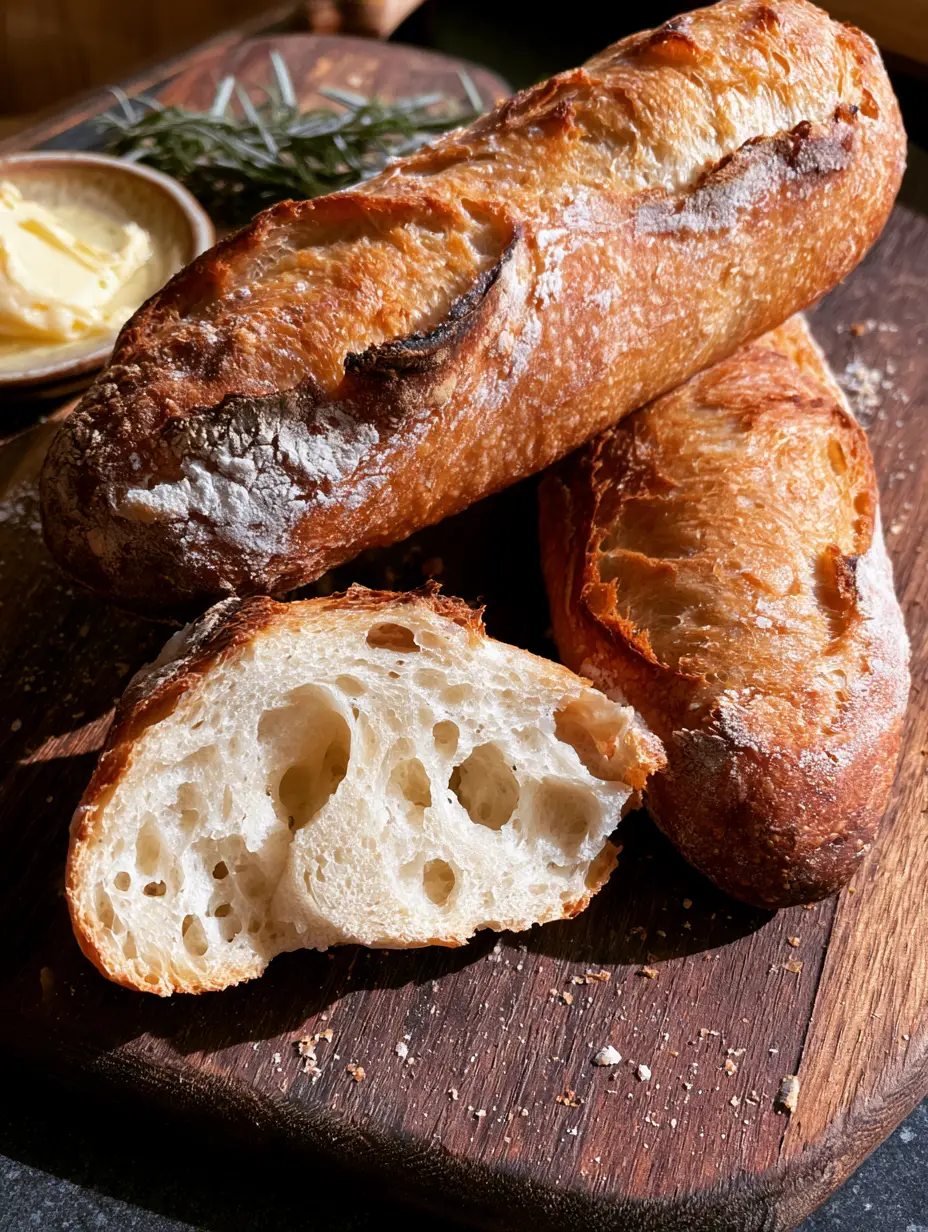
French Bread Recipe: Artisanal Blistered Crust and Airy Crumb
Ingredients
Equipment
Method
- Mix flour and water in a bowl until a shaggy mass forms. Let rest for 20 minutes to hydrate.
- Add yeast and salt. Fold the dough by hand until incorporated. Do not overwork.
- Cover and let rise for 3 hours, performing stretch-and-folds every 45 minutes to build strength.
- Divide dough into two pieces. Roll into long cylinders and place on parchment or a couche.
- Dust loaves with raw flour. Score 3-4 diagonal slashes with a razor blade.
- Place in 475°F (245°C) oven with a steam pan. Bake for 10 minutes with steam, then 20 minutes without until blistered and golden-brown.
Notes
Use a digital scale for the most accurate results.
Bring the Bakery Home
Mastering French bread is a rite of passage for any home cook. The combination of simple ingredients and precise technique yields a result that is far greater than the sum of its parts. By following this guide, you aren’t just baking bread; you are creating an experience that engages every sense—from the visual beauty of the blistered crust to the soft, steaming crumb.
We would love to see your artisanal creations! Please leave a comment below with your results or share your photos on social media. For more rustic kitchen inspiration and step-by-step guides, follow us on Pinterest and join our community of enthusiastic home cooks. Happy baking!