Mastering the perfect Chilean sea bass recipe is a rite of passage for any home cook looking to bring five-star fine dining into their own kitchen. This isn’t just a meal; it’s a masterclass in texture, contrasting a deep, mahogany-colored crust with the buttery, pearly white macro-flakes that have made this fish legendary in the culinary world.
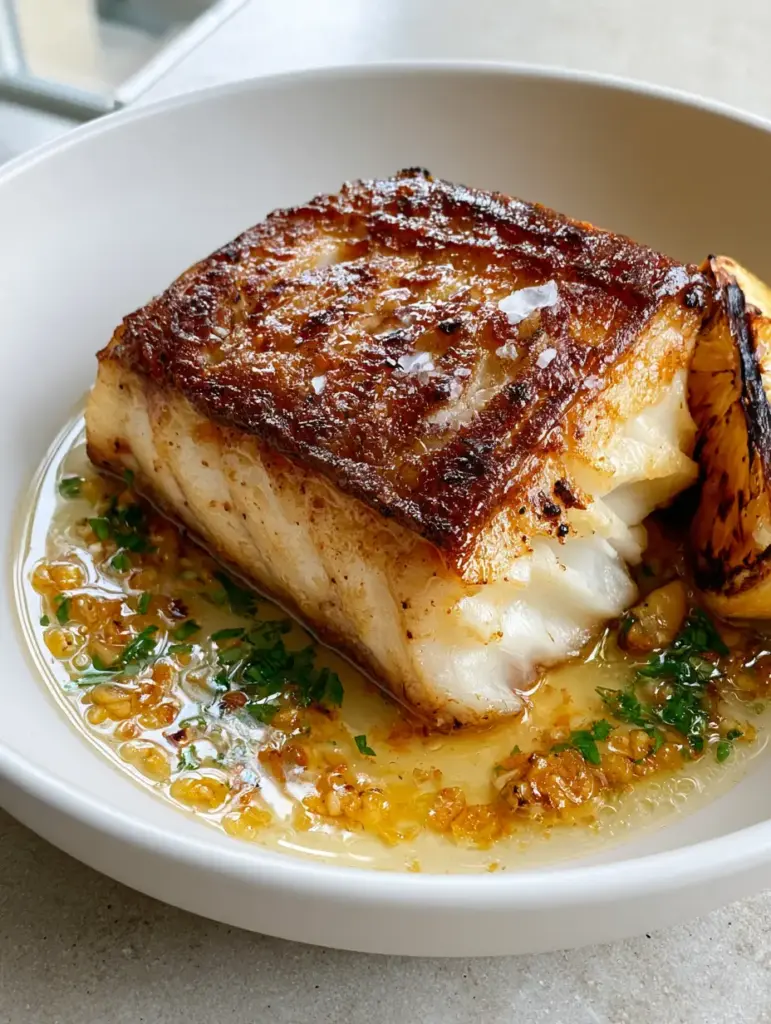
When you look at the final dish, you will see thick flakes pulling apart under the weight of a fork, bathed in a translucent, glossy lemon garlic butter sauce that shimmers under natural light. We aren’t just searing fish; we are engineered a sensory experience that balances the richness of the Patagonian toothfish with the bright, sharp acidity of charred citrus and fresh herbs.
Whether you are hosting a sophisticated dinner party or celebrating a personal milestone, this preparation ensures the fish remains moist and succulent. The tiny bubbles in the butter sauce and the visible golden bits of toasted garlic tell your guests one thing: you know exactly what you are doing behind the stove.
Why This Patagonian Masterpiece Works Every Single Time
- The Maillard Miracle: By achieving a deep golden-brown caramelized crust, we unlock complex nutty flavors that perfectly complement the natural sweetness of the sea bass.
- Moisture Retention Strategy: Our specific searing-to-basting technique ensures those thick, moist, pearly white flakes remain fully hydrated and tender.
- Translucent Sauce Precision: We avoid a broken emulsion, creating a glossy, handheld-smartphone-photo-ready sauce that clings to every flake.
- Aromatic Depth: The inclusion of toasted minced garlic and charred lemon adds a smoky, savory dimension that cuts through the rich fat content of the fish.
The Anatomy of Premium Ingredients for Your Pan-Seared Fillets
Chilean Sea Bass Fillets: You will need 2 (6oz / 170g) fillets, ideally center-cut for even thickness. This fish, technically the Patagonian toothfish, is prized for its high oil content, which allows it to withstand high heat while staying incredibly moist.
Grapeseed or Avocado Oil: Use 2 tbsp (30ml) of a high-smoke point oil. Because we are aiming for a professional-grade sear, butter alone would burn before the crust forms; we need the stability of these oils for the initial contact.
Unsalted Butter: You will need 3 tbsp (42g) of high-quality European-style butter. Using unsalted allows us to control the seasoning perfectly while the milk solids brown into a delicious “beurre noisette” during the basting phase.
Fresh Garlic: 3 cloves (15g), minced finely. These will transform into the toasted golden bits visible in your translucent sauce, providing a crunch and a pungent, savory backbone to the dish.
Lemon: 1 large lemon, halved. One half provides the juice for the emulsion, while the other is sliced into wedges and charred in the pan to caramelize its natural sugars.
Fresh Flat-Leaf Parsley: 2 tbsp (5g), finely chopped. This provides the vibrant green contrast and a fresh, peppery finish that cleanses the palate between rich bites.
Seasoning Essentials: 1 tsp (5g) flaky sea salt and 1/2 tsp (2g) cracked black pepper. The texture of flaky salt is crucial for that final visual “pop” and a burst of salinity that doesn’t overpower the delicate fish.
Essential Tools for a Professional Seafood Sear
To achieve the visual result described in our blueprint, you must use a heavy-bottomed skillet, preferably 10-inch (25cm) cast iron or stainless steel. These materials retain heat efficiently, ensuring the temperature doesn’t drop when the cold fish hits the pan.
A flexible fish spatula is also non-negotiable. Its thin, offset design allows you to slide under the delicate crust without tearing the flesh, preserving that perfect golden-brown surface we are aiming for.
Engineering the Perfect Crust: Step-By-Step Execution
Preparing the Surface for Maximum Caramelization
Remove your fish from the refrigerator 15 minutes before cooking. Use a paper towel to pat the fillets bone-dry on all sides; any surface moisture will create steam, preventing the formation of that golden-brown crispy crust.
Season generously with flaky sea salt and cracked black pepper only seconds before the fish hits the pan. If you salt too early, the salt will draw moisture to the surface, once again ruining your chance at a perfect sear.
Achieving the Deep Golden Sear
Heat your 2 tbsp (30ml) of oil in the skillet over medium-high heat until it begins to shimmer and just starts to smoke. Carefully lay the fillets away from you to avoid oil splatter.
Press down gently with your fish spatula for the first 30 seconds. This ensures the entire surface of the fish makes contact with the hot metal, resulting in an even, edge-to-edge crust. Cook undisturbed for 4-5 minutes until the edges appear opaque and the bottom is deeply bronzed.
The Butter Basting Ritual (Arrosé)
Flip the fillets carefully. Immediately reduce the heat to medium and add your 3 tbsp (42g) of butter, minced garlic, and the lemon wedges (cut side down) to the pan. As the butter melts and begins to foam, it will pick up the garlic aroma.
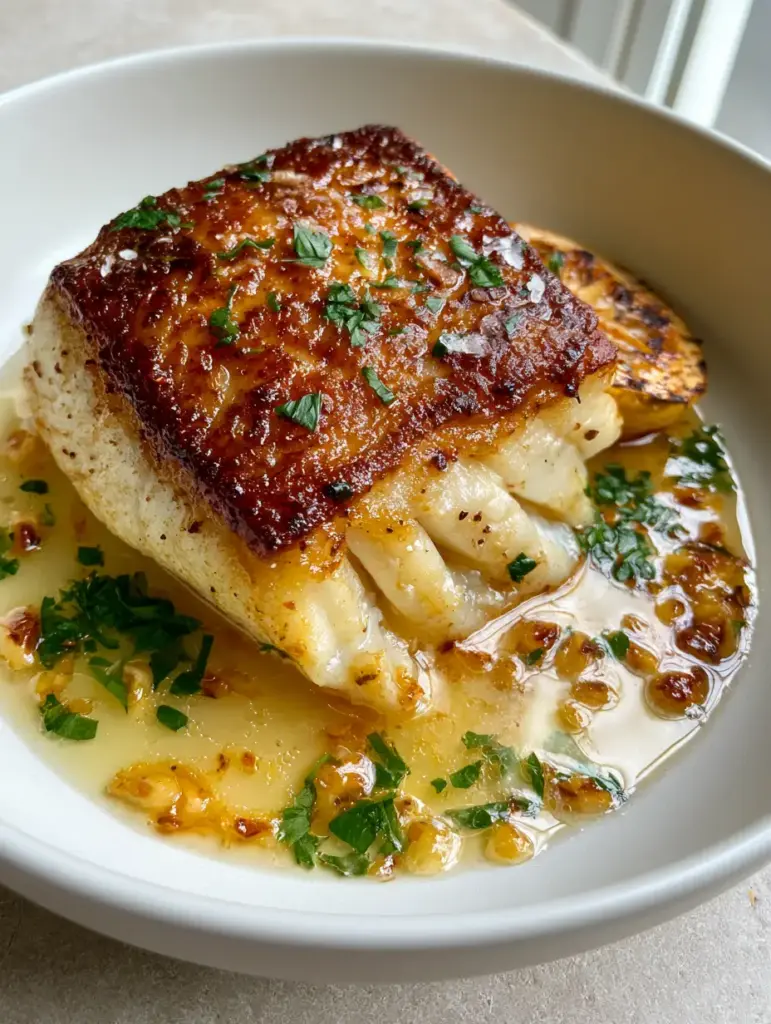
Tilt the pan slightly so the butter pools at the bottom with the garlic. Use a large spoon to continuously pour this hot, bubbling garlic butter over the seared top of the fish. This “Arrosé” technique finishes the cooking gently while infusing the fish with incredible flavor.
Final Visual Cues and Plating
Look for the “tiny bubbles” in the butter and the “moist white flakes” starting to separate. The internal temperature should reach 135°F (57°C) for a perfect medium-well finish that carries over to 140°F (60°C) during resting.
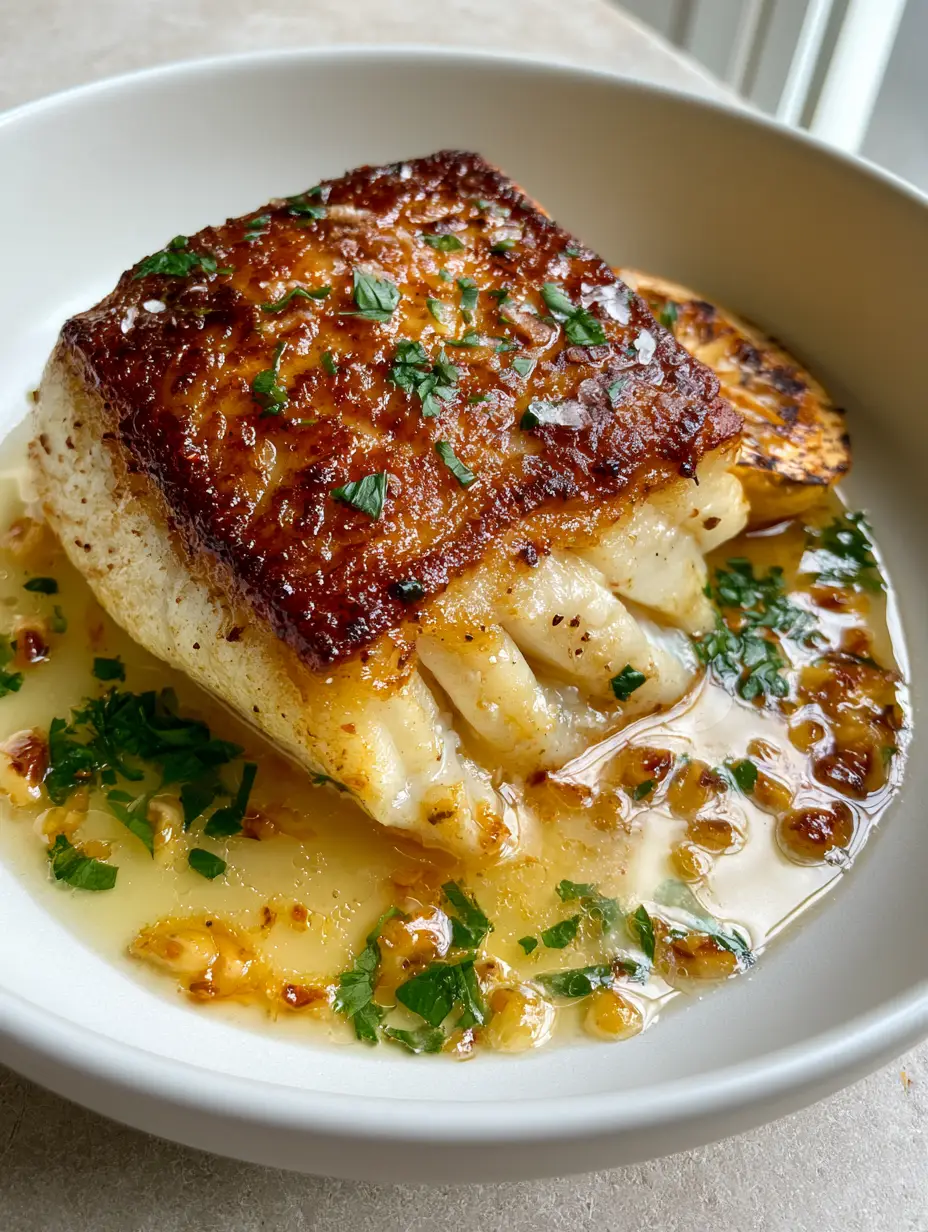
Remove the fish to a shallow bowl. Pour the remaining translucent lemon garlic butter sauce—complete with those toasted garlic bits—directly over the fish. Garnish with chopped parsley and an extra pinch of flaky salt.
Expert Secrets for Culinary Perfection
- Cold Pan vs. Hot Pan: Never put fish into a cold pan. The proteins will bond to the metal, causing the fish to stick and the crust to tear away.
- The “Leaking” Garlic: If your garlic begins to turn dark brown too quickly, slide the pan off the heat. The residual heat of the cast iron will continue to cook the fish without burning the aromatics.
- Don’t Overcrowd: If you are doubling this Chilean sea bass recipe, use two pans. Overcrowding drops the temperature and leads to steamed, grey fish rather than seared gold.
- Resting is Vital: Let the fish rest for 2 minutes in the warm bowl before serving. This allows the juices to redistribute so the flakes are moist rather than leaking water.
Mastering the Art of Seafood Storage
Chilean sea bass is best enjoyed immediately to preserve the contrast between the crispy crust and the soft interior. However, if you have leftovers, store them in an airtight container in the refrigerator for up to 2 days.
To reheat, avoid the microwave at all costs; it will turn the fish rubbery. Instead, place the fillets in a pan with a splash of water or broth, cover with a lid, and warm over low heat until just heated through. You can also repurpose leftover flakes into a premium seafood stew similar to a classic Italian cioppino (coming soon).
Elegant Pairings to Complete the Menu
The richness of this dish calls for sides that offer either a crisp texture or a bright, vegetal contrast. A side of crispy Greek spanakopita provides a wonderful salty crunch that mirrors the crust of the fish.
For a lighter Mediterranean approach, consider serving the bass alongside various traditional Greek vegetable dishes or a simple salad. If you want to soak up every drop of that translucent garlic butter, a few slices of toasted crusty French bread are absolutely essential.
Frequently Asked Questions
Yes, but it must be completely thawed in the refrigerator overnight. Once thawed, treat it exactly like fresh fish, ensuring it is dried thoroughly before searing.
Yes, Chilean sea bass is a marketing name for the Patagonian toothfish. It was renamed to make it more appealing to North American and European diners.
Black cod (Sablefish) is the best substitute due to its similar high oil content and buttery texture. Halibut or Grouper also work but are leaner and require more careful cooking.
The fish is perfectly cooked when the internal temperature reaches 135°F (57°C). Visually, the flakes should be pearly white and just start to pull apart easily with a fork.
The most common culprit is moisture. Ensure the fillets are patted extremely dry with paper towels and that your pan is shimmering hot before adding the fish.
The Definitive Chilean Sea Bass Recipe Card
Chilean Sea Bass Recipe with a Crispy Golden Crust and Lemon Garlic Butter
Ingredients
Equipment
Method
- Pat the sea bass fillets extremely dry with paper towels to ensure a crispy crust.
- Season both sides of the fillets with flaky sea salt and cracked black pepper just before cooking.
- Add oil to a heavy skillet over medium-high heat until shimmering.
- Lay fish in the pan and press gently with a spatula. Sear for 4-5 minutes until a deep golden-brown crust forms.
- Flip the fillets and reduce heat to medium.
- Add butter, minced garlic, and lemon wedges. Spoon the foaming butter over the fish repeatedly for 2-3 minutes.
- Transfer to a bowl, pour over the translucent sauce, and top with parsley and charred lemon.
Notes
Ensure the fish is at room temperature for 15 minutes before cooking for even heat distribution.
Closing Thoughts on This Premium Seafood Dish
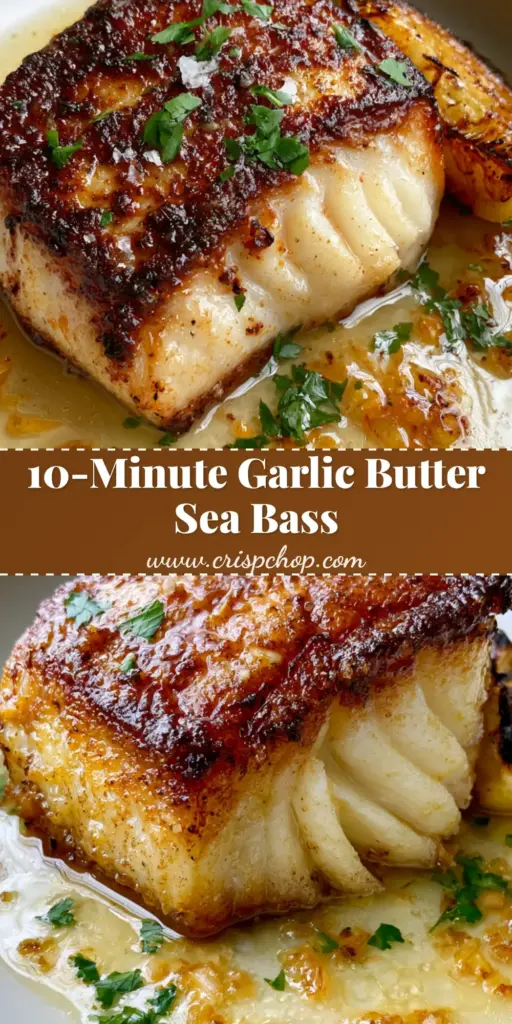
This Chilean sea bass recipe is more than just a set of instructions; it is a gateway to professional-level home cooking. By focusing on the temperature of your pan and the timing of your butter baste, you create a dish that rivals any high-end steakhouse or seafood bistro. The combination of the golden-brown crust and the glossy garlic butter is a proven winner for any palate.
If you enjoyed this recipe, please leave a comment below and share your results! Don’t forget to follow us and save this dish to your favorite boards on Pinterest so you can find it the next time you’re craving a world-class meal.