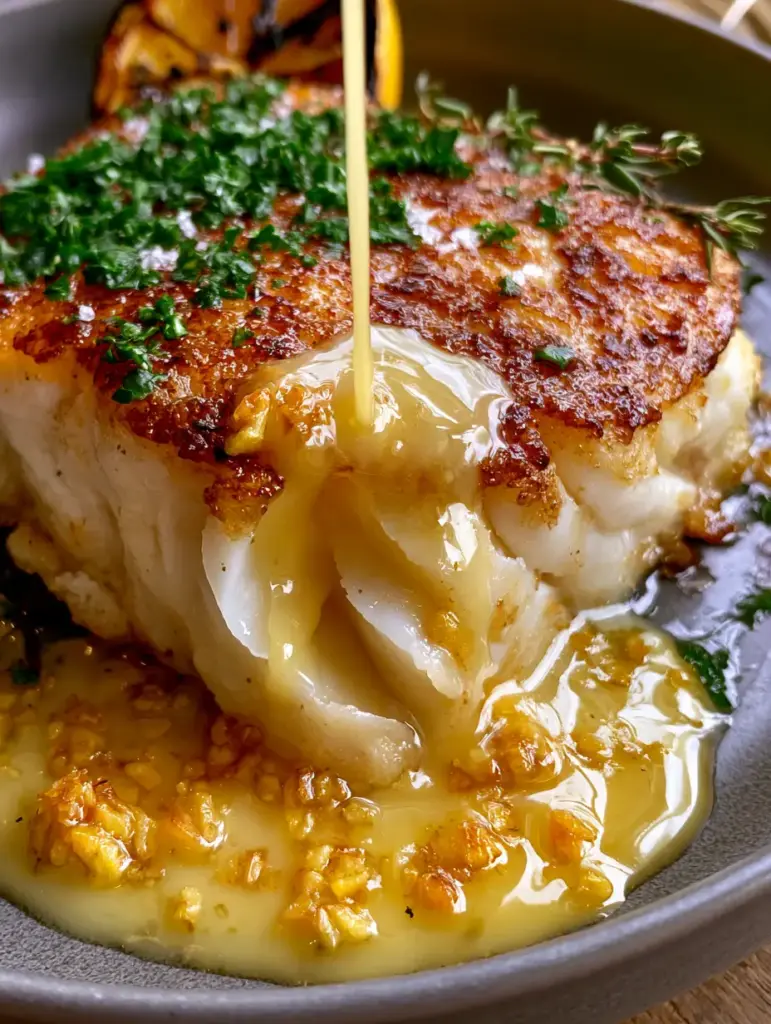
Chilean sea bass is the undisputed crown jewel of the sea, celebrated for its incredibly high fat content and pearly white, large flakes. This recipe captures that luxury by creating a hard, golden-brown pan-sear that contrasts beautifully with the moist, buttery layers inside.
By following this method, you will achieve that high-end restaurant finish right in your own kitchen. We are focusing on a thick, succulent fillet drizzled with a translucent garlic butter sauce and topped with crunchy Maldon sea salt flakes.
Every bite delivers a symphony of textures, from the crispy exterior to the melt-in-your-mouth interior. The addition of scorched lemon and fresh thyme elevates the aromatics, ensuring your dining room smells like a five-star bistro.
Why This Pan-Seared Chilean Sea Bass Recipe Wins Every Time
- The Golden Crust: We use high-heat techniques to ensure a hard-seared, mahogany-colored exterior that locks in all the natural juices.
- Succulent Texture: The internal temperature is carefully managed to ensure the fish flakes open to reveal moist, pearly white layers.
- Aromatic Depth: Sautéed minced garlic and fresh thyme sprigs infuse the butter sauce with a sophisticated, earthy profile.
- Visual Elegance: With bright green parsley and charred lemon, this dish is a masterpiece designed for the center of your table.
Essential Ingredients for the Ultimate Buttery Fish Fillet
Chilean Sea Bass Fillets: Look for thick-cut fillets, at least 1.5 inches (3.8cm) thick, to ensure they don’t overcook before the crust forms. This specific species is prized for its high oil content, which prevents it from drying out.
Unsalted Butter: We use 4 tbsp (56g) of high-quality butter to create the base of our glossy sauce. Using unsalted allows us to control the seasoning precisely with the sea salt flakes later.
Grapeseed or Avocado Oil: You need 2 tbsp (30ml) of an oil with a high smoke point for the initial sear. This ensures the fish doesn’t stick and the crust develops without a burnt taste.
Fresh Garlic: Three cloves of garlic, finely minced, provide those tiny golden flecks seen in the sauce. The garlic is sautéed just until fragrant to avoid bitterness.
Maldon Sea Salt Flakes: These large, pyramid-shaped crystals provide a satisfying crunch and a clean saltiness. They are the perfect finishing touch for a professional aesthetic.
Fresh Herbs: A generous dusting of minced parsley and whole thyme sprigs adds brightness. These herbs cut through the richness of the butter sauce.
Lemon: One large lemon, halved, is scorched in the pan. The heat caramelizes the natural sugars, making the juice sweeter and more complex.
Must-Have Tools for a Professional Pan-Sear
To achieve the specific visual results of a “hard, golden-brown sear,” you must use a heavy-bottomed pan. A cast-iron skillet or a high-quality stainless steel pan is preferred over non-stick, as they allow for better crust development.
A flexible fish spatula is also essential for getting under the fillet without breaking the delicate flakes. Lastly, have a large metal spoon ready for “arroser,” the French technique of basting the fish with hot butter.
Mastering the Perfect Sear: Step-By-Step Instructions
Prepping the Fillets for Heat
Remove your fish from the refrigerator 15 minutes before cooking to take the chill off. Use a paper towel to pat the surface of the fish completely dry; moisture is the enemy of a good sear.
Season the top and bottom generously with a pinch of salt, but save the Maldon flakes for the very end. This ensures the seasoning penetrates the meat while the flakes stay crunchy on top.
Achieving the Golden-Brown Crust
Heat 2 tbsp (30ml) of oil in your skillet over medium-high heat until it begins to shimmer. Carefully lay the Chilean sea bass into the pan, moving it away from you to avoid splashes.
Press down lightly with your spatula for the first 30 seconds to ensure even contact. Let it cook undisturbed for 4-5 minutes until you see a deep golden-brown edge creeping up the sides.
The Butter Baste and Aromatics
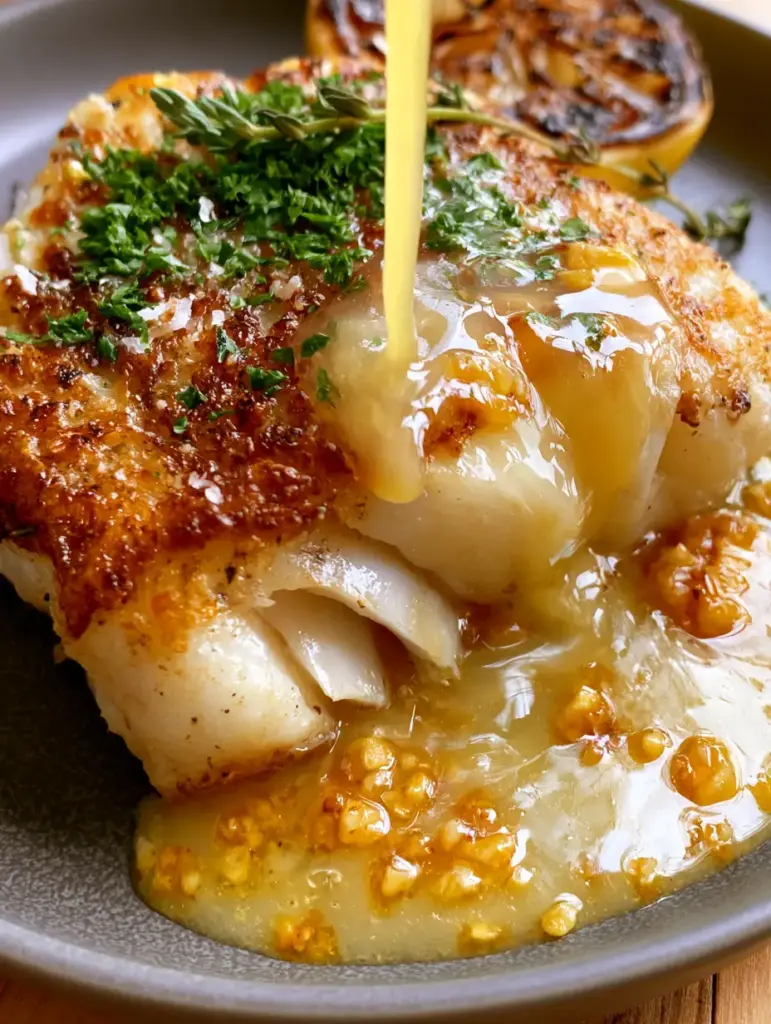
Flip the fish carefully using your fish spatula to reveal the golden crust. Immediately add 4 tbsp (56g) of butter, the minced garlic, and the thyme sprigs to the pan.
As the butter melts and foams, tilt the pan slightly and use your spoon to continuously pour the hot garlic butter over the fish. This process, known as basting, cooks the interior gently while infusing it with flavor.
Charring the Lemon and Finishing
Place the lemon halves, cut side down, into the hot butter at the edge of the pan. Let them scorch for 2 minutes until the surfaces are dark and caramelized.
Once the fish reaches an internal temperature of 135°F (57°C), remove the pan from the heat. The carryover heat will bring it to a perfect 140°F (60°C) for that succulent, flaking texture.
Expert Tips for Restaurant-Quality Sea Bass
- Don’t Peek: Resist the urge to move the fish once it hits the pan. The fish will “release” naturally from the surface once a proper crust has formed.
- Spoon Technique: When basting, focus the butter on the thickest part of the fillet to ensure even cooking through the center.
- Garlic Timing: Add the minced garlic only after the flip to prevent it from burning during the high-heat searing phase.
- Dry is Key: If the fish is even slightly damp, it will steam rather than sear, resulting in a greyish exterior instead of golden-brown.
What to Serve with Pan-Seared Chilean Sea Bass
The richness of this dish pairs perfectly with a side of crusty French bread to soak up every drop of that translucent garlic butter sauce. For a lighter approach, serve it alongside a vibrant Greek grain bowl base to balance the healthy fats of the fish.
If you are planning a full Mediterranean spread, consider adding some traditional Greek sides like roasted vegetables. To finish the evening, a light and airy carrot muffin or a fruit-based dessert is highly recommended.
Storing and Reheating Your Seafood
Seafood is best enjoyed immediately, but you can store leftovers in an airtight container for up to 2 days. To reheat without drying out the delicate layers, place the fish in a baking dish with a splash of water or broth.
Cover tightly with foil and warm in a 275°F (135°C) oven for about 10-12 minutes. This gentle steaming method preserves the moist, buttery interior that makes Chilean sea bass so special.
Common Questions About Cooking Chilean Sea Bass
Yes, but ensure it is completely thawed in the refrigerator and patted extremely dry before searing to achieve the required golden crust.
The fish is done when it reaches an internal temperature of 135-140°F (57-60°C) and the flakes separate easily when pressed with a fork.
No, it is actually a species of Patagonian toothfish. It was renamed for marketing purposes because of its white, flaky texture which resembles bass.
Use an oil with a high smoke point like grapeseed, avocado, or canola oil. Avoid extra virgin olive oil for the initial high-heat sear as it may burn.
This usually happens if the pan wasn’t hot enough or if the fish was still damp. Ensure the oil is shimmering and the fish is bone-dry before cooking.
The Ultimate Pan-Seared Chilean Sea Bass Recipe
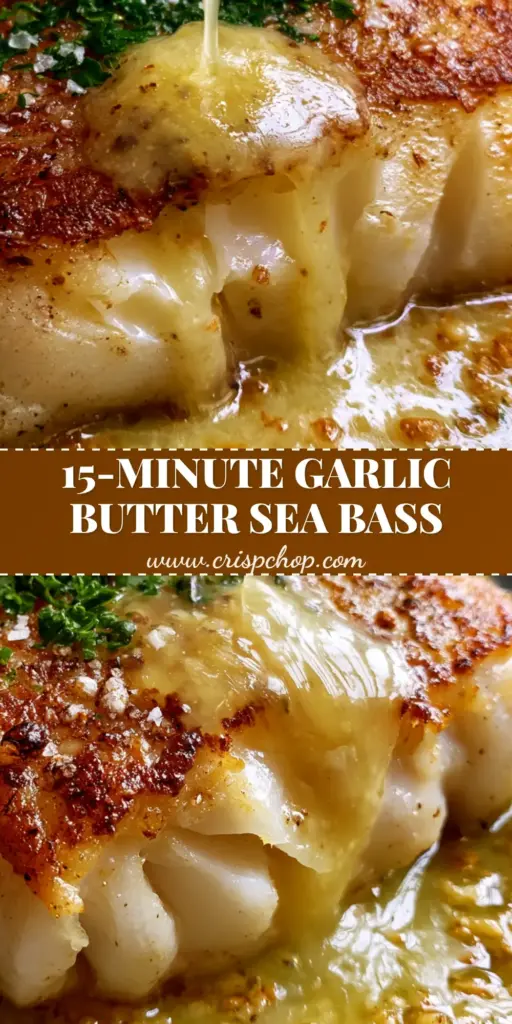
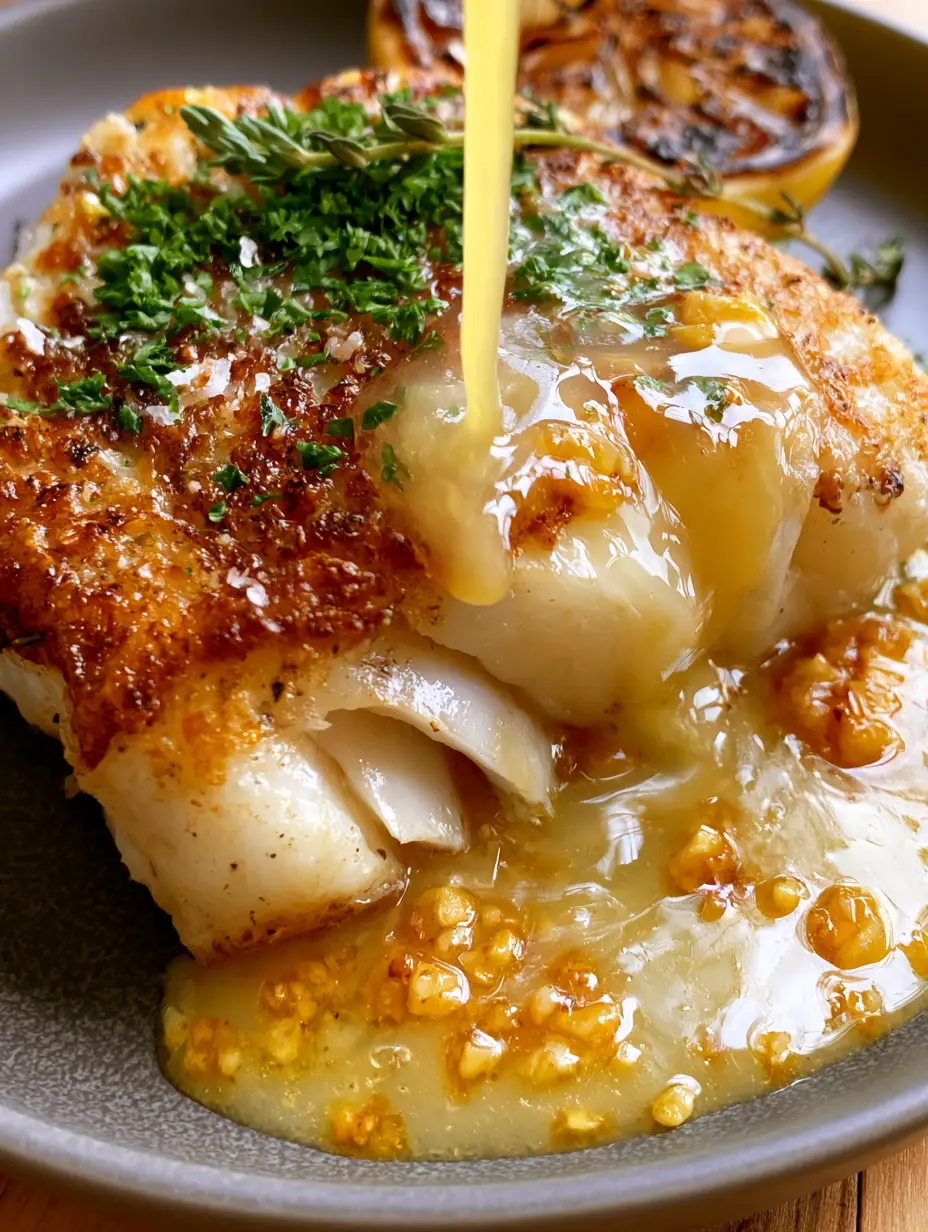
Chilean Sea Bass with Velvety Garlic Butter and Charred Lemon
Ingredients
Equipment
Method
- Pat the sea bass fillets extremely dry on all sides using paper towels to ensure a crisp crust.
- Season the fillets with a small amount of fine salt on all sides.
- Heat oil in a heavy skillet until shimmering. Add fish and sear undisturbed for 4-5 minutes until a hard, golden-brown crust forms.
- Flip the fish. Add butter, garlic, and thyme. Spoon the foaming butter over the fish for 3 minutes while charring the lemon halves in the same pan.
- Remove from heat. Top with Maldon sea salt flakes and fresh parsley. Serve with the scorched lemon.
Notes
Use a high smoke point oil to avoid bitter flavors.
Bring the Bistro Experience Home
Cooking Chilean sea bass might seem intimidating, but with the right heat and plenty of butter, it is one of the most forgiving fish to prepare. The high fat content ensures it stays moist even if you cook it a minute too long.
We would love to see your culinary creations! Leave a comment below with your results and don’t forget to follow us and share your photos on Pinterest for more gourmet inspiration.