There is a specific kind of culinary magic that happens when high-heat frying meets a sticky, translucent glaze. These Honey Glazed Chicken Bites aren’t just another weeknight dinner; they are a masterclass in texture and balance. Imagine biting through a shattering, golden-brown crust into succulent chicken, all while your palate is hit with the warmth of ginger and the pungent kick of fresh garlic.
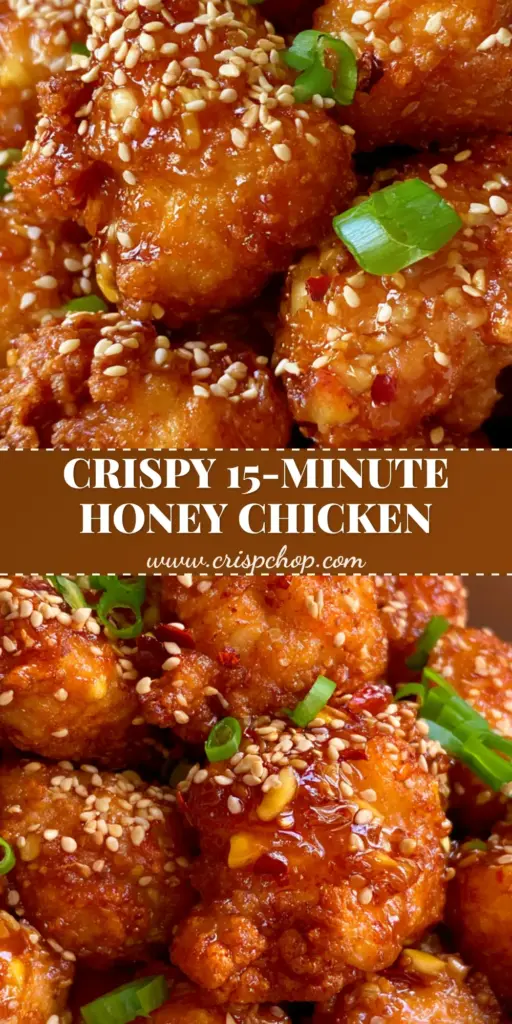
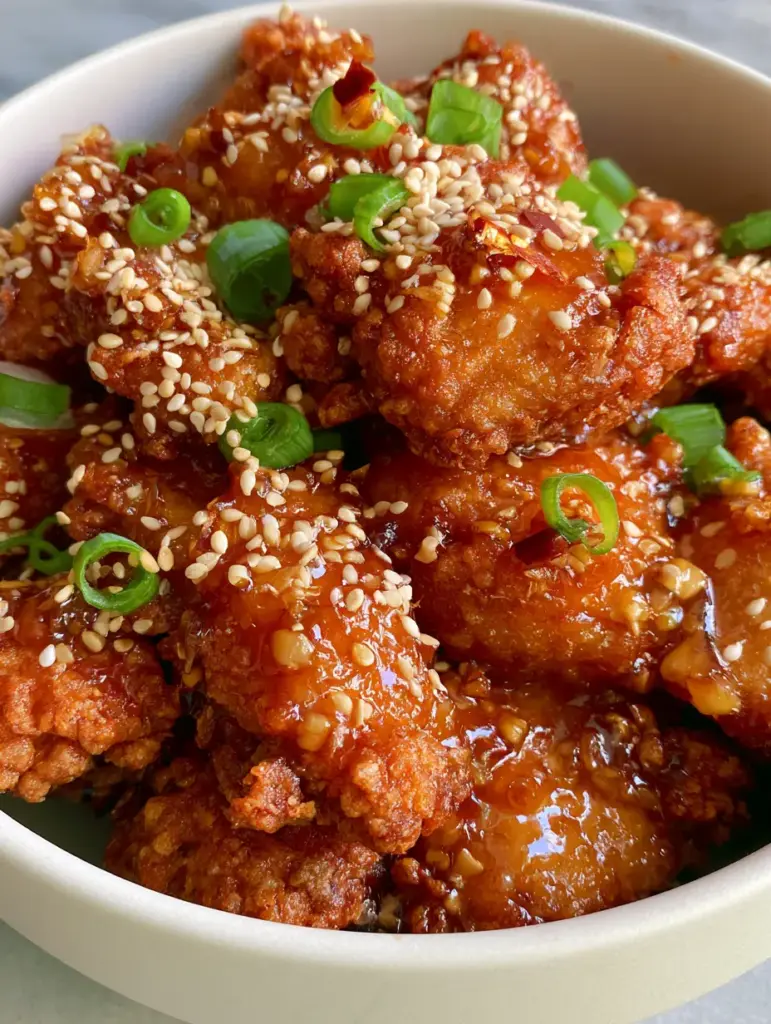
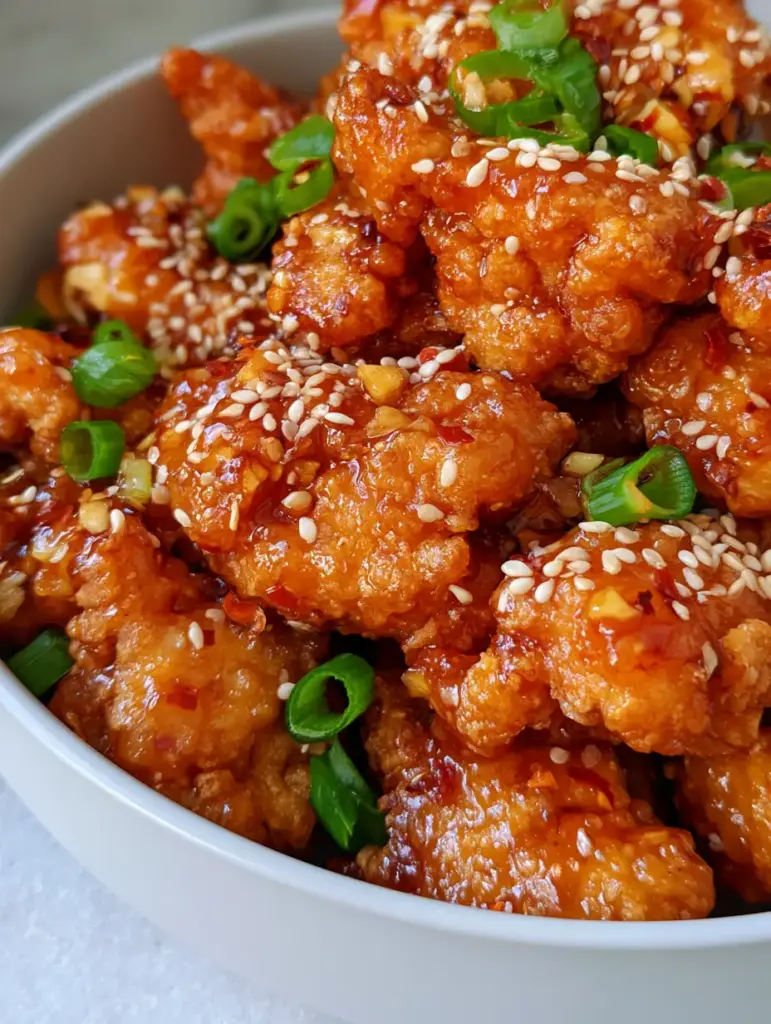
The visual appeal of this dish is undeniable, characterized by deep golden-brown crags and peaks that catch the light. Each nugget is enveloped in a glistening amber honey sauce that remains translucent enough to showcase the flecks of aromatics within. When piled high in a minimalist matte white ceramic bowl, the vibrant green scallions and toasted white sesame seeds create a restaurant-quality presentation right in your own kitchen.
Whether you are recreating the nostalgia of your favorite takeout or looking for a centerpiece for a family feast, this recipe delivers. We have engineered the coating to withstand the sauce, ensuring that “extra crispy” isn’t just a promise—it’s a scientific reality. Let’s dive into the forensics of the perfect crunch and the ultimate honey-led flavor profile.
Why These Golden-Brown Crispy Bites Outshine Every Other Recipe
- Shatteringly Crisp Texture: We utilize a specific starch-to-flour ratio to create those signature “crags and peaks” described in the visual blueprint.
- Translucent Amber Glaze: Unlike muddy sauces, this honey-base remains clear and glistening, providing a professional handheld smartphone photo-ready finish.
- Aromatic Depth: The dual-hit of grated ginger and minced garlic bits provides a savory counterpoint to the sweetness of the amber honey.
- Perfectly Balanced Heat: A precise sprinkle of dried red chili flakes offers a pop of color and a gentle tingle without overwhelming the delicate honey notes.
The Essential Pantry Staples for Ultra-Crunchy Honey Chicken
Chicken Thighs (approx. 2 lbs / 900g): While breasts work, boneless skinless thighs provide the fat content necessary for a juicy interior that survives the high-heat frying process. Cut them into uniform 1-inch (2.5cm) pieces for even cooking.
Honey (3/4 cup / 180ml): Use a high-quality floral honey; its translucency is key to achieving that glistening amber glow that looks so appetizing in a matte white bowl. It provides the body and the “sticky” factor for the glaze.
Cornstarch (1 cup / 125g) & All-Purpose Flour (1/2 cup / 65g): This specific blend is the secret to the crags. Cornstarch provides the crispness, while flour adds the structural integrity to hold the peaks.
Fresh Grated Ginger (1 tbsp / 15g) & Minced Garlic (2 tbsp / 30g): These aren’t just flavorings; they are visual components. The minced bits should be visible in the translucent glaze, just like in our visual recipe blueprint.
Rice Vinegar (2 tbsp / 30ml): The acidity is essential to cut through the sugar of the honey, balancing the palate and keeping you coming back for another bite.
Neutral Oil (as needed for frying): You need an oil with a high smoke point, such as canola or peanut oil, to achieve that deep golden-brown breaded texture without burning.
Garnish Components: Toasted white sesame seeds, fresh green scallions, and dried red chili flakes are the final “jewelry” of the dish, providing the vibrant color contrast needed for professional food styling.
The Tool Kit for Culinary Success
To achieve the “crags and peaks” seen in our professional food styling, you’ll need a few specific tools. A heavy-bottomed Dutch oven or a deep cast-iron skillet is preferred for maintaining a steady oil temperature of 350°F (175°C). A wire cooling rack is also non-negotiable; placing fried chicken on paper towels can lead to steaming, which softens that hard-earned crust.
Finally, a microplane for the ginger and a sharp chef’s knife for those vibrant green scallion rings will ensure your garnishes look as authentic and homemade as a high-end kitchen photo. A wide matte white ceramic bowl is the best vessel for serving, as it allows the amber glaze to pop against the neutral background.
The Step-by-Step Blueprint for Golden-Brown Perfection
Preparing the Chicken for Maximum Surface Area
Start by patting your chicken pieces completely dry with paper towels. Moisture is the enemy of the crunch. Season the chicken with 1 tsp (6g) of kosher salt and 1/2 tsp (2g) of black pepper.
In a large bowl, whisk together your cornstarch and flour. To create the “crags and peaks,” drizzle 2 tbsp (30ml) of cold water or whisked egg into the dry flour mixture and stir with a fork to create small clumps. When you dredge the chicken, these clumps will adhere to the surface, creating those extra-crispy bits during frying.
The Art of the Double Fry
Heat your oil to 350°F (175°C). Carefully drop the chicken bites in batches, ensuring you do not overcrowd the pan. Fry for 5-6 minutes until they reach a pale golden color.
Remove the chicken to a wire rack for 2 minutes. Increase the oil heat to 375°F (190°C) and fry again for 2-3 minutes. This second fry is what creates the deep golden-brown breaded texture and ensures the chicken stays crispy even after being coated in the sticky honey glaze.
Crafting the Translucent Amber Glaze
In a separate wide skillet or wok over medium heat, add 1 tbsp (15ml) of oil. Sauté the minced garlic bits and grated ginger for only 30-45 seconds. You want them fragrant but not browned, as they need to remain visible and bright in the final sauce.
Pour in the honey, rice vinegar, and a splash of light soy sauce (1 tbsp / 15ml). Bring to a simmer. Watch for the bubbles to change from small and watery to large and “lazy”—this indicates the water has evaporated and you have a thick, translucent, glistening amber honey glaze.
The Final Toss and Garnish
Add the double-fried chicken bites into the simmering glaze. Using a spatula, toss quickly and aggressively to coat every crag and peak. The sauce should cling to the chicken, not pool at the bottom of the bowl.
Immediately transfer the chicken to your minimalist matte white ceramic bowl. While the glaze is still wet and sticky, apply a heavy sprinkle of toasted white sesame seeds and a handful of fresh vibrant green scallion rings. Finish with a few dried red chili flakes for that professional pop of red.
Expert Tips for Success from a Professional Kitchen
- The “Flick” Technique: When making the dredge, literally flick drops of water into the flour. These “shrapnel” pieces are what create the visual crags you see in our Midjourney prompt.
- Temperature Control: Use an instant-read thermometer. If the oil drops below 325°F (160°C), the chicken will absorb oil and become greasy rather than crispy.
- Ginger Prep: Grate the ginger directly over the pan to catch all the juices; this adds a floral top note that balances the heavy honey.
- Don’t Over-Sauce: The goal is a “glistening” coat, not a “drowning” coat. If you have too much sauce, only add enough chicken to satisfy the coating ratio.
Optimal Storage and Reheating Strategies
While these Honey Glazed Chicken Bites are best served immediately to appreciate the “shattering” crust, leftovers can be stored in an airtight container for up to 3 days. To maintain the crispy texture, avoid the microwave at all costs.
Instead, reheat in an air fryer at 375°F (190°C) for 3-5 minutes, or in a conventional oven on a wire rack at 400°F (200°C) for 8 minutes. This helps the honey glaze re-caramelize and the crust to crisp back up, though it will never be quite as “peaky” as the first fry.
What to Serve with Your Honey Glazed Chicken Bites
To turn this into a full feast, pair the chicken with a neutral grain that can soak up any stray droplets of the ginger-garlic sauce. A bowl of fluffy coconut curry rice provides a creamy contrast to the sharp ginger notes.
If you’re looking for a vegetable pairing, this dish goes beautifully with the charred notes of a garlic broccoli stir fry. For those who love noodles, serving these bites alongside a plate of garlic chicken lo mein creates a varied texture profile that mimics a high-end Asian bistro experience.
If you’re in the mood for a fusion spread, consider adding some jerk meatballs as an appetizer to play with different levels of spice and sweetness.
Frequently Asked Questions
Yes! Spray the breaded bites generously with oil and air fry at 400°F (200°C) for 12-15 minutes, shaking halfway. Toss in the simmered glaze immediately after cooking.
The secret is adding a tiny bit of liquid (water or egg) to your dry flour/cornstarch mixture and stirring with a fork to create small clumps before dredging the chicken. These clumps fry into extra-crispy peaks.
The double-fry method is key. By frying a second time at a higher temperature, you create a moisture-resistant crust. Also, ensure the sauce is fully thickened before tossing the chicken in.
A light-colored, clear honey like Clover or Orange Blossom works best. Avoid unfiltered or very dark honeys if you want that glistening, translucent amber look.
The glaze needs to simmer until the water from the vinegar and soy sauce evaporates. Look for ‘lazy’ bubbles that pop slowly; this indicates the honey has reached the correct thickness to coat the chicken.
The Ultimate Crispy Honey Glazed Chicken Bites Recipe
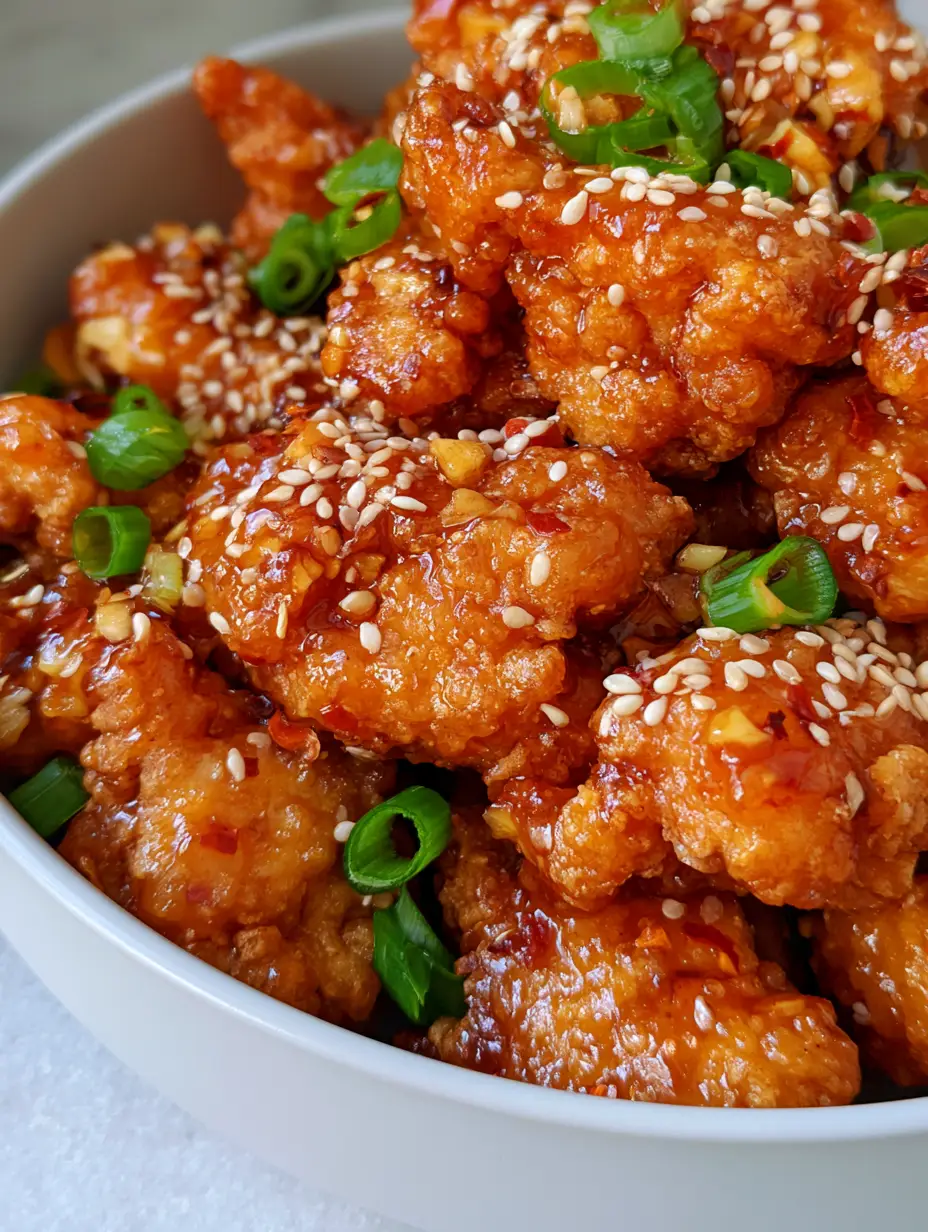
Honey Glazed Chicken Bites: The Secret to Extra Crispy Garlic Ginger Perfection
Ingredients
Equipment
Method
- Whisk cornstarch and flour. Flick 2 tbsp of water into the mix to create small clumps. Toss chicken pieces in the mixture, pressing to adhere the clumps.
- Fry chicken in 350°F (175°C) oil for 5-6 minutes until pale golden. Remove to a wire rack.
- Increase oil to 375°F (190°C) and fry for 2-3 minutes until deep golden-brown and extra crispy.
- Sauté garlic and ginger in a skillet. Add honey and vinegar, simmering until the sauce is a thick, translucent amber.
- Toss chicken in the glaze, then garnish with sesame seeds, scallions, and chili flakes in a matte white bowl.
Notes
Flick water into your flour dredge to create those visual crags and peaks.
Share Your Crispy Masterpiece!
We hope these Honey Glazed Chicken Bites bring a bit of restaurant-quality flair to your dining table. The contrast of the sticky amber glaze against that extra crispy breaded texture is truly a sensory delight. If you make this recipe, we want to see your “crags and peaks”!
Leave a comment below and let us know how your ginger and garlic aromatics turned out. Don’t forget to follow us on Pinterest for more visually stunning recipe blueprints and culinary deep-dives. Happy cooking!