Mango mousse cups are the quintessential summer treat that combines vibrant tropical flavor with a high-end, sophisticated presentation. If you are looking for a dessert that looks like it stepped off a professional pastry chef’s menu but requires zero oven time, these Mango mousse cups are your new best friend. By layering a deep, glossy mango coulis with a light-as-air whipped mousse and topping it with fresh, vibrant fruit, you create a sensory experience that is as beautiful to look at as it is delicious to eat.
Imagine sliding a gold dessert spoon through layers of pale yellow, aerated mousse and hitting that thick, concentrated orange mango base. The contrast in textures—from the velvety coulis to the visible air bubbles in the whipped layer—is exactly what makes this recipe a Pinterest sensation. Whether you are hosting a bright morning brunch or an elegant dinner party, these Mango mousse cups served in ribbed glass vessels are guaranteed to be the star of the show.
Why You Will Obsess Over These Layered Mango Delights
- Triple-Threat Texture: You get the syrupy thickness of the coulis, the cloud-like fluffiness of the mousse, and the juicy snap of freshly diced ripe mango cubes.
- Visual Masterpiece: The ribbed glass vessel creates stunning light refraction, highlighting the distinct deep orange and pale yellow layers.
- No-Bake Ease: This is a sophisticated “set and forget” dessert that keeps your kitchen cool while delivering high-end results.
- Perfect for Entertaining: These individual portions are naturally portion-controlled and incredibly easy to serve to a crowd.
If you love the tropical profile of this dish, you should also check out my Mango Pudding Recipe or this incredibly simple 3-ingredient mango dessert for those busy weeknights.
The Essential Components for a Professional Mousse
To achieve that high-end aesthetic seen in our Visual Recipe Blueprint, you need the right building blocks. Each ingredient serves a specific culinary purpose to ensure the Mango mousse cups hold their shape while remaining melt-in-your-mouth soft.
Ripe Mangoes (Champagne or Ataulfo): You want mangoes that are fiber-free and incredibly sweet. These varieties provide the deepest orange color for your base coulis and the best structure for the vibrant golden mango chunks on top.
Heavy Whipping Cream: Use cream with at least 36% fat content. This is what creates those visible air bubbles and the “lift” in the middle layer of your Mango mousse cups.
Powdered Sugar: We use powdered sugar instead of granulated because it contains a tiny bit of cornstarch, which helps stabilize the aerated whipped mango mousse.
Fresh Lime Juice: A splash of acidity is the “secret ingredient” that cuts through the richness of the cream and makes the mango flavor pop.
Gelatin (Optional but Recommended): A tiny amount of bloomed gelatin ensures your Mango mousse cups stay perfectly layered for hours, making them ideal for parties.
Fresh Mint Leaves: A small fresh mint leaf garnish provides the necessary color contrast against the warm yellows and oranges.
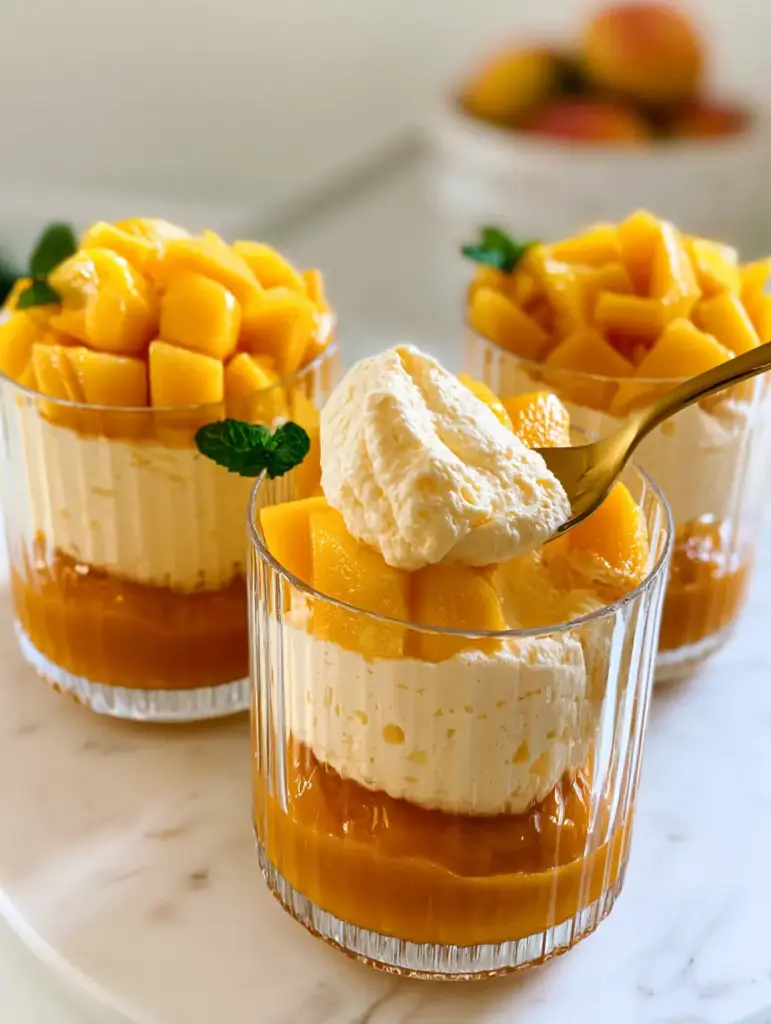
How to Construct the Perfect Mango Layers
Building Mango mousse cups is all about temperature control and gentle folding. Follow these steps to ensure your layers stay distinct and don’t muddy together in the ribbed glass.
Step 1: The Deep Orange Mango Coulis Base
Start by peeling and dicing 2 large mangoes. Place them in a high-speed blender with 1 tablespoon (15ml) of lime juice and 2 tablespoons (25g) of sugar. Blend until the mixture is a thick mango puree base with a glossy, heavy consistency. Spoon approximately 2 tablespoons (30ml) into the bottom of each ribbed glass vessel. Smooth the top with the back of a spoon to create a clean line.
Step 2: Aerating the Whipped Mango Mousse
In a chilled bowl, whip 1 cup (240ml) of heavy cream until soft peaks form. Slowly fold in 1/2 cup (120ml) of your prepared mango puree. The goal is to keep as much air in the mixture as possible to create that light, airy, pale yellow whipped mango mousse. You should see visible air bubbles as you fold. If you are using gelatin, this is the moment to drizzle in your bloomed and cooled gelatin liquid while whisking gently.
Step 3: The Assembly and Chill
Carefully pipe or spoon the mousse layer over the coulis base. Using a piping bag helps maintain the clean edges against the ribbed glass. Leave about half an inch (1.25cm) of space at the top of the glass. Place the cups in the refrigerator for at least 2 hours to set. This ensures the Mango mousse cups have the structural integrity to support the heavy fruit topping.
Step 4: The Finishing Flourish
Just before serving, dice your remaining mango into perfectly diced, vibrant golden mango chunks. Pile a generous spoonful onto the top of each cup. Add a single small sprig of fresh green mint to the corner. Finally, tuck a gold metal dessert spoon into the side of the glass for that ultimate luxury food blog look.
For more layered inspiration, my Mini Mango Cheesecake Cups use a similar fruit-topping technique!
Expert Tips for Success
- Chill Your Equipment: Place your whisk and mixing bowl in the freezer for 10 minutes before whipping the cream. Cold equipment produces a more stable aerated whipped mango mousse.
- Sieve the Puree: If your mangoes are slightly fibrous, pass the puree through a fine-mesh sieve before adding it to the cream. This ensures a glossy, deep orange finish.
- The “Tap” Method: After pouring the coulis base, gently tap the ribbed glass vessel on the counter to remove trapped air pockets at the very bottom.
- Avoid Over-Mixing: When folding the puree into the whipped cream, stop as soon as the color is uniform. Over-mixing will deflate the mousse, losing those beautiful bubbles.
Storage and Make-Ahead Instructions
Mango mousse cups are the perfect make-ahead dessert. You can prepare the coulis and the mousse layers up to 24 hours in advance. Keep them tightly covered with plastic wrap in the refrigerator to prevent the mousse from absorbing any “fridge smells.”
Wait to add the freshly diced ripe mango cubes and the mint leaf garnish until right before serving. Fresh mango can release juices over time, which might bleed into the mousse layer if left too long. These do not freeze well, as the emulsion of the cream will break upon thawing, resulting in a grainy texture.
What to Serve With Mango Mousse
These Mango mousse cups are rich and creamy, so they pair beautifully with light, crisp accompaniments. Serve them alongside almond tuiles or shortbread cookies for a bit of crunch. If you are looking for a full tropical spread, consider pairing this with a Mango Sticky Rice or a refreshing Banana Peach Smoothie.
If you’re hosting a dinner party, these make a great follow-up to a savory main like Garlic Butter Shrimp Scampi or a fresh Greek Shrimp Mediterranean Bowl.
Frequently Asked Questions
Absolutely! Replace the heavy cream with chilled full-fat coconut cream (whipped) and use agar-agar instead of gelatin to achieve a similar aerated texture.
Yes, you can use thawed frozen mango for the coulis base and the mousse layer. However, for the top garnish, we highly recommend fresh mango to maintain the vibrant golden color and firm texture.
The secret is to chill the base coulis for 15 minutes before adding the mousse. Using a piping bag to add the mousse layer also prevents the colors from swirling together against the glass.
Gelatin is optional if you serve them immediately. However, if you want the Mango mousse cups to hold their ‘airy’ structure for a party, 1 teaspoon of bloomed gelatin will provide the perfect stability.
Ataulfo (also known as Champagne or Honey mangoes) are best because they are non-fibrous and have a buttery texture that blends into a perfectly smooth, glossy coulis.
The Official Mango Mousse Cups Recipe
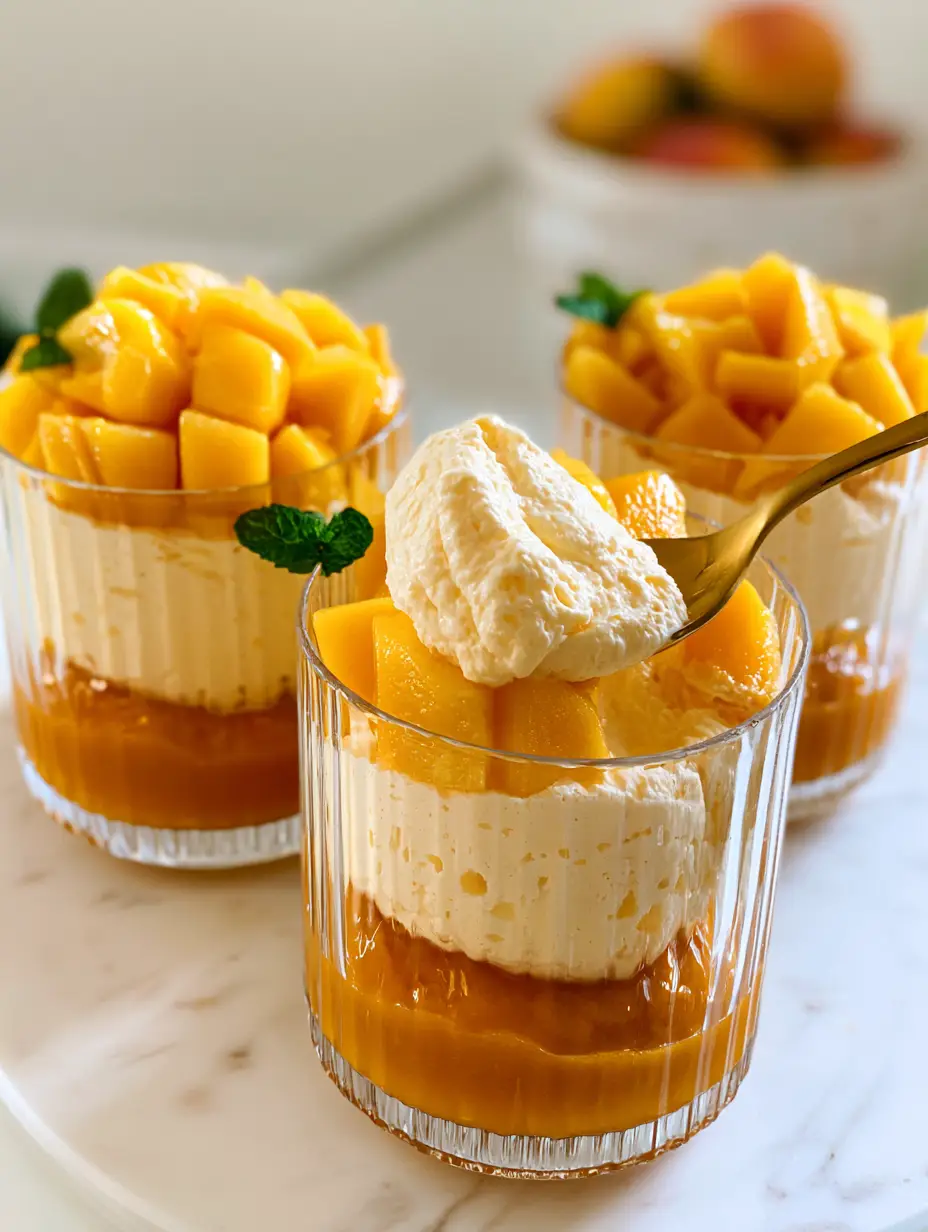
Mango mousse cups: The Ultimate Elegant No-Bake Summer Dessert
Ingredients
Equipment
Method
- Puree 2 mangoes with lime juice and granulated sugar until glossy and thick.
- Spoon 2 tablespoons of puree into each ribbed glass. Set aside the remaining puree for the mousse.
- Whip heavy cream and powdered sugar until soft peaks form. If using gelatin, stir it in now.
- Gently fold 1/2 cup of mango puree into the whipped cream until pale yellow and airy with visible bubbles.
- Pipe the mousse over the coulis base in the glasses. Refrigerate for 2 hours.
- Dice the final mango into cubes and pile onto the set mousse. Add a mint leaf and a gold spoon to each glass.
Notes
Make sure the cream is ice-cold before whipping to achieve maximum volume.
Join the CrispChop Community!
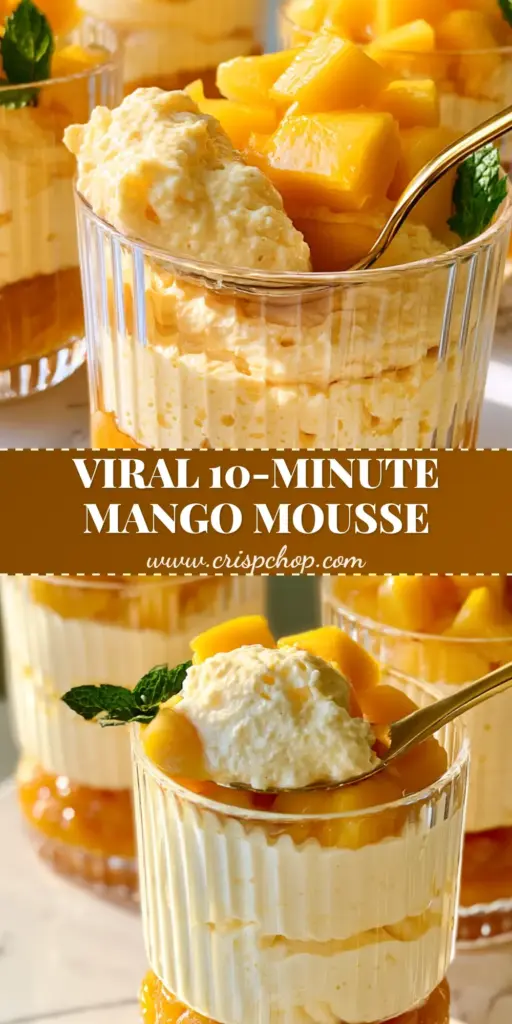
Did you make these Mango mousse cups? I want to see your beautiful layers! Please save this recipe to your Pinterest dessert board so you never lose it. If you whipped up a batch, snap a handheld smartphone photo and share it in the comments below or tag @crispchop on social media. Don’t forget to leave a 5-star rating in the recipe card above—it helps other home cooks find this delicious treat! Follow us for more high-end, easy-to-make recipes every week.